
Why Painting the Room the Right Way Matters
Painting the room is one of the fastest, most affordable ways to completely transform your living space. But here’s the thing: a great paint job isn’t just about slapping color on walls. The difference between a professional-looking finish and a messy DIY disaster comes down to following the right process.
Quick Answer: The Essential Steps for Painting a Room
- Plan – Choose your color, finish, and gather supplies
- Prep – Clean walls, fill holes, sand, and tape off trim
- Prime – Apply primer if covering dark colors or bare surfaces
- Paint Ceiling – Always start at the top to catch drips
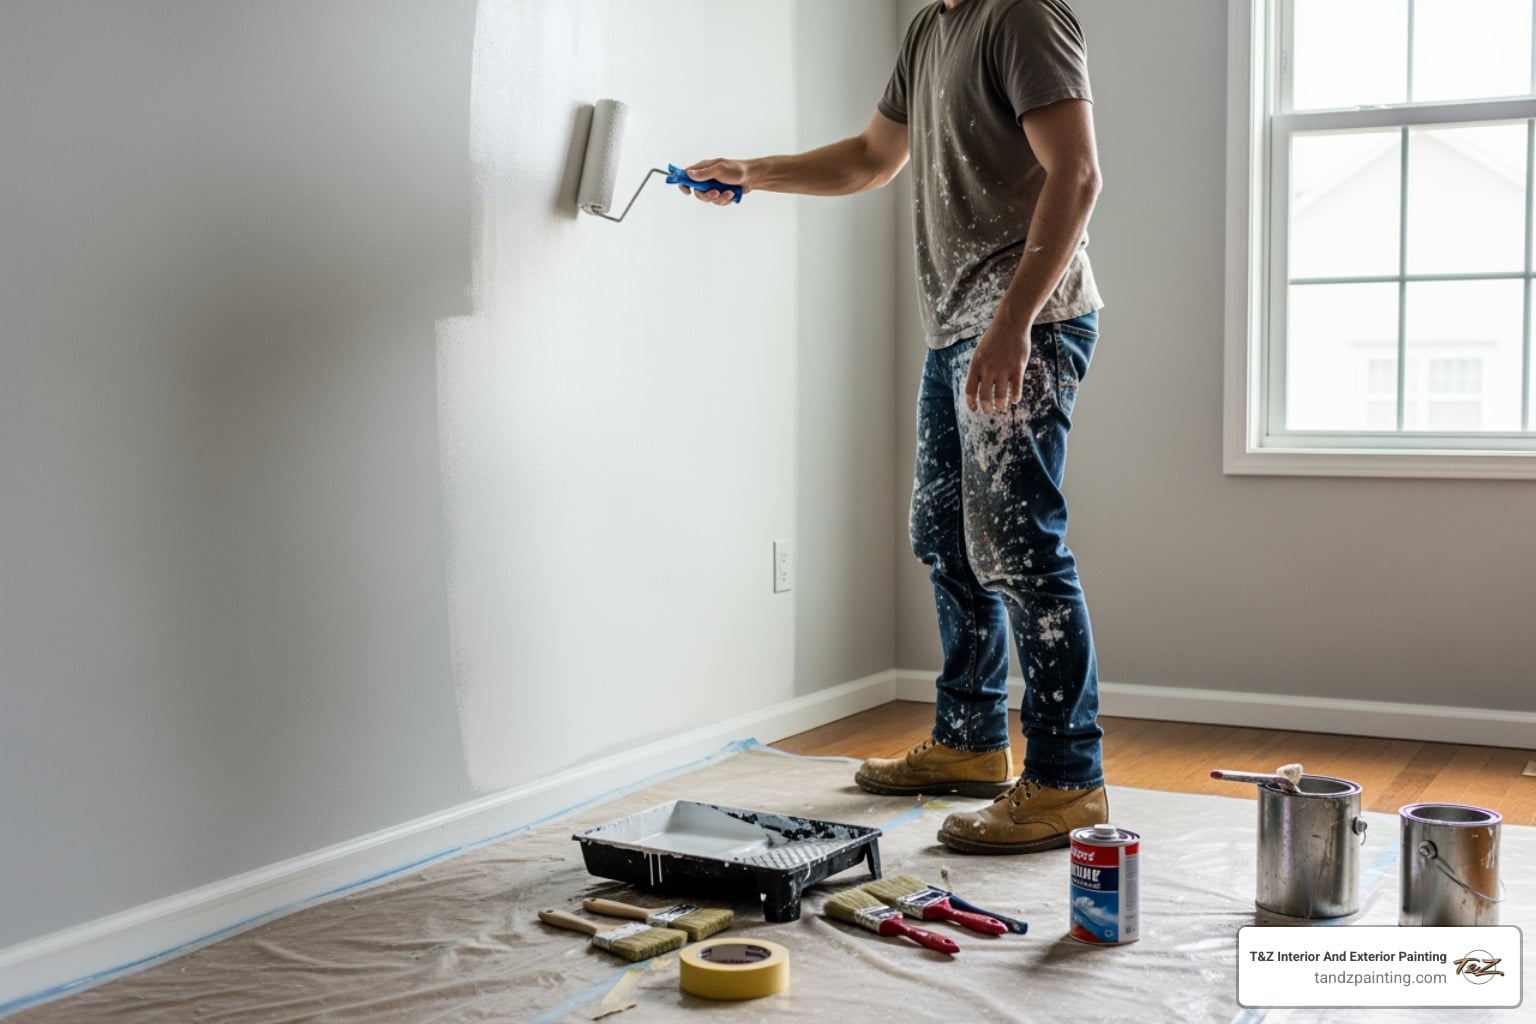
- Paint Walls – Cut in edges, then roll in a ‘W’ pattern
- Paint Trim – Finish with baseboards, doors, and windows last
- Clean Up – Remove tape, clean tools, and allow paint to cure
A typical room takes 2 to 3 days to paint properly, and you’ll need at least two coats of paint for full coverage. One gallon covers about 200 square feet with two coats (or 400 square feet with a single coat).
The most common mistake? Skipping the prep work. Walls that aren’t properly cleaned, patched, and primed will show every imperfection, and your beautiful new color won’t adhere correctly or last as long as it should.
I’m Tomasz Niemotko, owner of T&Z Interior And Exterior Painting, and over the past 13 years I’ve helped countless homeowners achieve flawless results when painting the room. This guide walks you through exactly what my team and I do on every project—no secrets, no shortcuts—so you can get professional results yourself.
, 2. Prep (cleaning supplies, spackle, sandpaper, and tape), 3. Prime (primer can and roller), 4. Paint Ceiling (roller on extension pole pointing up), 5. Paint Walls (roller creating W pattern on wall), 6. Paint Trim (angled brush on baseboard), 7. Clean Up (clean brushes and removed tape) - painting the room infographic")
Phase 1: Planning and Preparation for a Flawless Finish
This initial phase is the most important for ensuring a smooth, durable paint job; proper planning and prep work prevent mistakes and save time later. We often tell our clients that the success of any painting project hinges on the effort put into preparation.
Choosing Your Color and Finish
Choosing the perfect color for painting the room can sometimes feel like the hardest part! With countless options available, we often guide our clients through a process that considers more than just personal preference.
First, think about the color psychology of the space. Warm colors like reds and yellows tend to feel right for social areas like dining rooms and kitchens, encouraging lively conversation. Cooler colors, such as blues and greens, are often better suited for private settings like bedrooms and home offices, promoting a sense of calm and focus.
Next, consider room size illusions. Light colors reflect natural light, making small spaces feel larger and more open. Conversely, darker colors absorb light, which can make vast rooms feel more intimate and cozy. We can even manipulate the perceived height of a ceiling; painting it a lighter color makes it appear higher, while a darker shade brings it down, creating a cozier feel. For narrow rooms, painting the back wall and ceiling darker while keeping side walls lighter can create an illusion of width.
Natural vs. artificial light plays a huge role in how a color appears throughout the day. A shade you love in the store might look entirely different in your living room under the morning sun versus evening lamps. This is why we always recommend testing paint samples directly on your walls. You can read more about how ceiling colors interact with wall colors in our guide: The Pros and Cons of Painting Ceilings the Same Color as Walls.
The paint sheen you choose is also critical.
- Flat or Matte finishes are excellent for ceilings and walls with imperfections, as they absorb light and help to hide bumps and flaws.
- Eggshell or Satin finishes offer a slight sheen, making them more durable and easier to clean than flat paints, ideal for living rooms, dining rooms, and bedrooms.
- Semi-gloss or Gloss finishes are highly durable and washable, making them perfect for trim, doors, windows, and moisture-prone areas like kitchens and bathrooms. However, their reflectivity means they highlight imperfections, so prep work must be meticulous.
To truly decide, grab some Paint color samples. Paint large swatches (at least 2×2 feet) on your walls and live with them for a day or two. Observe how they change with different lighting conditions—daylight, artificial light, morning, and evening. This simple step can save you from a costly repaint!
Gathering Essential Tools and Supplies
Having the right tools is half the battle when painting the room. We ensure our teams are equipped with quality tools, which makes the job smoother and the finish flawless.

Here’s a list of the essentials we always have on hand:
- Angled Sash Brush: Crucial for “cutting in” around trim, ceilings, and corners. Many professionals swear by quality angled brushes for their precision and smooth glide.
- Roller Frame: A comfortable, non-squeaky 9-inch roller frame is standard for most DIYers. For tight areas or edges, a mini roller (4-inch) works wonders and minimizes the need for a brush.
- Roller Covers (Nap Size): The “nap” refers to the thickness of the roller’s fabric.
- Short nap (1/4″ to 3/8″) for smooth surfaces and high-sheen paints.
- Medium nap (3/8″ to 1/2″) for flat, low-sheen, or semi-gloss paints on typical walls.
- Long nap (1/2″ to 1″) for rough or textured surfaces.
- Extension Pole: This “life saver” minimizes ladder use and speeds up the rolling process, saving your back!
- Painter’s Tape: We prefer 1.88-inch original blue painter’s tape. It’s important to know how to seal the edges properly to prevent paint seepage.
- Canvas Drop Cloths: While plastic drop cloths are cheaper, canvas is superior. It’s durable, reusable, and absorbs paint without letting it seep through to your floors.
- Paint Bucket and Roller Screen: We highly recommend using a 5-gallon paint bucket with a roller screen instead of a flimsy paint tray. It holds more paint, reduces spills, and makes loading your roller much more efficient.
- Putty Knife: Useful for spackling, and also for burnishing painter’s tape to ensure a tight seal.
- Sandpaper or Sanding Sponge (220-grit): For smoothing patched areas and lightly scuffing walls for better adhesion.
- Damp Microfiber Cloths: Essential for wiping away dust and cleaning up drips quickly.
- Cling Film (Saran Wrap): Our secret weapon for keeping brushes, rollers, and paint fresh during breaks.
- Paint Can Cover with Pour Spout: An optional but handy tool that keeps paint fresh and makes pouring easy, preventing messy rims.
- Goof Off (or similar cleaner): For stubborn paint splatters, though we aim to avoid them with good technique!
You can find many of these items at your local hardware store or by checking out general painting supplies resources.
How to Properly Prepare Walls Before Painting
This is where the “idiot-proof” part really comes into play. Skipping prep is the biggest mistake we see! Proper preparation ensures your paint adheres well, looks smooth, and lasts for years.
- Clear the Room: Move all furniture to the center of the room or, ideally, out of the room completely. Cover everything with canvas drop cloths. We use canvas because it’s durable and absorbs paint drips, unlike thin plastic which can become slippery and allow paint to pool.
- Remove Hardware: Take off all outlet and light switch covers. Place them, along with their screws, in a small labeled bag so nothing gets lost.
- Inspect and Repair: Carefully examine your walls for any imperfections. Fill nail holes, small cracks, and divots with spackle using a putty knife. Allow the spackle to dry completely.
- Sand Smooth: Lightly sand all patched areas and any rough spots on the walls with a 220-grit sanding sponge. This creates a smooth surface and helps the paint adhere better. Remember to wear a dust mask during sanding to protect your lungs from inhaling paint dust.
- Clean the Walls: This is crucial! After sanding, vacuum the baseboards and floor to remove dust. Then, wipe down all walls with a damp microfiber cloth to remove any lingering dust or debris. For kitchens or bathrooms, we might use a degreaser or TSP (Tri-Sodium Phosphate) to cut through grease or grime, as paint won’t adhere well to dirty surfaces. If you have mildew in a bathroom, make sure to kill it first with a proper cleaner before painting.
- Lead Paint Safety: If your house was built before 1977, we recommend testing the existing paint for lead. If lead is present, please ensure you take proper safety precautions or consider hiring a professional.
- Taping Techniques: Once the walls are clean and dry, apply painter’s tape to any areas you don’t want painted, such as trim, window frames, and the edges of the ceiling if you’re not painting it. Wipe the trim and ceiling edges with a clean, dry cloth before taping, as tape sticks better to dust-free surfaces. Use long strips of tape and never stretch it, as stretching can prevent it from sticking properly. After placing the tape, burnish it firmly with your finger or a putty knife. This removes air bubbles and creates a tight seal, preventing paint from seeping underneath.
For a more in-depth look at this critical phase, check out our guide on How To Prepare A House For Painting.
The Correct Order for Painting the Room
Following the correct sequence is the secret to a clean, professional-looking paint job without the frustration of drips and rework; always work from the top down. This “top-to-bottom” approach is the “gold standard” for professional painters, and for good reason!
Step 1: Always Paint the Ceiling First
We always start with the ceiling. Why? It’s simple: gravity is your friend.

When painting the room, if you paint the ceiling first, any drips or splatters that fall will land on unpainted walls or trim, which are easier to clean or will simply be covered by subsequent coats of paint. This saves a lot of rework and frustration. Imagine painting your beautiful new walls only to have ceiling paint drip all over them!
For ceilings, we typically use a flat or matte finish. These finishes absorb light and are excellent at hiding minor imperfections, which ceilings often have. We’ve found that specialized ceiling paint is also formulated to be thicker, making it less prone to dripping.
When cutting in the ceiling line, especially if you have textured ceilings (like popcorn ceilings), a neat trick is to run a flathead screwdriver along the edge where the ceiling meets the wall. This creates a small groove that helps guide your brush and prevents paint from getting on the ceiling. Then, use your angled sash brush to paint a 2-3 inch band around the perimeter before filling in the main area with your roller and extension pole.
Step 2: Tackle the Walls Next
Once the ceiling is dry (usually 1-2 hours), it’s time to move on to the walls. This is the main event when painting the room!
When to use primer: While many paints today are “paint and primer in one,” we often recommend a separate primer in specific situations:
- If you have new, unpainted drywall or extensive patched areas.
- If you’re making a drastic color change (e.g., dark to light).
- If you’re changing the paint sheen significantly.
- For painting furniture or cabinets, primer is almost always a must for proper adhesion and durability.
Primer helps the topcoat adhere better, provides a uniform base, and can block stains.
Cutting in corners and edges: Using your angled sash brush, carefully paint a 2-3 inch wide band along the top (where it meets the ceiling), bottom (where it meets the baseboards), and sides (where it meets other walls or trim) of each wall. This creates a border for your roller.
Rolling technique: For the main wall areas, we use a roller with an extension pole. Load your roller by dipping it about 1/2 inch into the paint bucket and rolling it up and down the screen. Avoid submerging the roller completely, as paint can get trapped in the frame and lead to splatters. Apply paint to the wall using a ‘W’ or ‘V’ pattern, working in 2-3 foot sections. Once the ‘W’ is on the wall, fill in the empty spaces with smooth, overlapping up-and-down strokes. The key is to maintain a wet edge—always roll into the previously painted, still-wet section. This prevents unsightly lap marks and ensures even coverage. Don’t press too hard; let the roller do the work. If you have to press hard, it means your roller needs more paint.
How many coats of paint? We typically apply at least two coats of paint for full, even coverage and to achieve the true depth of your chosen color. For new drywall or when painting over very dark colors, three coats might be necessary.
Allowing proper dry time: Always check the paint can for specific instructions, but generally, allow 1-2 hours for the first coat to dry before applying the second. If you’re working in a large room, by the time you finish the last wall, the first wall might be ready for its second coat!
For all your wall painting needs, our Interior Painting Services are designed to deliver stunning results.
Step 3: Finish with Trim, Doors, and Windows
The trim is the last element we paint in a room. This is another strategic choice when painting the room.
Why trim is painted last: It’s much easier to apply painter’s tape along a freshly painted, dry wall to protect it while painting the trim, than it is to tape off unpainted trim from the walls. Painting trim last also minimizes the risk of bumping or damaging your trim while you’re focused on rolling the walls. Plus, trim often uses a different, glossier paint, and any drips from walls onto trim are much easier to clean up if the trim hasn’t been painted yet.
For trim, doors, and windows, we almost always use a durable semi-gloss or gloss paint. These finishes are highly resistant to scuffs and easy to clean, which is essential for high-traffic areas like baseboards and door frames.
Painting baseboards, window frames, door frames, and crown molding: After your walls are completely dry (we usually wait 24-48 hours to be safe), carefully apply painter’s tape along the wall where it meets the trim. Press down firmly to create a tight seal. Use your angled sash brush for detailed work and a small 4-inch roller for wider, flat sections of trim. Apply paint using long, steady strokes, working with the grain of the wood. For doors and windows, paint recessed panels first, then horizontal sections, and finally vertical sections. Allow each coat to dry thoroughly before applying the next.
Pro Techniques for a Smooth, Professional Finish
Mastering a few key techniques will lift your project from a simple DIY job to a finish that looks like it was done by a seasoned pro.
The Best Way to Cut In Edges and Corners
Cutting in is an art form, and it’s essential for achieving crisp, clean lines when painting the room.
- Use a Quality Angled Sash Brush: This is non-negotiable. A good brush holds more paint and gives you better control. We use brushes that glide smoothly and hold their shape.
- Load the Brush Correctly: Dip about one-third to half of the bristles into the paint. Tap off excess paint on the side of the can; avoid wiping it entirely, as this can remove too much paint and create streaks.
- Create a Steady, Clean Line: Hold the brush like a pencil. Start a few inches away from the edge you’re cutting in, then slowly guide the bristles towards the line, letting them fan out slightly. Use consistent, light pressure. As you get closer, maintain a steady hand and pull the brush along the edge in a smooth motion.
- Feather the Edge to Blend: After you’ve created your clean line, use the brush to gently “feather” the paint away from the edge, blending it slightly into the area where your roller will go. This prevents a thick, visible paint line and ensures a seamless transition with the rolled paint.
For those challenging spots where a brush feels too cumbersome, we sometimes opt for a mini roller to get into tight areas, which helps avoid visible brush strokes.
Common Mistakes to Avoid When painting the room
Even experienced DIYers can fall into these traps. Here are some of the most common pitfalls we help our clients avoid:
- Skipping Preparation: As we’ve emphasized, this is the number one mistake. Unclean, unsanded, or unpatched walls will lead to a bumpy, peeling, and unprofessional finish. Take the time to prep!
- Using Cheap Brushes and Rollers: Inferior tools shed bristles, leave lint, and don’t hold or apply paint effectively, resulting in streaks and uneven coverage. Invest in good quality; they’ll last longer and give you far better results.
- Overloading the Roller with Paint: Too much paint on the roller leads to drips, splatters, and a thick, uneven coat. Load your roller properly by using a paint screen in your bucket.
- Not Maintaining a Wet Edge (Lap Marks): If you let a section of paint dry before rolling into it, you’ll end up with visible lines where the paint overlaps. This is why working in sections and maintaining a wet edge is crucial.
- Removing Painter’s Tape Too Late: If paint dries onto the tape, it can peel off chunks of your fresh paint when removed. Remove tape while the final coat is still wet, or score the edge with a utility knife if it’s dry.
- Not “Boxing” Paint for Color Consistency: If you have multiple cans of the same color, especially if they were mixed at different times, there can be slight variations. Professionals “box” their paint by pouring all cans into a larger bucket and mixing them together before starting. This ensures a perfectly uniform color across the entire room.
Cleanup and Curing
You’ve done the hard work of painting the room; now it’s time for the final touches!
- Cleaning Brushes and Rollers: For latex (water-based) paint, rinse your brushes and roller frames under warm water until the water runs clear. Use a paint brush cleaner and some mild dish soap for brushes to ensure all paint is removed. We typically discard roller covers, as they’re inexpensive and difficult to clean thoroughly enough for reuse without affecting future paint jobs.
- Storing Leftover Paint: Strain any leftover paint back into its original can using a paint strainer. This removes any debris. Close the can tightly, label it with the room and date, and store it in a cool, dry place away from extreme temperatures. Some pros even store cans upside down to create a tighter seal.
- Proper Paint Disposal: Never pour paint down the drain. Check with your local waste management services in Lombard, Wheaton, Lemont, Downers Grove, Carol Stream, La Grange, Lockport, Plainfield, Addison, Elmhurst, Glenview, Wilmette, Woodridge, Chicago, or Schaumburg, IL for proper disposal methods for dried paint or hazardous waste.
- Understanding Paint Curing Time: While paint may feel dry to the touch in a few hours, it takes much longer to fully cure and harden. Latex paint can take up to 30 days to reach its full durability. During this time, the paint is more vulnerable to damage.
- When It’s Safe to Clean Walls: We advise waiting until the paint is fully cured (about a month) before doing any harsh cleaning. Until then, gently wipe away any smudges with a damp cloth.
- Reattaching Hardware: Wait at least 24 hours after your final coat before reattaching outlet covers, light switch plates, or hanging pictures. This prevents them from sticking to or marring your fresh paint.
Frequently Asked Questions About painting the room
How many coats of paint are typically needed?
We generally recommend at least two coats of paint for optimal coverage and to achieve the true, rich color you’ve chosen. While some “paint and primer in one” products claim one-coat coverage, we’ve found that two coats almost always provide a more even, durable, and professional finish. If you’re covering a very dark color with a light one, or if you’re painting new, unprimed drywall, three coats or a dedicated primer plus two coats of paint might be necessary.
How long does it take to paint a room?
For an average-sized room, you should plan for 2 to 3 days. This timeline accounts for:
- Day 1: Preparation. This includes moving furniture, cleaning, patching, sanding, and taping. This phase is critical and can easily take a full day.
- Day 2: Painting. Applying the first coat, allowing for drying time (1-2 hours), and then applying the second coat. If the room is large, you might be able to start the second coat on the first wall shortly after finishing the last, but smaller rooms will require waiting.
- Day 3: Final touches and cleanup. Removing tape, cleaning tools, and allowing the paint to cure further before moving furniture back.
Trying to rush the process often leads to mistakes and a less-than-satisfactory finish.
When should I remove painter’s tape?
This is a critical detail for achieving crisp lines! We recommend removing painter’s tape while the final coat of paint is still wet to the touch. This allows the paint to separate cleanly from the tape, preventing it from drying and bonding with the tape, which can cause peeling or jagged edges. Pull the tape off slowly, at a 45-degree angle, pulling it back over itself. If the paint has dried, lightly score the edge of the tape with a utility knife before pulling. This breaks the paint film and helps ensure a clean line.
Conclusion: Enjoy Your Freshly Painted Space
Painting the room is a rewarding project that can dramatically refresh your home’s interior. By following these “idiot-proof” steps, focusing on thorough preparation, using the correct painting order (ceiling, then walls, then trim), and employing pro techniques, you can achieve a smooth, professional finish that you’ll be proud of. The satisfaction of changing your space with your own hands is truly immense!
Preparation and proper order are everything. If you’re tackling a large project, have intricate architectural details, or simply prefer to leave the hard work to the experts, our team at T&Z Interior And Exterior Painting is here to help. We deliver quality, stunning results through experienced teams, top-brand materials, and excellent customer service. Whether you’re in Lombard, Wheaton, Lemont, Downers Grove, Carol Stream, La Grange, Lockport, Plainfield, Addison, Elmhurst, Glenview, Wilmette, Woodridge, Chicago, or Schaumburg, IL, we’re ready to bring your vision to life.
For a guaranteed flawless finish without the hassle, consider professional help. Find More info about interior painting services with T&Z Interior And Exterior Painting.