
Home Remodel Painting Services in Lombard, IL
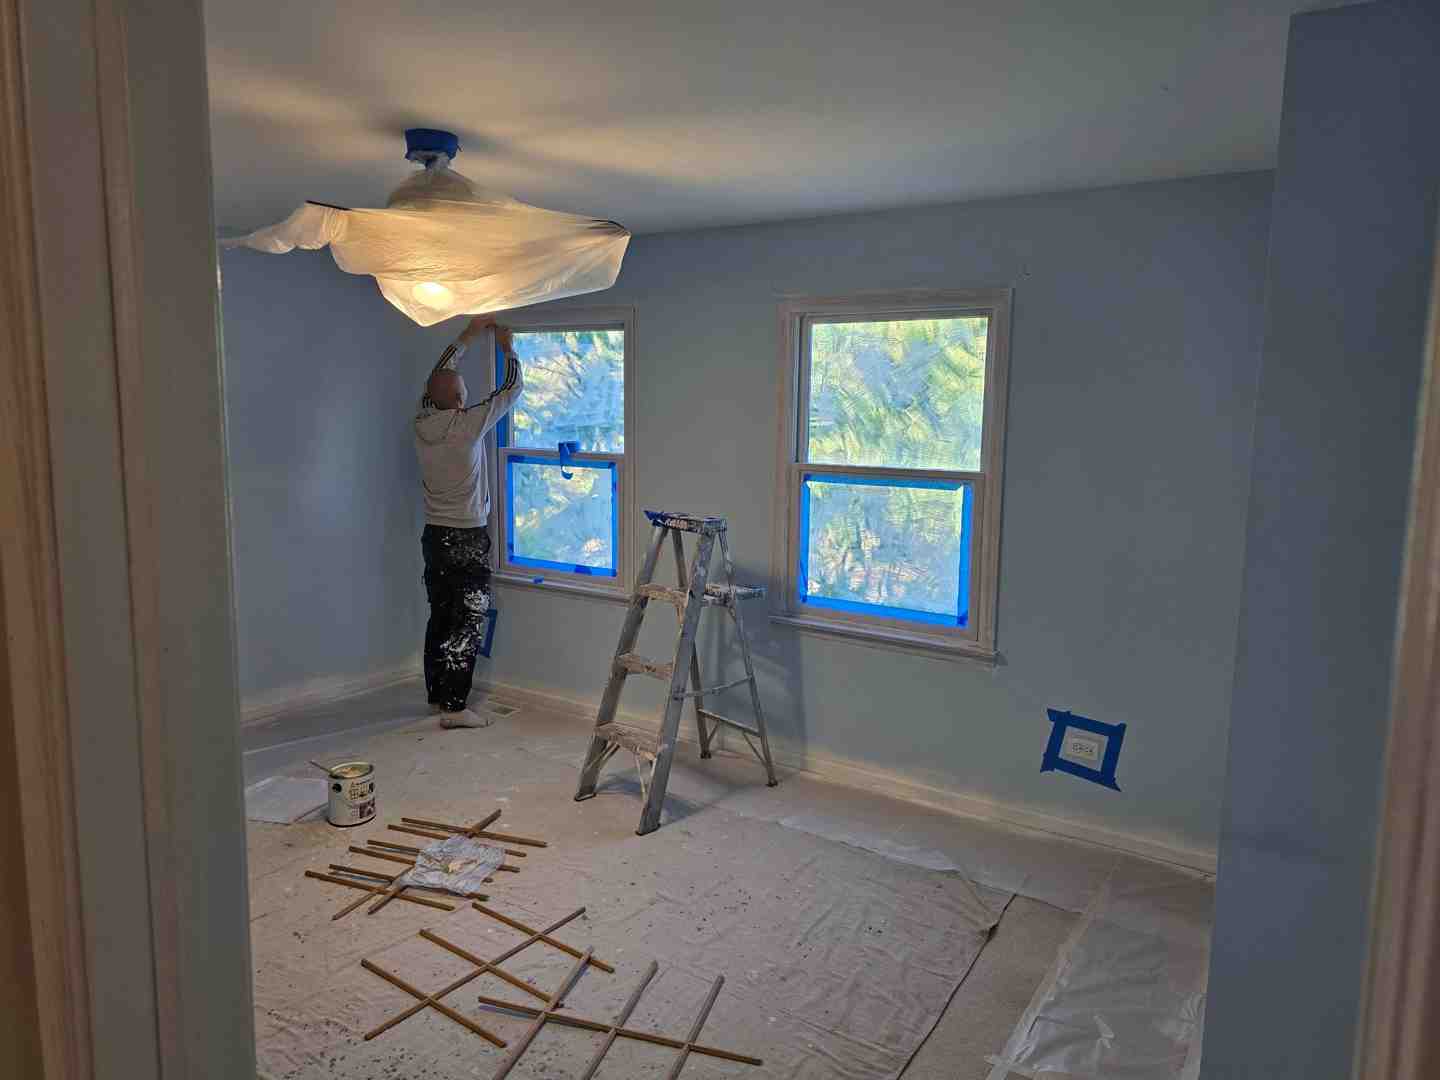
Every home remodel in Lombard ends the same way. The drywall is up, the trim is installed, the new floors are waiting — and the whole project looks unfinished until the paint goes on. Home Remodel Painting Services in Lombard is what T&Z Interior and Exterior Painting does at this stage — and does it correctly. We handle remodel painting for post-renovation rooms, kitchen and bathroom remodels, addition interiors, new construction finishes, and whole-home refreshes after major work. Call us for a free on-site estimate. Remodel paint slots during peak season fill weeks ahead — the earlier you contact us, the better your scheduling window. We’re a licensed Painter with 15+ years of experience, and we coordinate with your other trades, prep new surfaces the right way, and deliver finish quality that completes the renovation rather than undermining it.
Why Hiring a Painter for Your Lombard Home Remodel Produces Better Results Than DIY
The real cost of DIY remodel painting:
The direct costs — brushes, rollers, trays, tape, drop cloths, primer, and paint — add up faster than most homeowners expect. For a full interior remodel with new drywall, multiple rooms, and fresh trim throughout, the material investment alone approaches what a professional painter charges for a portion of the labor. And that’s before accounting for the time.
Time is the larger factor. Properly priming new drywall, skim-coating and sanding tape joints, caulking all the new trim joints, cutting in cleanly at ceiling lines and floor transitions, and applying two topcoats across multiple rooms is several days of work for an experienced painter. For a homeowner doing it for the first time on new construction surfaces, it’s longer — and the quality of the first attempt on new drywall and fresh trim is rarely what the surrounding renovation deserves.
What the paint phase determines:
The paint is the last thing applied and the first thing every person who walks into the finished home sees. A kitchen renovation with new cabinets, new countertops, new flooring, and improperly painted walls — visible brush marks on the trim, flashing on the new drywall, gaps between trim and wall that weren’t caulked — looks like a renovation that ran out of money before it finished. The quality of the paint phase is the quality impression the entire renovation leaves.
What a professional remodel painter delivers:
Correct prep on new drywall. Clean cut lines against new trim and fresh flooring. Finish quality that matches the investment in the renovation around it. Scheduling that fits the renovation sequence without creating delays for other trades. And a final walkthrough that confirms every surface is right before the project is called complete.
Lombard homeowners completing kitchen, bathroom, and addition renovations typically invest $30,000 to $100,000 or more in the project. The paint phase is 5 to 10 percent of that investment. It’s also what the finished renovation looks like when it’s done.
When to Bring a Painter Into Your Lombard Remodel — and Why Timing Matters
The correct position for interior remodel painting:
Paint goes on after drywall and major construction are complete and before flooring is installed. This sequence matters for practical reasons that aren’t obvious until they’re violated.
Painting before flooring means walls and ceilings can be painted without protecting finished floors — because there are no finished floors yet. It also means wall paint can run slightly past the bottom edge of the drywall into the area the baseboard will cover, eliminating the need for a precise tape line at the floor. When flooring goes in after painting, the baseboard trim covers any paint at the floor edge cleanly.
Walls and ceilings are painted before trim and doors for the same reason — overspray and drips from rolling walls fall onto floors and trim that haven’t been painted yet, so there’s nothing to protect or redo. Trim is painted last, after flooring is installed, because trim paint applied against a finished floor gives the cleanest possible result at that transition.
When to contact T&Z for a Lombard remodel project:
Early. Not when the drywall is up and the GC is asking when the painter is arriving. The practical advice is to schedule the painter before the renovation starts — confirm the date range, hold the slot, and adjust as the project timeline develops. Remodel paint slots during Lombard’s spring and summer peak fill weeks out. A painter who is already committed to your project timeline is far easier to work with than one you’re calling when you need them tomorrow.
For exterior remodel phases:
Addition exteriors, new siding, and exterior finish work follow the same seasonal rules as any Lombard exterior painting. The viable window is late April through September. Early October is workable with close forecast monitoring — night temperatures dropping below 50°F in late October stop paint cure mid-cycle and produce a failed bond. Exterior remodel phases that can’t be completed before mid-October should be held for spring rather than pushed into marginal conditions.
Lombard renovation projects in Yorkshire Woods and Summit at Yorktown frequently include additions with exterior finish requirements. T&Z coordinates with GCs on these projects to fit the exterior paint phase into the renovation calendar within the viable weather window — not as an afterthought when the addition is framed in October.
What New Drywall and Fresh Remodel Surfaces Need Before Paint Goes On
New drywall — the most critical prep step:
New drywall must be primed with a drywall-specific primer before any finish coat is applied. This is not optional and it is not something that an extra coat of finish paint compensates for.
Here’s why. New drywall has two very different surface types within inches of each other: the paper face of the drywall board, which absorbs paint at one rate, and the joint compound covering tape seams, corner bead, and fastener dimples, which absorbs paint at a completely different rate. Without primer, these two surfaces accept topcoat differently — the paper areas absorb one amount of sheen and the compound areas absorb a different amount. The result is called flashing — patches of different sheen across the wall surface that are visible from across the room in any raking light and that no amount of additional topcoat corrects once it’s set.
A drywall primer — applied as a full coat over the entire new surface — seals both paper and compound uniformly before topcoat goes on. It creates a consistent absorption base so the finish coat behaves the same across the full wall surface. Skipping it is the single most common mistake in new construction paint work.
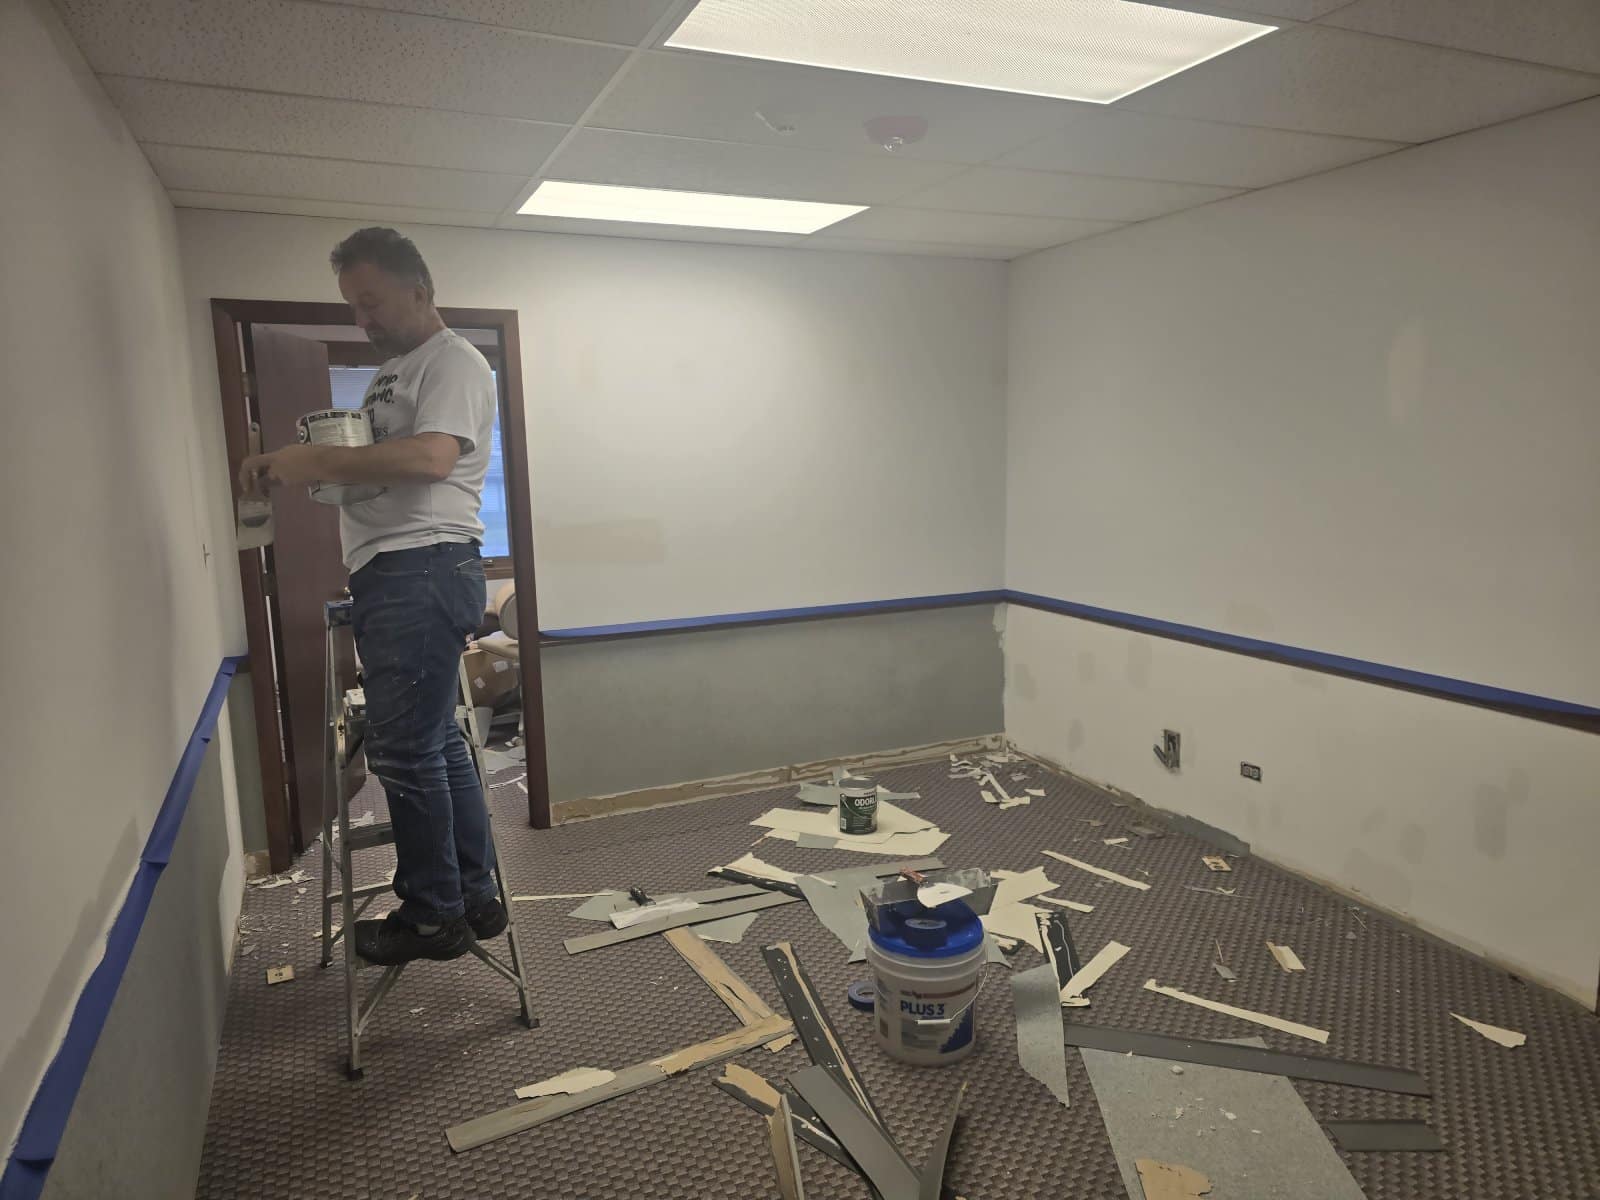
Skim-coating and sanding:
Tape joints, corner bead edges, and fastener dimples in new drywall need to be skim-coated, feathered out, and sanded smooth before primer. These areas are raised or recessed relative to the surrounding drywall face. If they aren’t sanded flush, they read as shadows and ridges under paint — visible especially in raking light from windows. On a remodel with new drywall in multiple rooms, this prep phase takes significant time and cannot be rushed without the imperfections showing through.
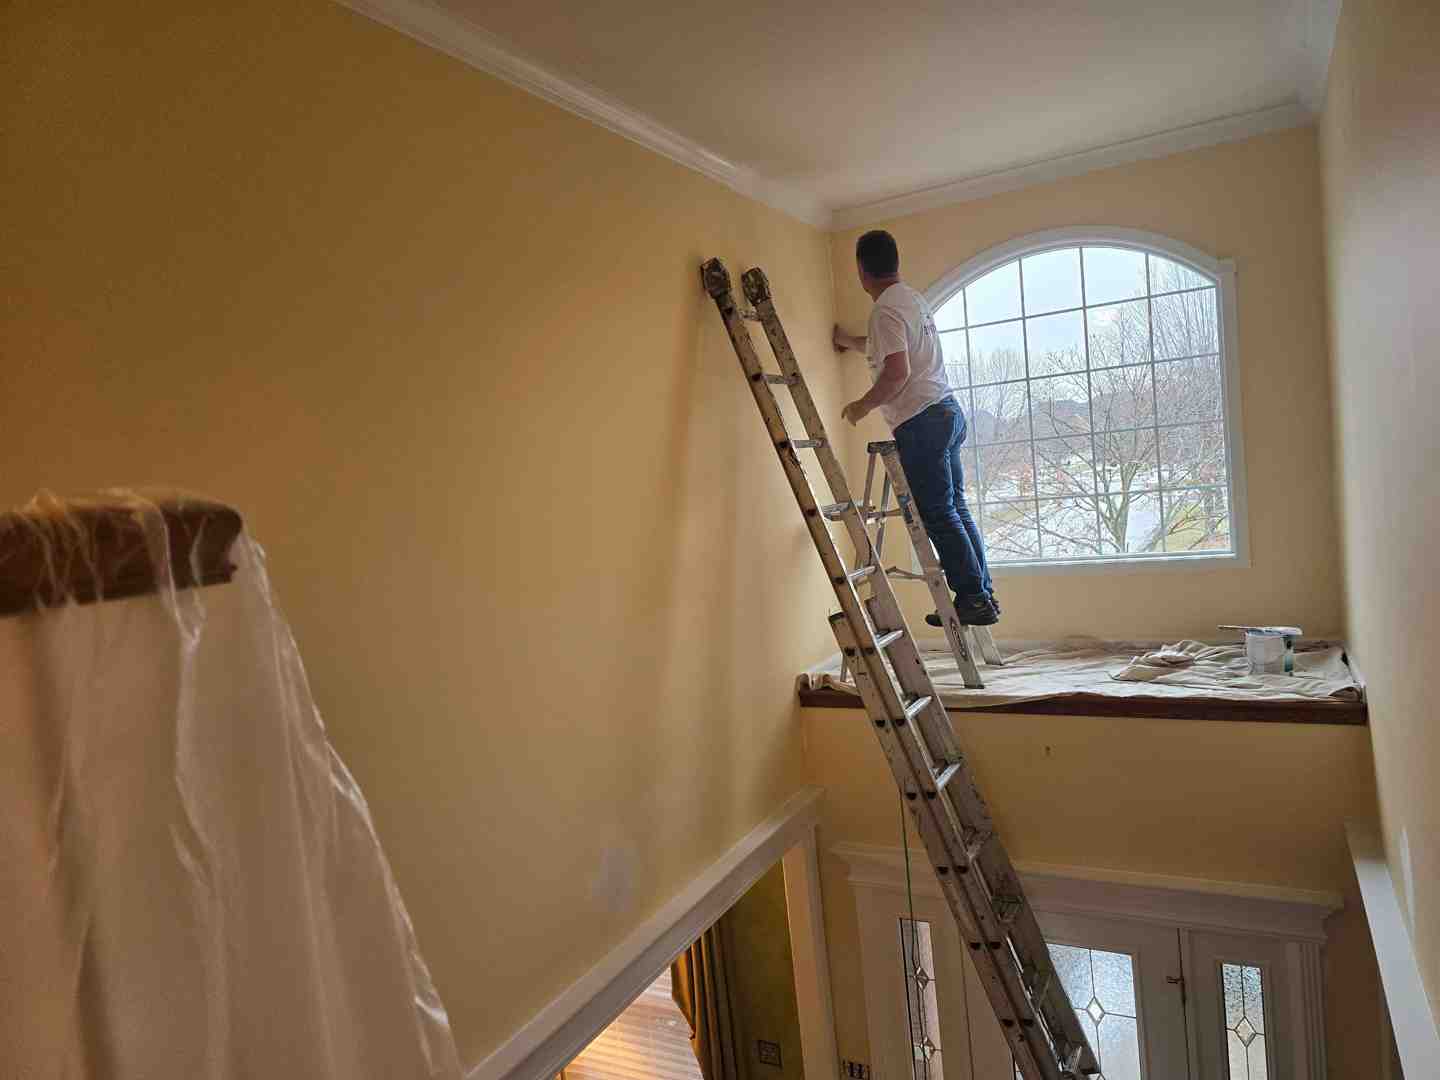
New wood trim:
Factory-milled trim comes with a mill glaze on the surface — a smooth, slightly waxy layer from the manufacturing process. Paint applied directly to mill glaze doesn’t bond properly. New trim must be lightly sanded to break the glaze, primed, and caulked at all joints before topcoat goes on. The caulking step is the one most often skipped — the gap between new trim and the painted wall reads as unfinished and is immediately visible against a clean paint surface.
Mixing new and existing surfaces:
Lombard additions and gut-renovated spaces frequently involve new drywall in some areas and existing painted walls in adjacent areas. Getting these two surfaces to read as one continuous wall requires skim-coating the transition zones and applying a uniform primer coat that levels the absorption difference between fresh drywall compound and existing paint. Without this step, the new and old sections of the wall have slightly different sheen levels even under the same topcoat — visible as a subtle line at the transition that no amount of repainting corrects without going back to the skim-coat stage.
How Much Paint a Lombard Home Remodel Actually Needs — and How Pros Plan It
Floor area vs. wall area:
A 2,000 square foot home has 2,000 square feet of floor. It does not have 2,000 square feet of paintable wall surface. Wall area is calculated from the wall height multiplied by the room perimeter, minus the area of doors and windows.
A simple example: a 20 by 20 foot room with 9-foot ceilings has a perimeter of 80 linear feet. Multiplied by 9-foot wall height, that’s 720 square feet of wall surface before subtracting doors and windows. The floor area of that room is 400 square feet. The paintable wall surface is nearly twice the floor area — and that’s before adding the ceiling.
For a 2,000 square foot home with 9-foot ceilings throughout, actual paintable wall and ceiling surface is typically 3,500 to 5,000 square feet depending on the floor plan, number of rooms, and ceiling configuration. Open plans with fewer walls have less paintable surface per floor square foot than plans with many divided rooms.
Coverage per gallon:
One gallon of standard interior paint covers approximately 350 to 400 square feet of wall surface per coat. Two topcoats plus one primer coat on new drywall means three product applications across the full surface area. At 400 square feet per gallon, 4,000 square feet of paintable surface requires 10 gallons per coat — 30 gallons total for primer plus two topcoats.
That’s the planning-level number. Actual usage varies based on surface texture, application method, and paint product. Heavily textured surfaces absorb more per coat than smooth surfaces. Sprayed application applies thinner coats than rolled, requiring more coats to reach the same film thickness.
Why pros calculate at the estimate:
T&Z calculates exact material quantities at the estimate for every Lombard remodel project. This means the correct products in the correct amounts are on-site on day one — no mid-project runs to the paint store because the material list was based on floor area rather than actual wall surface.
Lombard remodels in Westmore and Maple Knoll frequently involve open-plan living areas with 9 to 10 foot ceilings. These spaces have significantly more wall surface per floor square foot than standard-ceiling rooms, and paint quantities calculated from floor area alone consistently underestimate what the job actually requires.
How T&Z Coordinates Remodel Painting With Contractors, Flooring, and Finish Work in Lombard
Getting the sequence right isn’t complicated — but it requires the painter to understand where they fit in the renovation and communicate actively with the GC and other trades rather than just arriving when called.
The correct trade sequence for interior remodel painting:
- Rough work complete — framing, mechanical, electrical, plumbing all in and inspected
- Drywall hung, taped, finished, and fully dry
- Paint walls and ceilings — primer coat, let dry, topcoats applied
- Flooring installed — hardwood, tile, or LVP goes down onto protected painted walls
- Baseboard and trim installed — against finished walls and floors
- Paint trim and doors — semi-gloss enamel on all trim, cut against finished flooring
- Install fixtures, hardware, and finish elements — last phase, onto cured paint surfaces
This sequence minimizes protection requirements, eliminates redoing work, and produces the cleanest transitions at every surface junction. Each trade works into a space that’s at the right stage for their work — not cleaning up after another trade that went in the wrong order.
How T&Z fits into an active Lombard renovation:
T&Z communicates directly with GCs and other trades on remodel projects — not through the homeowner as a relay. When the drywall crew finishes a phase, T&Z confirms readiness directly before scheduling the paint phase start. When the flooring crew’s timeline shifts, T&Z adjusts the trim painting schedule accordingly. This direct communication eliminates the scheduling gaps and misalignments that create delays on multi-trade renovation projects.
For phased projects — where one section of the home is being renovated while the rest remains occupied — T&Z works zone by zone through the renovation sequence, completing each area fully before moving to the next. This keeps the occupied portions of the home clean and accessible throughout the project.
Lombard kitchen and bathroom remodels involve tile installation, cabinetry delivery, appliance installation, and fixture work from multiple contractors on overlapping schedules. T&Z works around active job sites in these spaces — scheduling paint phases between other trades, confirming surface readiness before committing to each start date, and adjusting on short notice when renovation schedules shift.
The Remodel Paint Mistakes That Undo an Otherwise Great Renovation
Skipping drywall primer.
The most common and most damaging remodel paint mistake. New drywall painted without a drywall primer flashes — areas of different sheen appear across the wall surface where paper and joint compound absorbed the topcoat at different rates. This is a permanent condition. Additional coats of topcoat do not fix it. The only correction is stripping back to bare drywall, applying primer, and repainting from scratch. T&Z applies drywall primer on every new construction surface as a non-negotiable first step.
Wrong painting sequence.
Painting trim before walls means overspray and wall roller splatter land on fresh trim that has to be cleaned before the wall paint can be cut against it. Painting after flooring is installed without proper floor protection means roller drips and cut-in runs land on finished hardwood or tile. Both create rework that costs more time and money than doing the sequence correctly the first time.
Not caulking new trim joints.
New trim installed against a painted wall leaves a visible gap at the junction — a thin line of shadow between the trim face and the wall surface. This gap is closed with paintable caulk, smoothed, and painted over. The result is a seamless transition that reads as professional. Without caulk, the trim looks like it was installed but not finished. This is one of the most visible quality indicators in a renovation and one of the most commonly skipped steps by painters who are moving fast.
Flat paint on new trim.
Remodel trim — baseboards, door casings, window surrounds, and crown molding — requires semi-gloss enamel. It’s a hard, washable surface that resists the daily contact trim receives. Flat paint on trim marks immediately, cannot be cleaned without damage, and begins to look worn within weeks of installation. This is one of the clearest signs of a painter who applied the same product to every surface rather than specifying correctly for each one.
Rushing cure time between trades.
New paint needs to cure before the next trade works in the same space. Flooring adhesive applied over an area where paint was applied the same morning can lift the paint from the surface as the adhesive cures and off-gases. Cabinet hardware installed the morning after painting leaves marks where the installer’s hands touched fresh uncured paint. Fixture installation in a room painted the previous afternoon scuffs and mars a finish that looked perfect when the painter left. Cure time is not dry time — paint that is dry to the touch at four hours may not be fully cured and durable for 24 to 72 hours depending on product, temperature, and humidity.
High-end Lombard renovations in Yorkshire Woods and Summit at Yorktown — where the renovation investment is significant and the quality expectation is high — require every finish trade to perform at the same level. A rushed or under-prepped paint phase is immediately visible in a well-executed renovation and proportionally more damaging to the overall result. The paint is what ties every other trade’s work together. When it’s done correctly, nobody notices it. When it’s done poorly, it’s all anyone sees.
Send Us a Message
FAQ
Is it worth hiring a painter for a Lombard home remodel instead of doing it myself?
Yes for most remodel scopes. New drywall prep, trade coordination, and finish quality on new construction surfaces require experience that DIY painting rarely matches. The paint phase is what the finished renovation looks like — a poor finish makes every dollar spent on the work before it look like less than it was.
When in the renovation should paint be scheduled for a Lombard home remodel?
After drywall and construction are complete, before flooring is installed. Walls and ceilings are painted first. Trim and doors are painted last, after flooring is in. Exterior remodel phases should be scheduled within the late April through September viable weather window — early October is workable, late October is risky.
How many gallons of paint are needed for a 2,000 square foot Lombard home remodel?
Calculate from actual wall surface area — wall height multiplied by room perimeter, minus doors and windows — not floor area. For a 2,000 square foot home with 9-foot ceilings, paintable surface is typically 3,500 to 5,000 square feet. New drywall requires primer plus two finish coats — plan three product applications across the full surface area.
What time of year is best to schedule remodel painting in Lombard?
Interior remodel painting is available year-round — climate-controlled spaces have no seasonal barrier. Exterior remodel phases are best scheduled late April through September. Early October is workable with close forecast monitoring. Contact T&Z early in the renovation process — peak season slots fill weeks ahead of the project date.
Does T&Z coordinate with other contractors during a Lombard home remodel?
Yes. T&Z communicates directly with GCs and other trades, schedules paint phases to fit the renovation sequence, and adjusts timing when project schedules shift. On active multi-trade job sites in Lombard, T&Z confirms surface readiness directly with the GC before committing to each phase start date rather than relying on the homeowner to relay information between trades.