
Here are the main points to remember for a successful house painting project, whether you’re doing it yourself or hiring someone.
Key Takeaways
- Proper surface preparation, including cleaning, scraping, and repairing, is the most important step for a lasting paint job.
- Choosing the right type of paint and finish (sheen) for each area, like kitchens or bathrooms, is vital for durability and appearance.
- Professional painters use specialized tools and techniques to achieve a smooth, uniform finish, especially in hard-to-reach areas.
- Interior painting involves careful attention to walls, ceilings, and trim, while exterior painting protects your home from the elements.
- When hiring professionals, look for licensed, insured, and experienced contractors with good reviews and a clear scope of work.
Mastering Surface Preparation for House Painting
Think of surface preparation as the foundation of your entire painting project. You can buy the most expensive paint and have the steadiest hand, but if you skip the prep work, your paint job is likely to fail. It’s like building a house on sand – it just won’t last. This part of the job might not be the most glamorous, but it’s absolutely where the magic happens for a finish that looks good and stays that way.
The Crucial Role of Surface Cleaning and Inspection
Before you even think about opening a can of paint, you’ve got to get the surfaces clean. Dirt, dust, cobwebs, chalking, and especially mildew or algae are the enemies of good adhesion. If you paint over these things, the new paint has nothing solid to stick to. For exteriors, a good wash down with a pressure washer (on a low setting!) or even a garden hose with a good nozzle can get rid of loose dirt. If you spot any black spots, that’s likely mold or mildew. A solution of three parts water to one part bleach, sprayed on and then rinsed thoroughly, usually does the trick. Make sure everything dries completely before moving on. It’s also the perfect time to really look over the surface. Are there any cracks? Any peeling paint? Any soft spots? Catching these now saves a lot of headaches later.
Essential Scraping and Repair Techniques
Once everything is clean and dry, it’s time to deal with any imperfections. If you have old paint that’s flaking or bubbling, it has to go. You can use a putty knife or a scraper, and for higher areas, a pole scraper makes the job much easier. After scraping, a light sanding helps smooth out the edges where the old paint met the bare surface. This gives the new paint and primer something to grip onto. For any holes, cracks, or gouges, you’ll need to use a good quality filler or caulk. For exterior wood, use an exterior-grade wood filler. For gaps where trim meets walls, caulk is your best friend. Just remember to let all fillers and caulk dry completely before sanding them smooth. If you’re dealing with older homes, especially those built before 1978, be aware of potential lead paint. Always take safety precautions and consult safety data sheets if you suspect lead paint is present.
Understanding Priming and Stabilizing Needs
Primer is not just an optional step; it’s often a necessity. It acts like a bridge between your prepared surface and your topcoat. For bare wood, patched areas, or surfaces that are very porous (like new drywall or stucco), primer is a must. It seals the surface, prevents the topcoat from soaking in unevenly, and helps the paint adhere better. Some surfaces might need a special type of primer. For example, if you have water stains or dark colors you want to cover, a stain-blocking primer is key. Glossy surfaces might need a bonding primer to help the new paint stick. Think of primer as making sure your paint has the best possible surface to stick to, which is a big part of making your paint job last.
Skipping proper surface preparation is the most common reason paint jobs fail prematurely. It’s the unseen work that truly makes a difference in the longevity and appearance of your finish.
Here’s a quick rundown of what to look for:
- Cleaning: Remove all dirt, dust, mildew, and chalking.
- Repair: Scrape loose paint, fill holes and cracks, and caulk gaps.
- Sanding: Smooth repaired areas and lightly scuff glossy surfaces.
- Priming: Apply primer to bare wood, patched areas, and porous surfaces.
Getting these steps right means your paint will adhere better, look smoother, and last much longer. It’s a bit of extra work upfront, but trust me, it’s worth it in the end.
Choosing the Right Paint and Finishes for Your Home
Picking out paint colors is fun, but honestly, the finish you choose is just as important, if not more so. It’s what dictates how the paint holds up to daily life, how easy it is to clean, and how it looks over time. Get the finish wrong, and even the prettiest color can start to look dingy or worn out way too fast.
Expert Color Matching and Sheen Selection
Choosing a color can feel overwhelming with thousands of options. We often start by looking at what you already have – furniture, flooring, even artwork. This helps us find shades that complement your existing decor. Don’t be afraid of color! Even bold hues can work wonders when applied thoughtfully. We can help you explore different palettes, from calming neutrals for living areas to more dramatic tones for accent walls or specific rooms. Remember, a good paint job is an investment, and selecting the right color and finish is key to making that investment last. For help with coordinating colors, consider consulting with an interior decorator.
Understanding Sheen: The Science of Paint Finishes
Paint sheen, or finish, refers to how much light the paint reflects. It’s not just about looks; it’s about performance. The amount of binder (resin) in the paint determines its gloss level. More binder generally means more durability and washability. Here’s a quick rundown:
- Flat/Matte: Hides imperfections really well. Best for ceilings and low-traffic areas like bedrooms. It’s not very washable.
- Eggshell: Has a slight sheen, offering a bit more washability than flat. Good for living rooms, hallways, and kids’ rooms.
- Satin/Low-Lustre: A popular choice, offering a good balance of washability and a forgiving look. It holds up well in kitchens and bathrooms.
- Semi-Gloss: Very durable and easy to clean. It’s a standard for trim, doors, and cabinets because it can withstand a lot of scrubbing.
- High-Gloss: The most reflective and durable finish. It’s often used for trim or furniture where you want a statement look, but it highlights every surface flaw.
The sheen level you choose directly affects how easy your walls are to clean, how well they resist moisture, and how long the paint actually lasts. It’s the workhorse behind the color’s appearance.
Specialty Coatings for Durability
Beyond standard finishes, there are specialty coatings designed for specific needs. For kitchens and bathrooms, moisture-resistant paints are a must. These can handle the steam and splashes without issue. For high-traffic areas like trim and doors, an enamel paint provides a hard, impact-resistant finish that wipes clean easily. We use professional-grade paints and finishes that are known for their coverage, durability, and appearance, ensuring your paint job looks great for years to come. If you’re looking to refresh cabinets, a specialized coating can give them a factory-like finish that stands up to daily wear and tear.
The Professional House Painting Process
From Prep to Perfection: A Disciplined Approach
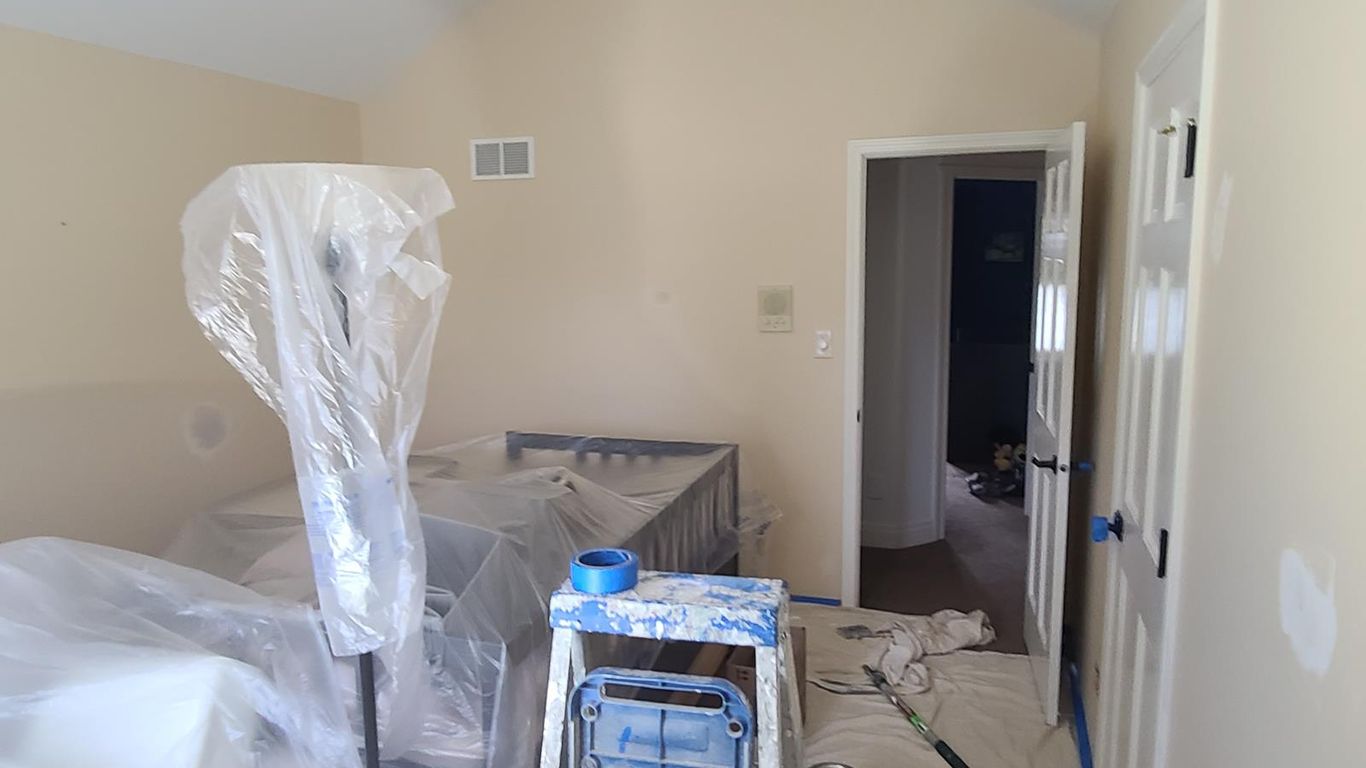
Getting a professional paint job done right isn’t just about slapping paint on walls. It’s a whole process, and honestly, it starts way before the first brushstroke. Think of it like building something solid – you need a good foundation. For painting, that foundation is all about getting the surfaces ready. This means cleaning off dirt, grease, and anything else that might stop the new paint from sticking. Then comes the scraping of any loose, flaky paint, followed by patching up holes or cracks. After that, it’s priming time. Primer acts like a glue, helping the new paint stick better and making sure the color looks even. Skipping any of these steps is a recipe for paint that peels or fades way too soon. It’s the unseen work that really makes a paint job last.
Expert Application Techniques
Once everything is prepped and primed, the actual painting begins. Professionals use a mix of tools and techniques to get the best results. For large areas like walls and ceilings, rolling is usually the way to go. They’ll use specific roller covers depending on the surface texture and the type of paint. For edges and corners, an angled brush is key to getting a clean line. Sometimes, spraying is used, especially for things like cabinets or doors, to get a super smooth, factory-like finish. The trick is to work methodically, always maintaining a "wet edge" – meaning you overlap your strokes while the paint is still wet. This stops those ugly lines where one section of paint dries before the next is applied. It’s all about control and consistency.
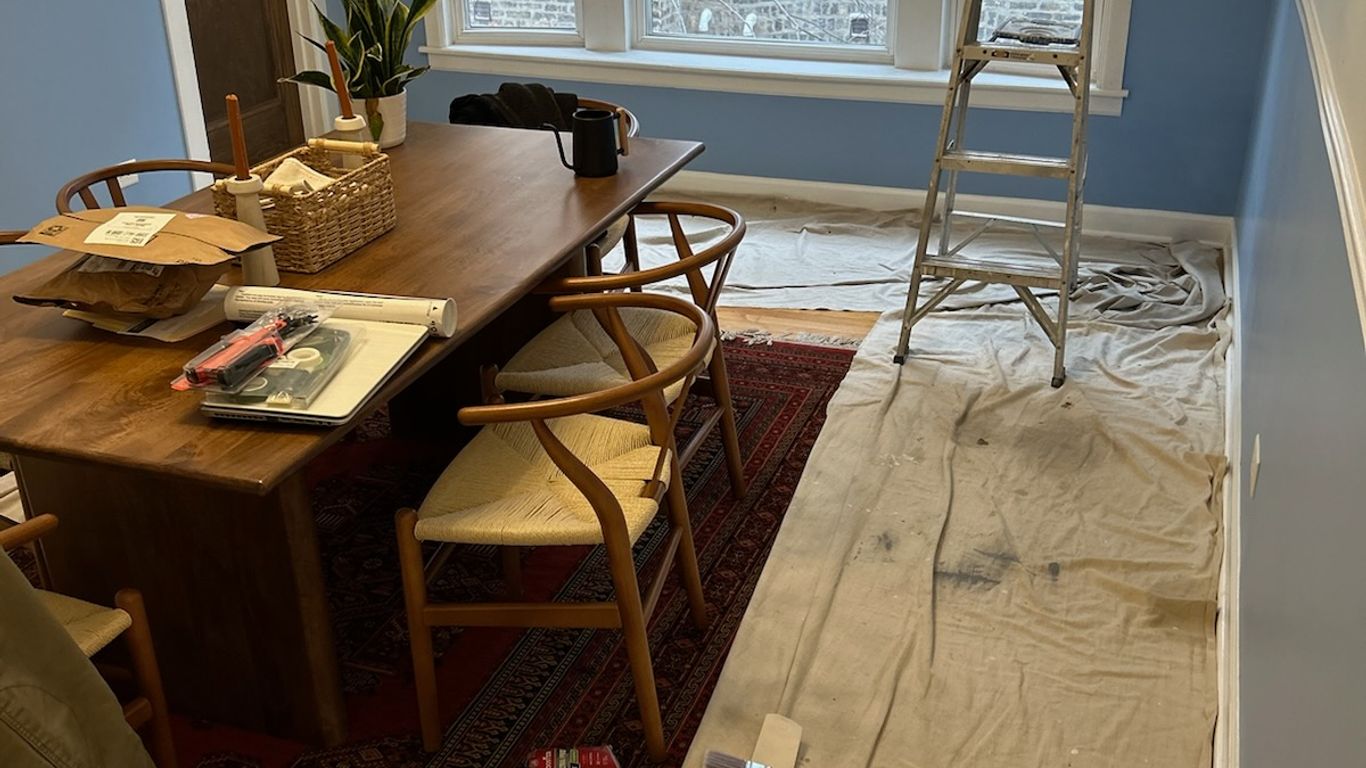
Daily Cleanup and Final Inspection
Part of being a pro is respecting your space. That means cleaning up at the end of each day. Drop cloths are put away, tools are cleaned, and the area is tidied up so you can still live in your home without tripping over paint cans. It makes a big difference. Then, when the final coat is dry, there’s a thorough inspection. This isn’t just a quick glance; it’s checking every corner, every edge, under good light, to make sure everything looks just right. They’ll often do a walk-through with you to make sure you’re happy with how everything turned out. It’s that attention to detail that separates a good job from a great one. If you’re curious about the whole process, you can check out this 10-step painting guide.
A professional paint job is more than just applying color; it’s a systematic process focused on surface integrity and longevity. The preparation phase, often overlooked by DIYers, is where the true value lies, preventing future issues like peeling and fading.
Here’s a quick look at the typical order of operations:
- Surface Preparation: Cleaning, scraping, sanding, and repairing any damage.
- Priming: Applying primer to seal surfaces and improve paint adhesion.
- Application: Using brushes, rollers, or sprayers for even coverage.
- Cleanup: Tidying the workspace daily and thoroughly at the project’s end.
- Inspection: A final review to ensure all standards are met.
This structured approach, combined with the right painting materials, is what guarantees a finish that looks good and lasts for years. Remember to also clear out smaller furniture and decor before the crew arrives to confirm specific responsibilities with your contractor.
Interior House Painting Essentials
When it comes to refreshing your home, interior painting is one of the most impactful changes you can make. It’s not just about slapping on a new color; it’s about transforming the feel of a room, protecting your surfaces, and adding lasting value. Whether you’re tackling a single room or your whole house, getting the details right makes all the difference.
Transforming Interior Spaces: Walls, Ceilings, and Trim
Painting walls, ceilings, and trim might sound straightforward, but there’s a specific order that makes the job go smoother and look better. You always want to start with the ceiling. Why? Because any drips or splatters from rolling the ceiling will land on the walls and trim that you haven’t painted yet. After the ceiling is done and dry, you move on to the walls. This involves cutting in the edges where the wall meets the ceiling and any trim, then rolling the main surface. Finally, you tackle the trim and baseboards. This sequence minimizes the need for touch-ups and ensures clean lines. For trim and doors, using a high-quality enamel paint is a good idea. It’s tougher and can handle the daily wear and tear, like scuffs and bumps, much better than standard wall paint. The right prep work, including patching holes and sanding smooth, is really the most important part of the whole process.
Cabinet Refinishing for a Fresh Look
Replacing kitchen cabinets can cost a fortune and really disrupt your home. Refinishing them is a fantastic alternative that can give you a factory-like finish without the huge expense. The process starts with a really thorough cleaning to get rid of grease and grime, especially in the kitchen. Then comes sanding to create a surface the new paint can stick to. After that, we apply specialized primers and coatings. These aren’t just any paints; they’re designed to hold up against the heat and oils common in kitchens. It’s a detailed job, but the result is cabinets that look brand new and are built to last.
Painting Kitchens: Durability Meets Aesthetics
Kitchens are tough environments for paint. Between the steam from cooking, grease splatters, and constant use, the paint on your kitchen walls and cabinets takes a beating. That’s why choosing the right finish is actually more important than the color itself. For walls, a satin finish is usually a good bet. It offers a nice balance of being easy to clean and resistant to moisture, without showing every little imperfection. For areas that get a lot of direct splash, like right behind the sink or stove, a semi-gloss is even better because it’s super scrubbable and handles grease and steam really well. Cabinets usually benefit from a semi-gloss or even a high-gloss finish because they need to be tough and wipe clean easily. Even the ceiling in a kitchen can benefit from a more durable finish like eggshell or satin, which are easier to clean than a flat paint. It’s all about picking a finish that can handle the daily grind while still looking good.
Remember, even low-VOC paints can have fumes, so it’s a good idea to keep pets in a separate area or even at a friend’s place during the painting process to keep them comfortable and safe.
Exterior House Painting for Curb Appeal and Protection
Giving your home’s outside a fresh coat of paint does more than just make it look good. It’s a shield against the weather, protecting your biggest investment. Think of it as a suit of armor for your house, fending off rain, sun, and whatever else Mother Nature throws at it. A good paint job can really make your place stand out, boosting its curb appeal and making it the envy of the neighborhood. It’s not just about slapping some color on; it’s about proper preparation and using the right materials to make sure that paint job lasts.
Enhancing Curb Appeal with Expert Exterior Painting
First impressions count, right? Your home’s exterior is the very first thing people see, whether it’s a potential buyer or just your neighbors walking by. Choosing the right colors can make a huge difference. Think about the style of your home and the surrounding landscape. A bold color might look great on a modern house, while a softer, more traditional shade might be better for a classic colonial. Don’t forget about the details, like trim and shutters; these can add a nice contrast or complement the main color. Getting this right can really make your house pop. For some great ideas on how to pick those winning colors, check out tips to boost curb appeal.
Siding Protection and Weather Resistance
Your siding takes a beating year-round. Rain, snow, intense sun – it all wears down the material over time. High-quality exterior paint acts as a barrier, keeping moisture out and preventing things like wood rot or masonry erosion. Different siding materials, like vinyl, aluminum, or wood, need specific primers and paints to stick properly and offer the best protection. For instance, wood siding expands and contracts with the weather, so the paint needs to be flexible enough to handle that movement without cracking. A properly painted exterior means less worry about costly repairs down the line.
Best Practices for Exterior Painting Timing
When you decide to paint the outside of your home really matters. You can’t just paint anytime the mood strikes. The ideal conditions are usually mild temperatures, somewhere between 50 and 85 degrees Fahrenheit, with low humidity and no rain in the forecast. Painting in extreme heat or cold can mess with how the paint dries and cures, leading to problems like peeling or bubbling later on. Spring and early autumn are often the sweet spots because the weather is usually more stable. It’s also important to make sure the surface is completely dry before you start. Even a little bit of moisture can cause issues. Planning your painting project around these ideal weather windows is key to a long-lasting, beautiful finish. If you’re looking for a professional touch, consider hiring exterior painting services to ensure the job is done right, no matter the season.
Specialized House Painting Techniques and Solutions
High-Ceiling Execution and Difficult Areas
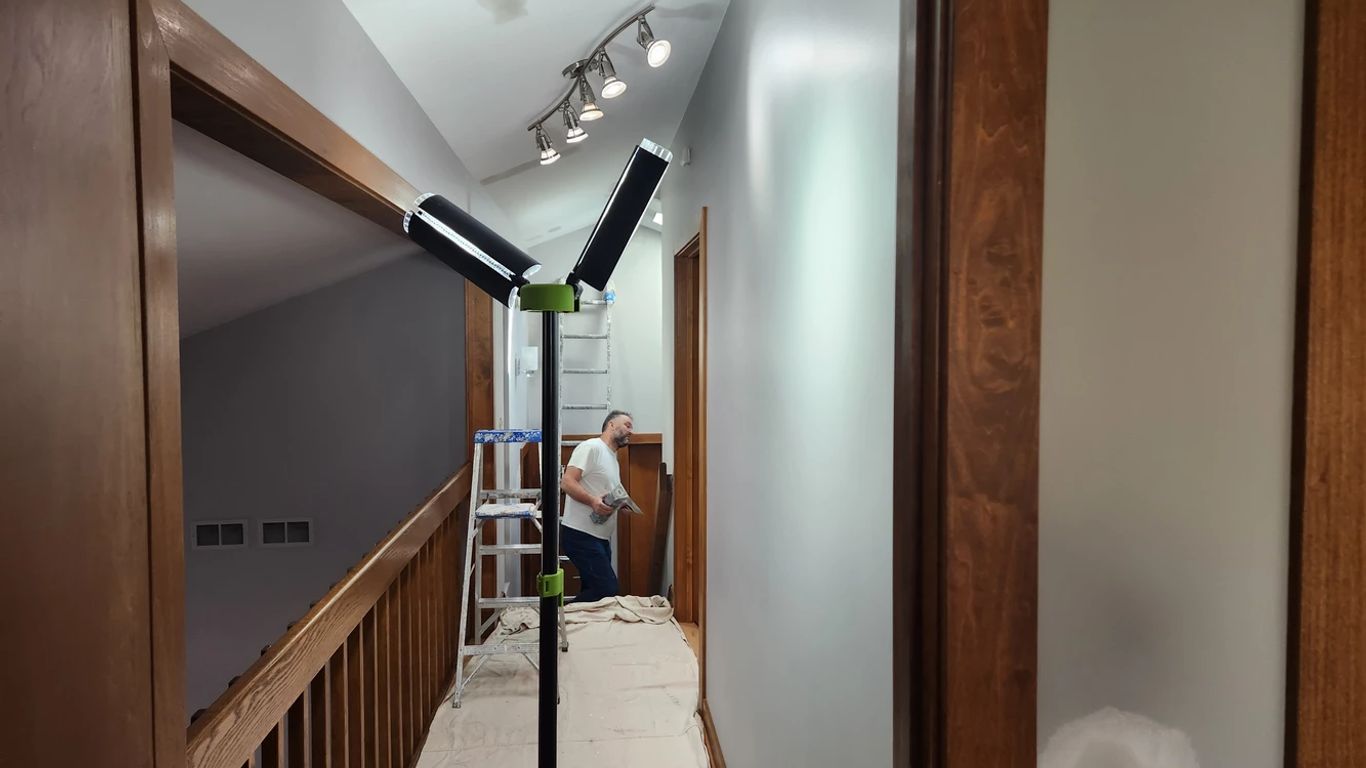
Painting high ceilings or tricky spots like stairwells can be a real pain. It’s not just about reaching; it’s about doing it safely and getting a smooth finish. Professionals use special tools like long extension poles with adjustable heads to get those awkward angles without risking a fall. They also know how to manage paint flow so you don’t end up with drips all over your nice walls. It takes practice, but getting it right makes a huge difference in how polished the whole room looks. For those really tall foyers or vaulted ceilings, it’s often best to leave it to the pros who have the right equipment and know-how.
Textured Finishes and Drywall Repair
Sometimes, walls aren’t perfectly smooth. Maybe they have a texture from a previous paint job, or perhaps there are holes from hanging pictures or settling cracks. Fixing drywall properly is key before you even think about painting. This means patching, sanding until it’s smooth, and then priming the repaired spots so they blend in. If you’re going for a textured look, like an orange peel or knockdown finish, that’s a whole other skill set. It involves special sprayers and a careful hand to get it looking even and consistent. Trying to match an existing texture can be tough, but a good painter can usually make those repairs disappear.
Addressing Small House Painting Challenges
Don’t think painting has to be a massive overhaul. Sometimes, just tackling a few specific areas can make a big impact. Think about painting kitchen cabinets – it’s a popular way to update the heart of your home without the cost of new ones. Or maybe it’s just refreshing trim and baseboards that have seen better days. Even painting a single accent wall in a bold color can change the whole feel of a room. These smaller jobs require the same attention to detail, especially when it comes to prep work and using the right paint for the job, like a durable enamel for trim that gets bumped a lot. It’s amazing what a fresh coat on a garage door can do for curb appeal too.
Choosing the Right House Painting Professionals
Essential Criteria for Selecting Local Experts
Finding a good painting contractor can feel like a treasure hunt. Not all painters are created equal, and the difference between a pro and someone just slapping paint on can be huge. When you’re looking for someone to trust with your home, keep a few things in mind. First and foremost, check their credentials and insurance. This isn’t just a formality; it protects you. A licensed and insured company means they’re legitimate and have coverage if something goes wrong on your property. It’s a big deal.
Here’s a quick checklist to help you sort through the options:
- Licensing and Insurance: Make sure they have general liability insurance and workers’ compensation. This is non-negotiable.
- Experience and Reputation: Look for a company with a solid history. How long have they been in business? What do online reviews say? A good reputation usually means they do good work.
- Portfolio Review: Ask to see examples of their past projects. Does their work look clean? Are the lines sharp? This gives you a visual idea of their quality.
- References: Don’t be shy about asking for references from recent clients, especially those in your area. A quick call can tell you a lot.
- Written Contracts: Always get a detailed written contract that outlines the scope of work, materials to be used, timeline, and payment schedule. No handshake deals!
A truly great paint job is mostly about preparation, not the painting itself. Skipping steps like proper surface cleaning, priming, and repair work leads to peeling, bubbling, and uneven finishes — often within a year or two. That’s the DIY trap.
Why Hiring Professionals Makes a Difference
So, why bother with professionals when you could grab a brush yourself? Well, a professional painter brings more than just a steady hand. They have the right tools, like specialized sprayers for smooth finishes and scaffolding for high areas, which most homeowners don’t own. They also know how to prep surfaces properly – that means sanding, patching, and priming – which is the secret sauce to a paint job that lasts. Without this prep, paint can bubble or peel way sooner than you’d expect. Plus, they work efficiently. What might take you a whole weekend, or even longer, they can often complete in a fraction of the time, minimizing disruption to your life. If you’re looking to refresh your home’s look, consider interior painting services for a professional touch.
Understanding Professional Painting Terms
Sometimes, talking to painters can feel like learning a new language. Here are a few terms you might hear:
- Prep Work: This covers all the cleaning, scraping, sanding, caulking, and priming needed before paint hits the wall. It’s the most important part for a lasting finish.
- Sheen: This refers to how shiny the paint is – think matte, eggshell, satin, semi-gloss, and gloss. Each has its own look and durability.
- VOCs (Volatile Organic Compounds): These are chemicals found in some paints. Low-VOC or zero-VOC paints are better for air quality.
- Cut In: This is the technique painters use to paint along edges, like where a wall meets the ceiling or trim, using a brush for a clean line.
- Wet Edge: When painting, maintaining a
Picking the right people to paint your home is a big deal. You want someone who knows what they’re doing and will make your house look great. Don’t just pick the first name you see; do a little homework! Look for painters with good reviews and a solid history of happy customers. This will help ensure your project turns out just the way you imagined. Ready to find the perfect team for your painting needs? Visit our website today to learn more and get a free quote!
Conclusion
So, there you have it. House painting is more than just slapping some color on the walls. It’s a process that, when done right, makes your home look great and protects it from the weather. From making sure the surface is clean and smooth to picking the right paint and using good techniques, every step matters. Whether you decide to tackle it yourself or hire pros, remember that good preparation is key to a finish that lasts. A well-painted home is a happy home, so go ahead and give yours the makeover it deserves!
Frequently Asked Questions
How often should I repaint the outside of my house?
Most houses need a new coat of paint every 5 to 10 years. It really depends on the material, though. Wood siding might need it sooner, maybe every 3 to 7 years, because it moves with the weather. Brick can last longer, sometimes 8 to 17 years if painted well. If you start seeing paint peeling or fading, it’s probably time for a refresh.
What’s the best way to prepare walls before painting?
You’ve got to clean them first! Wash off any dirt, grease, or grime. Then, fill any holes or cracks with putty and sand them smooth. If the old paint is glossy, give it a light sanding so the new paint sticks better. Priming is also a good idea, especially if you’re painting over a dark color or have repaired spots.
Does the type of paint finish (sheen) really matter?
Yes, it matters a lot! A flat finish hides bumps well but is hard to clean. Eggshell or satin finishes have a little shine and can be wiped down, making them good for living rooms or kids’ rooms. Semi-gloss is tough and great for kitchens and bathrooms because it resists moisture and is easy to clean. It’s all about balancing looks with how much wear and tear the surface gets.
Can I paint my house in cold weather?
It’s best not to paint exterior surfaces when it’s too cold, usually below 50 degrees Fahrenheit (10 degrees Celsius). Cold temperatures slow down how the paint dries and hardens, which can lead to problems like peeling or cracking later on. Always check the paint can for the recommended temperature range.
What’s the difference between primer and paint?
Think of primer as a base layer. It helps the paint stick better to the surface, covers up stains, and makes sure the final color looks even. Paint is the color coat that you see. You usually need primer on new drywall, bare wood, or when you’re making a big color change.
Why is surface preparation so important for house painting?
It’s like building a house – you need a solid foundation. If you paint over dirt, dust, or peeling paint, the new paint won’t stick properly. This means it might start to chip, bubble, or peel off way sooner than it should. Good prep work, like cleaning and fixing surfaces, makes sure the paint job looks great and lasts for years.