
Open up Your Kitchen’s Potential with Wood Cupboard Paint
Thinking about updating your kitchen? Painting your wood cupboards can transform your space without a costly renovation.
Here are the best types of wood cupboard paint to consider for durability and a great finish:
- Hybrid Alkyd Enamel: These paints offer the best of both worlds, with easy water-based cleanup and the hard, durable finish of oil-based paints. They are increasingly popular for cabinets.
- Water-Based Urethane Trim Enamel: Known for excellent durability, washability, and a smooth finish.
- Acrylic Paint (with topcoat): Some acrylics, like milk paint, adhere well, but often needs a clear, water-based topcoat for kitchen use.
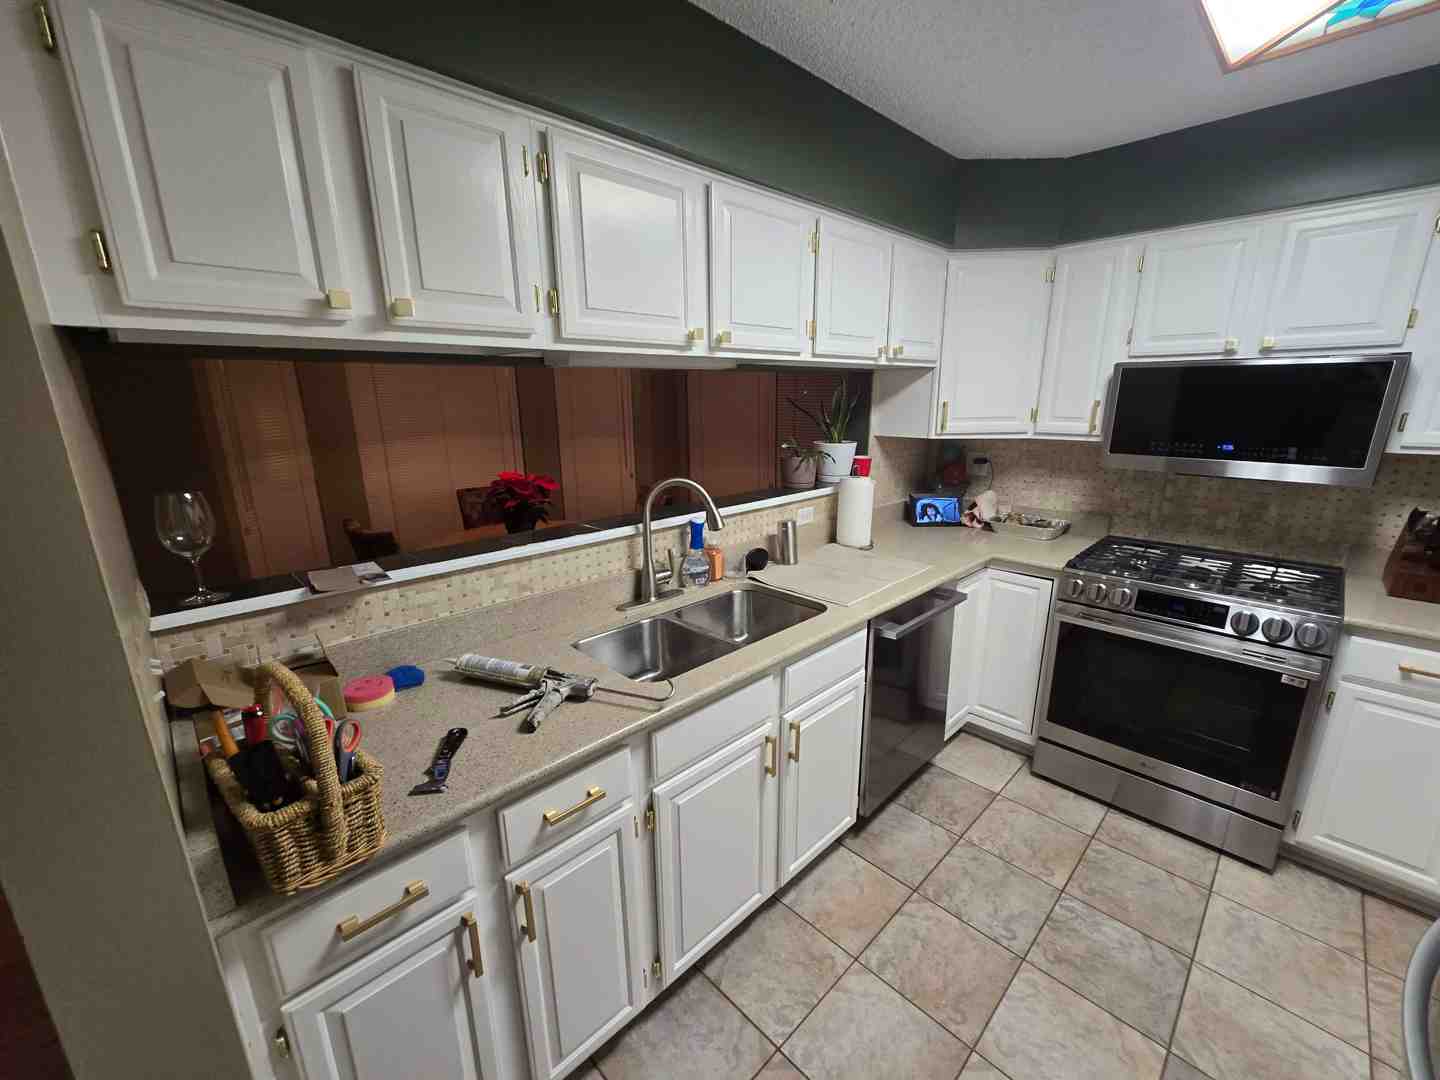
Painting your kitchen cabinets might seem like a huge job, but it’s simpler than you think. With the right paint and preparation, you can give your kitchen a fresh, new look.
Tomasz Niemotko, owner of T&Z Interior And Exterior Painting, brings over 13 years of expertise in changing homes, specializing in cabinet resurfacing and wood cupboard paint applications. His meticulous approach ensures an outstanding finish, breathing new life into kitchens across Lombard and surrounding areas.

Wood cupboard paint vocab to learn:
Choosing the Right Paint Type for Durability and Finish
When refreshing your kitchen, the right wood cupboard paint makes all the difference. Kitchens are high-traffic, high-moisture areas, so paint needs to be tough, washable, and able to withstand daily wear. Modern paint technology offers superior options that balance performance with ease of use, and for cabinets, this means selecting paints specifically designed for demanding conditions.
Water-Based vs. Hybrid Alkyd Paints
The choice between paint types is crucial for a beautiful, long-lasting finish on your wood cupboard paint project. Here’s a breakdown of the key differences:
| Feature | Water-Based Acrylic Paints | Oil-Based Alkyd Paints | Hybrid Alkyd Enamels (Water-Based Alkyds) |
|---|---|---|---|
| Durability | Good; may need a topcoat. Can chip if not a cabinet-specific formula. | Excellent; very hard and durable. | Excellent; hard and durable like oil-based. |
| Dry Time | Fast (recoat in 2-4 hours). | Slow (recoat in 12-24 hours). | Medium (recoat in 4-6 hours). |
| VOCs | Low VOCs, less odor. | High VOCs, strong odor. | Low VOCs, low odor. |
| Cleanup | Easy with soap and water. | Requires mineral spirits or paint thinner. | Easy with soap and water. |
| Yellowing | Resists yellowing over time, especially in lighter colors. | Can yellow over time, especially in areas with low light. | Resists yellowing better than traditional oil-based paints. |
| Application | Easy application, good flow. | Excellent flow, but tricky long open time. | Excellent flow, extended open time. |
| Flexibility | More flexible, less prone to cracking with wood movement. | Less flexible, can become brittle over time. | Good flexibility, resists cracking. |
Water-based acrylic paint offers quick dry times, low VOCs, and easy cleanup. For cabinets, choose acrylics fortified with urethane or labeled as “trim enamel” for better durability.
Hybrid alkyd enamel paints combine the easy cleanup of water-based paints with the hardness of oil-based ones. They level beautifully to minimize brush marks. Formulations like Sherwin-Williams Emerald Urethane Trim Enamel or Benjamin Moore Advance provide excellent, durable results, making them a top choice for wood cupboard paint projects.
You can learn more about our comprehensive Cabinet Painting Services and how we help homeowners in Lombard, Elmhurst, and beyond achieve stunning kitchen changes.
Key Paint Formulations to Look For
When selecting your wood cupboard paint, look for these terms to understand its performance:
- Enamel Paint: Dries to a hard, durable, washable finish. Often robust enough to not require a separate topcoat.
- Urethane-Fortified Paint: Urethane resin adds exceptional hardness, flexibility, and scratch resistance—a key ingredient for quality wood cupboard paint.
- Acrylic-Alkyd Blends: These hybrid paints self-level to eliminate brush strokes, creating a smooth, factory-like finish.
- Acrylic: Choose 100% acrylic paints labeled for trim or cabinets. Avoid standard vinyl latex paints, which can peel on cabinets.
Choosing paints with these characteristics ensures a finish that stands up to daily kitchen life. For more in-depth information on preparing your surfaces, explore our guide to wood primers.
Considerations for Different Wood Cupboard Paint and Finishes
Different cabinet materials require specific approaches for your wood cupboard paint project.
- Oak Grain: Oak has a deep grain that will show through paint. For a smooth finish, use a grain filler before priming.
- Cherry Wood & Other Tannin-Rich Woods: Woods like cherry and mahogany contain tannins that can bleed through light paint, causing stains. A shellac-based or oil-based stain-blocking primer is essential to seal them.
- MDF Cabinets: MDF is smooth but has porous edges. A quality primer is crucial to seal the edges for a uniform finish.
- Laminate Surfaces: These non-porous surfaces require a specialized bonding primer for the wood cupboard paint to adhere properly and prevent peeling.
- Previously Painted Cabinets: If the existing paint is in good condition, clean, scuff-sand, and prime. If it’s chipping or peeling, it may need to be stripped first.
- Stained Wood: To paint over stain, clean, lightly sand, and use a high-adhesion, stain-blocking primer. This ensures the new wood cupboard paint adheres and prevents the old stain from bleeding through.
Understanding your cabinet’s material and current finish allows us to tailor the preparation and product choices for the best possible outcome.
The Crucial Preparation Phase: Your Key to a Flawless Finish
The secret to a stunning, long-lasting wood cupboard paint job isn’t the paint itself, but the meticulous preparation beforehand. Skipping steps can lead to peeling, chipping, and an uneven finish. As professional painters, we can’t stress enough: preparation is paramount.

This phase lays the foundation for durability and beauty. For a comprehensive overview, check out our guide on How to Prepare a House for Painting.
Step 1: Cleaning and Degreasing
Kitchen cabinets accumulate grease and grime, which prevents paint from adhering properly. Our first step is always a thorough cleaning with a powerful degreasing agent like a Trisodium Phosphate (TSP) substitute. These solutions cut through built-up grime. After cleaning, we wipe the cabinets with a damp cloth to remove any residue and let them dry completely. A clean surface is non-negotiable for proper paint adhesion.
Step 2: Sanding for a Smooth Foundation
Once clean, cabinets need to be sanded. This is primarily about “scuff sanding” to de-gloss shiny surfaces and create a texture, or “tooth,” for the new wood cupboard paint to grip. We typically use 220-grit sandpaper. Sanding also smooths minor imperfections. After sanding, it’s crucial to remove all dust with a vacuum and a tack cloth. Dust is the enemy of a smooth paint finish!
If cabinets have old, chipped paint, the process might involve more extensive removal, sometimes requiring paint strippers. We also fill any imperfections with wood filler and sand them smooth at this stage.
Step 3: The Importance of Using a Primer
For wood cupboard paint projects, the answer from professionals is almost always: prime! Priming is a critical step with several benefits:
Pros of Using a Primer:
- Improved Adhesion: Primer creates a bonding layer that helps the topcoat adhere, preventing chipping and peeling. It’s vital for glossy or non-porous surfaces.
- Uniform Finish: Primer seals porous surfaces (like raw wood or MDF), preventing an uneven, blotchy finish.
- Stain Blocking: A quality stain-blocking primer seals in tannins from woods like oak or cherry, preventing them from discoloring your paint.
- Improved Durability: A strong foundation from primer contributes to the overall longevity of your painted cabinets.
- Less Topcoat Needed: A primed surface often requires fewer coats of your wood cupboard paint.
Cons of Not Using a Primer:
- Poor adhesion leading to chipping and peeling.
- Uneven, blotchy finish.
- Stains bleeding through the new paint.
- Reduced durability and lifespan of the paint job.
For most projects, we recommend a high-quality bonding primer. For tannin-rich woods, a shellac-based primer like Zinsser B-I-N is best. While some paints are self-priming, for high-traffic kitchen cabinets, a dedicated primer is the best insurance for quality and longevity.
Application Techniques for a Professional Look
With preparation complete, it’s time to apply the wood cupboard paint. While professional spraying achieves a factory-like finish, you can get stunning results with brushes and rollers by using quality tools and the right techniques.

Here’s how to approach application, along with the essential tools you’ll need.
Essential Tools and Supplies for Painting Kitchen Cabinets:
- High-quality angled brush (2-inch is versatile)
- High-density foam roller or 1/4″ nap mohair roller
- Paint trays
- Painter’s tape (low-tack for delicate surfaces)
- Drop cloths or plastic sheeting
- Sandpaper (220-grit for sanding between coats)
- Tack cloths or lint-free rags
- Screwdriver (for removing hardware)
- Wood filler (for imperfections)
- Primer (appropriate for your cabinet type)
- Your chosen wood cupboard paint
- Safety glasses and gloves
Brushing and Rolling for a Hand-Painted Finish
For a smooth finish without a sprayer, use the right tools and technique:
- High-Quality Brushes: A good quality, 2-inch angled synthetic brush applies paint smoothly, reduces brush marks, and is great for corners and details.
- Rollers for Flat Surfaces: Use a high-density foam or 1/4″ nap mohair roller for flat panels. They apply thin, even coats and minimize texture, unlike standard nappy rollers.
- Thin Coats are Key: Apply multiple thin coats instead of one thick one. Thin coats dry more evenly, cure harder, and prevent drips.
- Work Methodically: Paint the back of doors first, letting them dry before flipping to paint the front. Lay all components flat to prevent drips. Use the drying time to paint the cabinet boxes.
- Self-Leveling Paint: Many modern wood cupboard paint formulations, especially hybrid alkyds, are designed to self-level, which helps hide minor brush and roller marks.
Coats, Drying, and Curing Time
Patience is crucial when painting cabinets to avoid compromising the final result.
- Multiple Thin Coats: Plan for two to three thin coats of wood cupboard paint over your primer for a durable, rich finish.
- Recoat Time: Follow the manufacturer’s recommended recoat time (often 4-6 hours) on the can. Rushing can cause bubbling or peeling.
- Light Sanding Between Coats: For the smoothest finish, lightly sand with 220-grit sandpaper between each dry coat. This removes imperfections and improves adhesion. Wipe away all dust with a tack cloth before recoating.
- Dry Time vs. Cure Time: Paint is “dry to the touch” in hours, but takes much longer to “cure”—the process of fully hardening to maximum durability. Wait at least 24 hours before carefully handling doors. Full cure time can take 3 to 30 days. During this period, avoid harsh cleaning or impacts. Keep doors slightly ajar for the first week to prevent sticking, as closing them too early can damage the finish.
For a more detailed, step-by-step guide on painting cabinets, visit our Cabinet Painting Services page.
Achieving a Factory Finish with Professional Application
For a flawless, “factory-like” finish, professional spray application is best. Our team at T&Z Interior And Exterior Painting uses specialized equipment to achieve this superior result for your wood cupboard paint project.
- Smooth, Even Finish: Spraying eliminates brush strokes and roller texture, resulting in a uniform, smooth surface that looks custom-made.
- Efficiency: Spraying is significantly faster for large projects, ensuring consistent coverage across all surfaces.
- Masking and Prep: Spraying requires extensive masking to protect surrounding areas. Our teams are experts in this meticulous process.
- Expertise: Professionals know how to adjust paint viscosity, spray patterns, and pressure to guarantee a perfect finish without compromising the paint’s integrity.
For homeowners in Lombard, Wheaton, Elmhurst, and our other service areas across Illinois, our expertise in delivering a factory-quality look for your wood cupboard paint project is what sets us apart. Explore our Cabinet Painting Services to see how we can transform your kitchen.
Selecting the Perfect Sheen and Color for Your Wood Cupboard Paint
Beyond the type of paint, the sheen and color you choose for your wood cupboard paint play a massive role in the final aesthetic and functionality of your kitchen. These decisions should consider both durability and how they interact with your kitchen’s lighting and overall design.
What Paint Sheen is Best for Kitchen Cabinets?
The paint sheen refers to how much light the paint reflects, ranging from flat (no shine) to high-gloss (very shiny). For kitchen cabinets, we prioritize durability and ease of cleaning.
- Satin Finish: This is often our top recommendation for wood cupboard paint. Satin offers a subtle, soft sheen that is neat and hides minor imperfections (like fingerprints and small bumps) better than higher-gloss options. It’s also very durable and easy to wipe clean, making it highly practical for a kitchen.
- Semi-Gloss Finish: A semi-gloss finish provides a noticeable shine, making it very durable and exceptionally easy to clean. It’s an excellent choice for high-traffic areas and lends a more traditional or classic look. However, the higher sheen means it will highlight every brush stroke, roller mark, or surface imperfection, so meticulous application is crucial.
- Matte Finish: While a matte finish can create a beautiful, modern, and sophisticated look, it’s generally not recommended for kitchen cabinets. Matte paints are less durable and more challenging to clean, as their porous surface can absorb stains. If a matte look is desired, ensure the paint is specifically formulated for cabinets and consider a protective clear topcoat.
The best sheen is a personal choice, but satin strikes an excellent balance between aesthetics, durability, and practicality for most kitchen environments.
Choosing a Color Palette for Your Kitchen
The color of your wood cupboard paint can dramatically influence the mood, perceived size, and overall style of your kitchen. Here’s what we consider:
- Kitchen’s Lighting: Natural and artificial light sources profoundly affect how a color appears. Test paint samples on your cabinets and observe them throughout the day to see how they change under different lighting conditions. Lighter colors can brighten a dark kitchen, while darker hues can add depth and drama to a well-lit space.
- Kitchen’s Size: For smaller kitchens, lighter colors (like whites, creams, or light grays) can make the space feel larger, more open, and airy. In contrast, larger, well-lit kitchens can comfortably handle darker or bolder colors without feeling cramped.
- Desired Mood: What mood do you want to set?
- Calm & Bright: Whites, creams, and light neutrals create a serene, welcoming, and timeless feel.
- Modern & Sleek: Greys, blacks, and deep blues can give a contemporary, sophisticated edge.
- Vibrant & Energetic: Bolder colors like greens or even muted reds can add personality and warmth.
- Two-Tone Cabinets & Kitchen Island Accent: Don’t feel limited to one color! Painting upper and lower cabinets in different complementary colors (e.g., light uppers, dark lowers) is a popular trend that adds visual interest. Similarly, painting just the kitchen island in a contrasting color can turn it into a striking focal point. Dark brown or grey cabinets can look stunning when used with creamy white designs, while a light kitchen with dark cabinets can look modern and sleek.
- Complementing Existing Elements: Consider your countertops, flooring, and backsplash. The wood cupboard paint color should complement or provide an appealing contrast to these fixed elements.
- Resale Value (if applicable): If you plan to sell your home soon, universally accepted bright, light, and neutral colors often appeal to the broadest range of potential buyers, making your kitchen look warm and welcoming.
For more inspiration and to see examples of our work in Lombard, Elmhurst, and other Illinois communities, view our project gallery for inspiration. You can also check out Sherwin-Williams’ color samples to visualize different options for your kitchen: Order Color Samples.
Frequently Asked Questions about Wood Cupboard Paint
We often get asked common questions about painting kitchen cabinets. Here are some of the most frequent ones to help you plan your project:
How many coats of paint are needed for wood cabinets?
Typically, after applying a dedicated primer, you will need two to three thin coats of high-quality wood cupboard paint. This ensures full coverage, optimal color depth, and maximum durability. It’s always better to apply several thin coats rather than one or two thick ones, as thin coats dry more evenly and are less prone to drips or cracking. Always adhere to the manufacturer’s recommended recoat times between each layer.
Can you paint over previously stained or varnished wood cupboards?
Yes, absolutely! Painting over stained or varnished wood cupboards is a fantastic way to update your kitchen without replacing the cabinets. The key, however, is proper preparation. The surface must be thoroughly cleaned and degreased to remove any grime, then scuff-sanded to de-gloss the old finish and create a surface for the new paint to adhere to. Following this, a high-adhesion, stain-blocking primer is essential. This primer creates a strong bond and prevents any lingering stains or tannins from the old finish from bleeding through and discoloring your new wood cupboard paint.
How long should you wait before using newly painted cabinets?
While your wood cupboard paint may feel dry to the touch within a few hours, it needs a longer period to fully “cure” and achieve its maximum hardness and durability. We generally recommend waiting at least 3-7 days before carefully re-installing doors and drawers. Even after re-installation, it’s wise to treat them gently for up to 30 days. Avoid harsh cleaning, heavy impacts, or placing items that could scratch the surface during this curing period. Keeping cabinet doors and drawers slightly ajar for the first week or so after installation can also prevent them from sticking together as the paint continues to harden. Patience during the curing phase will ensure your paint job lasts for years to come.
Transform Your Kitchen with a Flawless Finish
Painting your wood cupboard paint is a project that can dramatically refresh your kitchen, offering a beautiful new look without the expense and disruption of a full renovation. As we’ve explored, the key to success lies in a combination of factors: choosing the right type of paint designed for durability, carefully preparing your surfaces, employing proper application techniques, and selecting the perfect sheen and color to match your vision.
Preparation is paramount – cleaning, sanding, and priming are the foundational steps that ensure your paint adheres beautifully and lasts for years. Quality materials matter, from the paint itself to the brushes and rollers you use. And while DIY is certainly achievable, achieving a truly flawless, factory-like finish often benefits from professional expertise and specialized equipment.
At T&Z Interior And Exterior Painting, we’re passionate about delivering stunning results for homeowners across Lombard, Wheaton, Elmhurst, and all our service areas in Illinois. Our experienced teams use top-brand materials and proven techniques to transform your kitchen cabinets, providing professional results that you’ll love.
Ready to give your kitchen the update it deserves? Contact Us for a Professional Cabinet Painting Quote today, and let’s bring your vision to life!