
What You Need to Know About Exterior Residential Painting
Exterior residential painting is one of the most impactful upgrades you can make to your home — protecting it from the elements while dramatically boosting curb appeal.
Here’s a quick overview of what this guide covers:
| Topic | Key Takeaway |
|---|---|
| When to repaint | Every 5-10 years depending on siding material |
| Best paint type | 100% acrylic latex for most exterior surfaces |
| Ideal conditions | 50°F-85°F, humidity below 60%, no rain for 24 hours |
| Coats needed | One coat primer + two coats paint |
| DIY vs. professional | Depends on skill, fitness, equipment, and safety comfort |
Your home’s exterior paint does more than look good. It’s the first line of defense against rain, snow, UV rays, and temperature swings. When it starts to fail — through cracking, peeling, or fading — moisture can get in and cause serious structural damage underneath.
The good news? With the right prep, materials, and technique, a quality exterior paint job can last 10 to 15 years.
This guide walks you through everything: knowing when to repaint, how to prepare surfaces, choosing the right paint, applying it correctly, and keeping it looking great for years.
I’m Tomasz Niemotko, owner of T&Z Interior And Exterior Painting, with over 13 years of hands-on experience in exterior residential painting across the Chicagoland area. I’ll share what actually works — based on real projects, not guesswork.
 → paint selection (acrylic latex, finish type) → application (2 coats, top-down, 50-85°F) → drying and curing → maintenance (annual cleaning, touch-ups) → repainting every 5-15 years depending on siding material - exterior residential painting infographic")
Exterior residential painting word roundup:
Determining When Your Home Needs Exterior Residential Painting

Knowing when to pull the trigger on a new paint job can save you thousands in siding repairs. While the average home needs a refresh every 10 years, the actual lifespan of your paint depends heavily on your siding material and the harshness of the Illinois seasons.
In areas like Lombard, Wheaton, and Elmhurst, our homes face everything from humid summers to freezing winters. This constant expansion and contraction put immense stress on the paint film.
Lifespan by Material
Different substrates hold paint differently. According to industry standards and our local experience:
- Wood Siding: Needs attention every 3 to 7 years. If it’s stained, expect to refresh it every 4 years.
- Aluminum Siding: Usually lasts about 5 years before fading or chalking becomes obvious.
- Stucco: Typically holds up for 5 to 6 years.
- Cement Fiberboard (Hardie Board): A champion of durability, often lasting 10 to 15 years.
- Painted Brick: Can last 15 to 20 years, though unpainted brick is best left natural to breathe.
Signs It Is Time to Repaint
Don’t wait for the paint to fall off in sheets. Keep an eye out for these signs it is time to repaint:
- Fading: If your vibrant blue is now a dusty grey, the UV rays have broken down the pigments. This isn’t just aesthetic; faded paint is thinner and less protective.
- Cracking and Flaking: This looks like “alligator skin.” Once the paint cracks, water seeps behind the layer, leading to wood rot.
- Bubbling: Usually a sign of moisture trapped under the paint or poor previous application.
- Chalking: If you run your hand across the siding and it comes away with a white, powdery residue, the paint resins are disintegrating.
- Gaps in Caulk: If the beads of caulk around your windows and doors are shrinking or cracking, your home’s envelope is compromised.
If you’re seeing these issues, check out more info about exterior painting services to see how professional intervention can halt the damage.
Essential Steps for Exterior Residential Painting Preparation
Preparation isn’t just the first step; it’s about 75% of the job. If you skip the prep, even the most expensive paint will fail within a year. We follow a “Clean, Dry, Dull” mantra to ensure success.
- Surface Inspection: We walk the perimeter to find rotted wood or loose boards. Painting over rot is like putting a band-aid on a broken leg—it won’t help.
- Power Washing: We remove dirt, mildew, and bird droppings. For a deeper clean, we use Jomax House Cleaner, mixing it with water and a little bleach to kill mold spores. Always work from the bottom up to avoid streaks!
- Scraping and Sanding: We remove loose, peeling paint with hand scrapers. Then, we sand the “edges” where the old paint meets bare wood to create a smooth transition.
- Lead Paint Testing: For homes built before 1978, we strongly recommend using an EPA-recognized lead test kit. Disturbing lead paint without proper safety gear is a major health risk.
- Caulking: We use high-quality siliconized acrylic caulk to seal joints less than 1/4-inch wide. This prevents moisture from getting behind the trim.
- Patching: For minor dents and cracks, products like Ready Patch work wonders. For deeper rot, a two-step epoxy is necessary.
- Priming: We always prime bare wood or masonry. This creates a “bridge” for the new paint to bond to.
For a deeper dive into the nitty-gritty, read our guide on how to prepare a house for painting.
Choosing the Right Materials and Tools
The difference between a $20 gallon of paint and a $70 gallon isn’t just the brand name—it’s the “solids.” Higher-quality paints have more binders and pigments (like titanium dioxide) and less water.
Paint Finishes and Durability
| Finish | Best For | Durability |
|---|---|---|
| Flat/Matte | Siding with many imperfections | Low (harder to clean) |
| Satin/Low Lustre | Most residential siding types | High (resists dirt/fading) |
| Semi-Gloss | Trim, shutters, and doors | Very High (easy to wipe) |
| High Gloss | Front doors and decorative accents | Maximum (shows every bump) |
We generally recommend a satin finish for the body of the house. It has just enough sheen to shed water and resist dirt but isn’t so shiny that it highlights every dent in your siding.
The Power of Acrylic Latex
For the vast majority of homes in Chicago and the suburbs, 100% acrylic latex is the gold standard. It remains flexible after it dries, allowing it to “breathe” and move with your house during temperature swings. It also offers superior UV resistance compared to old-school oil paints, which tend to become brittle and yellow over time. You can find more technical details on How to Paint a House Exterior | Sherwin-Williams.
Essential Tools
- Sprayers: Great for large areas like siding, but they require expert masking to avoid overspray on your windows (or your neighbor’s car!).
- Brushes and Rollers: Essential for “back-rolling” (rolling over sprayed paint to push it into the grain) and detail work on trim.
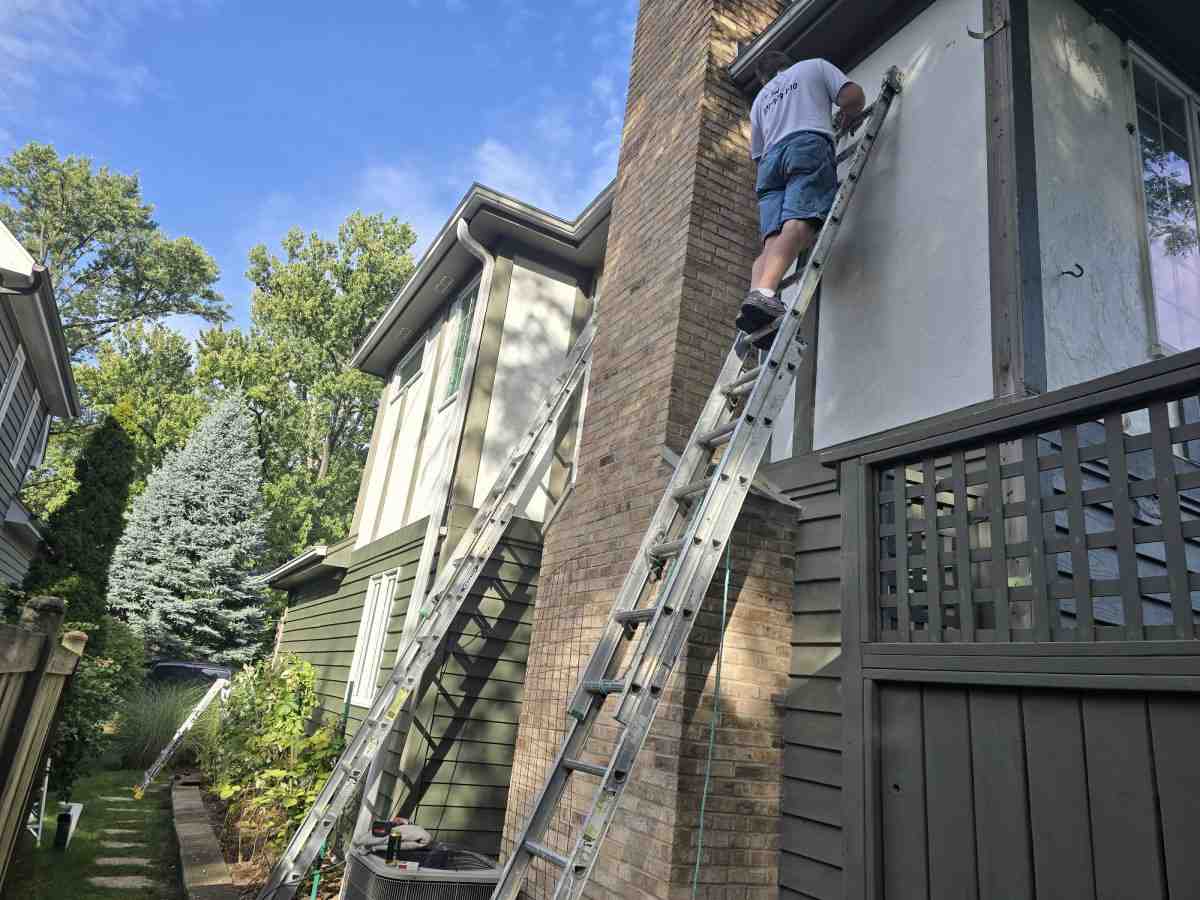
- Scaffolding and Ladders: Safety is paramount. Always ensure your ladder is on level ground and follow OSHA ladder safety guidelines, such as maintaining three points of contact.
Calculating Paint Quantity
To avoid running out mid-job, multiply the perimeter of your house by the height to get the total square footage. Subtract about 20 square feet for each window and 40 for each door. A gallon usually covers 350-400 square feet. Pro tip: Always buy an extra gallon for future touch-ups!
Selecting the Best Paint for Exterior Residential Surfaces
Different surfaces require specific chemical properties in the paint:
- Wood: Needs a breathable film to prevent rot.
- Aluminum and Vinyl: Require paints that can handle high heat. Avoid painting vinyl a color much darker than the original, or the heat absorption could cause the siding to warp.
- Stucco and Brick: These are porous and alkaline. You need a masonry-specific primer to prevent “efflorescence” (those white salty streaks) from ruining the finish.
Choosing colors can be stressful. We suggest looking at your roof color and any stone or brickwork that won’t be painted. Check out some outside house painting colour combinations for inspiration that fits the Chicagoland aesthetic. For more brand-specific advice, How to Paint Your Home Exterior | Benjamin Moore offers excellent substrate-specific tips.
Professional Techniques and Ideal Conditions
Even the best paint will fail if applied in the wrong weather. In Illinois, our “painting window” is usually late spring through early autumn.
The “Goldilocks” Weather
- Temperature: Ideally between 50°F and 85°F. If it’s too cold, the paint won’t cure; if it’s too hot (above 90°F), the paint dries too fast, leading to lap marks and blisters.
- Humidity: Should be below 60%. High humidity slows drying and can cause the paint to sag.
- The Shade Rule: We always follow the sun around the house. You want to paint in the shade. Painting a wall in direct, hot sunlight causes the solvent to evaporate too quickly, preventing the paint from leveling out smoothly.
For more on timing your project, see our article on the best time to paint.
Application Best Practices
We use the top-down method. We start with the gutters and eaves, move to the siding, and finish with the trim and doors. This prevents drips from ruining finished sections.
When spraying, we always “back-roll” or “back-brush.” This involves someone following the sprayer with a roller or brush to work the paint into the pores of the wood or masonry. It ensures a much stronger bond than just “fogging” the paint on.
For a durable finish, two coats are mandatory. The first coat seals the surface, and the second provides the uniform color and weather protection. Wait at least 4 to 6 hours between coats, depending on the humidity. You can see these steps in action in this Exterior House Painting Step-by-Step Guide.
Frequently Asked Questions
Should I DIY or hire a professional?
This is the most common question we get. DIY can save you money on labor, but it comes with hidden expenses.
- Time: A professional crew can paint a house in 3-5 days. For a homeowner, it often takes three or four weekends of grueling labor.
- Equipment: By the time you buy or rent professional-grade sprayers, tall ladders, and scaffolding, the savings start to shrink.
- Safety: Are you comfortable 25 feet up on a ladder? If not, the risk isn’t worth it.
- Results: Pros know how to handle “lap marks” and “overspray.” Plus, we offer warranties that a DIY job just doesn’t have.
For a deeper comparison, check out this guide on DIY vs. Professional Painting.
How many coats of paint are necessary?
We always recommend one coat of primer and two coats of topcoat. While “paint and primer in one” products exist, they are best for surfaces that are already in great shape. If you are changing colors significantly or painting bare wood, a dedicated primer is essential for durability and color accuracy.
What are common mistakes to avoid?
- Poor Preparation: Most failures happen because someone painted over dirt or loose paint.
- Painting in Direct Sun: This leads to “lap marks” where you can see exactly where one stroke ended and the next began.
- Ignoring the Forecast: Never paint if rain is expected within 24 hours.
- Cheap Paint: Saving $100 on paint now might result in a $5,000 full repaint five years earlier than necessary.
Conclusion
Investing in exterior residential painting is the best way to protect your biggest asset. Whether you live in a classic Victorian in La Grange or a modern ranch in Carol Stream, a fresh coat of high-quality acrylic latex paint will keep your home safe and beautiful.
At T&Z Interior And Exterior Painting, we take pride in our meticulous prep work and our commitment to using top-tier materials. We’ve served neighbors across Addison, Lockport, Schaumburg, and the entire Chicagoland area for over a decade.
To maintain your new look, we recommend an annual cleaning with a garden hose and a soft brush to remove salt and dirt. If you’re ready to see what a professional transformation looks like, browse our portfolio of exterior painting or contact us today for our professional exterior painting services. Let’s give your home the facelift it deserves!