
Thinking about giving your home’s exterior a facelift in 2026? A fresh coat of paint can do wonders, but it’s not just about picking a color. Getting that stunning finish that lasts involves some know-how. We’re talking about the right time of year, making sure the surfaces are prepped just right, and using the best materials. It might seem like a lot, but with a few expert tips, your exterior house painting project can go from a chore to a triumph.
Key Takeaways
- Timing is everything for exterior house painting; aim for mild temperatures (10-25°C) and low humidity, typically in spring or early autumn, to ensure proper paint adhesion and curing.
- Thorough surface preparation is non-negotiable: clean off dirt and mildew, repair any damage to the substrate, and apply the correct primer to create a solid base for the paint.
- Professional exterior house painting results come from smart techniques like shade-following to avoid overheating surfaces, using the wet edge method to prevent lap marks, and applying thin, even coats.
- Choosing the right materials matters. Opt for high-quality masonry paints, understand which paint sheens work best for exterior surfaces, and always check primer compatibility with your specific substrate.
- Address specific challenges like painting stucco, protecting fences and decks, or giving your garage door a makeover to maximize curb appeal and the longevity of your exterior house painting investment.
Mastering the Art of Exterior House Painting Timing
Getting the timing right for your exterior house painting project is more important than you might think. It’s not just about picking a sunny day; it’s about finding a reliable weather window that allows the paint to go on smoothly and, more importantly, cure properly. Doing this can make a big difference in how long your paint job looks great and protects your home.
The Ideal Weather Window for Exterior Painting
When it comes to painting the outside of your house, the sweet spot for temperature is generally between 10°C and 25°C (50°F and 77°F). Too cold, and the paint won’t cure right, leading to problems down the line. Too hot, especially with direct sun beating down, and the paint can dry too fast, causing issues like lap marks. Humidity also plays a big role. High humidity can slow down drying times considerably, and you definitely don’t want to paint when it’s raining or when surfaces are still damp from dew or previous rain. Moisture is the enemy of good adhesion.
Navigating Seasonal Nuances for Optimal Results
Each season has its pros and cons for exterior painting:
- Spring: Often a great time. Temperatures are usually mild, and there’s less risk of frost. However, spring can bring rain and pollen, so you need to watch the forecast closely for dry spells.
- Early Summer: This period offers longer daylight hours, which is helpful for bigger jobs. The warmth aids drying, but be mindful of extreme heat waves that can cause paint to dry too quickly.
- Early Autumn: Another excellent choice. Humidity tends to be lower than in spring, and temperatures are often stable, promoting even curing. It’s a good time to get the job done before winter sets in.
- Late Summer: Can be good, but watch out for intense heat and strong UV rays, which can be tough on both the painters and the paint.
- Winter: Generally best avoided. Cold temperatures and dampness significantly hinder paint adhesion and curing.
The best overall time to paint your house exterior is typically late spring to early summer or early autumn.
Understanding Regional Weather Impacts on Your Project
Weather isn’t the same everywhere, and that affects your painting schedule. If you live in a region with mild, dry weather for most of the year, you might have a wider painting window. However, if you’re in a place with dramatic temperature swings, lots of rain, or high coastal humidity, you’ll need to be much more strategic. For instance, areas with less extreme temperature differences between day and night might find autumn to be a surprisingly good time to paint. Always consider your specific local climate when planning your project. If you’re unsure about the best timing for your area, consulting with local painting professionals can provide valuable insights into optimal painting seasons.
Choosing the right time to paint your home’s exterior is a key step in ensuring a durable and attractive finish. It’s about more than just aesthetics; it’s about protecting your investment from the elements. A well-timed paint job, done under the right conditions, will last much longer and save you money in the long run.
Essential Preparation for a Flawless Exterior House Painting Finish
Let’s be real, nobody wants to spend hours prepping a house for paint. It feels like the boring part, right? But honestly, this is where the magic happens. If you skip this, your paint job might look okay for a little while, but it’s going to cause problems down the road. Think peeling, bubbling, and just generally looking sad.
Surface Cleaning and Algae Removal
Before you even think about opening a can of paint, you’ve got to get the surface clean. Dirt, dust, pollen, and especially any mildew or algae need to go. Black spots are a dead giveaway for mold or mildew. A simple mix of water and bleach, sprayed on and then rinsed off, can sterilize the surface. This isn’t just about looks; it’s about giving the new paint something solid to stick to. You can use a garden hose with a sprayer attachment for this, or even a pressure washer on a low setting if you’re careful.
Repairing Substrate Damage
Got any cracks in your siding, stucco, or trim? These aren’t just cosmetic issues. They’re entry points for moisture, which can wreck your paint job from the inside out. You’ll want to fill these with an exterior-grade filler. If you’ve got old paint that’s flaking off, that needs to go too. A pole scraper can help with this, and then a light sanding afterward gives the new primer a good surface to grip. It’s a bit of work, but it makes a huge difference in how long the paint lasts. For older homes, be mindful of lead paint and take proper safety precautions.
The Crucial Role of Priming and Stabilizing
Sometimes, just cleaning and repairing isn’t enough. Certain surfaces, especially porous ones like bare wood or masonry, need a primer. A good primer seals the surface, stops it from soaking up too much paint too fast, and helps the topcoat stick better. It creates a uniform base so your final color looks exactly how you want it. If you’re painting over a tricky surface, like old, chalky paint or a dark color, a stain-blocking primer is your best friend. It stops those old problems from showing through your beautiful new paint. Choosing the right primer is just as important as picking the paint itself. You can explore high-quality masonry paint options that often come with recommended primers.
Proper preparation is the backbone of any exterior paint job that’s meant to last. It’s the difference between a paint job that looks good for a few years and one that holds up beautifully for a decade or more. Don’t cut corners here; it always costs more in the long run.
Achieving Professional Exterior House Painting Results
Getting that smooth, even finish on your house’s exterior isn’t just about slapping paint on. It’s a bit of an art, really, and involves some specific techniques that pros use. If you’ve ever tried painting a wall and ended up with streaks or missed spots, you know what I mean. It’s frustrating!
Shade-Following Techniques for Even Application
One trick you’ll see professionals use is called "shade-following." Basically, they try to paint the parts of the house that are in the shade. Why? Because direct, hot sun can make the paint dry way too fast. When paint dries too quickly, it can leave behind ugly lines where one section meets another, called lap marks. Painting in the shade helps the paint flow better and gives you a more uniform look. It’s a simple idea, but it makes a big difference in how the final job looks.
The Wet Edge Method for Seamless Finishes
This ties right into shade-following. The "wet edge" method means you always overlap your strokes while the paint is still wet. Imagine you’re painting a wall in sections. You finish one section, and before it dries, you start the next section, making sure your roller or brush overlaps the wet paint from the previous section. This blending is what stops those noticeable lines from forming. It takes a bit of coordination, especially on larger areas, but it’s key to getting that smooth, professional look. It’s a bit like blending colors when you’re drawing; you want it to look natural, not like separate pieces.
Applying Thin, Even Coats for Durability
It might seem like putting on one really thick coat would be faster and cover better, but that’s usually not the best approach. Professionals tend to apply multiple thin, even coats instead. Why? Well, thin coats dry more evenly, which helps the paint stick better to the surface. Plus, it’s less likely to drip or sag. Two or even three thin coats will often last longer and look better than one heavy, gloppy coat. It’s all about building up the protection and color layer by layer. Think of it like building a strong foundation – you do it carefully, step by step.
When you’re aiming for that professional finish, remember that the surface itself plays a big role. Even with the best techniques, if the surface isn’t prepped right, the paint won’t stick well. That means cleaning off dirt, fixing any cracks, and using the right primer are all part of getting that paint job to look good and last.
Here’s a quick rundown of how these techniques help:
- Even Color: Prevents patchy or uneven color distribution.
- Smooth Appearance: Avoids visible lines and roller marks.
- Better Adhesion: Thin coats bond more effectively to the surface.
- Longer Lifespan: A well-applied coat protects the underlying material better.
If you’re looking for inspiration on colors that will make your home pop, you might want to explore exterior paint color trends. Choosing the right color is the first step, but applying it correctly is what makes it stunning.
Choosing the Right Materials for Exterior House Painting
Picking the right paint and primer isn’t just about color; it’s about making sure your house’s exterior can handle whatever the weather throws at it. Think of it like picking out a good raincoat – you want something that’s tough, looks decent, and will actually keep you dry.
Selecting High-Quality Masonry Paint Options
When you’re looking at paint, especially for surfaces like brick, stucco, or concrete, you’ll want to go for something that’s built tough. Masonry paints are designed to breathe, which is super important. If moisture gets trapped inside the wall and can’t get out, it can cause all sorts of problems, like bubbling or peeling paint down the road. Look for paints that are specifically labeled for masonry or exterior use. They usually have additives that help them stick well and resist things like mildew and chalking. Consumer Reports has tested a bunch of these, and they often find that the higher-quality options really do last longer and hold up better against dirt and grime. It might cost a bit more upfront, but trust me, it’s worth it in the long run.
Understanding Paint Sheens for Exterior Surfaces
Paint comes in different finishes, or sheens, and each one does something a little different. For most of your house’s exterior, like the siding, a satin or low-lustre finish is usually a good bet. It’s not super shiny, so it doesn’t highlight every little bump or imperfection on the surface, but it still has enough of a sheen to offer some protection against moisture. It’s a nice middle ground. You might use a higher gloss, like semi-gloss, for trim or doors where you want a bit more durability and a cleaner look, but for the main body of the house, satin is often the way to go. Matte finishes can look nice, but they tend to show dirt more easily and aren’t as washable.
Ensuring Primer Compatibility with Substrates
Primer is like the foundation for your paint job. It helps the topcoat stick better and can even out the surface so you don’t have weird dark spots showing through. But here’s the thing: not all primers work with all surfaces. If you’re painting over old, chalky paint, you’ll need a different primer than if you’re painting bare wood or a slick surface like vinyl. Always check the primer’s label to make sure it’s meant for the material you’re painting. Using the wrong primer is a fast track to paint failure. It’s a bit like trying to stick a sticker on a greasy surface – it just won’t hold. A good primer creates a stable base, making your paint job last way longer. For example, if you’re painting stucco, you’ll want a primer that can handle that texture and porosity.
Choosing the right materials means your paint job won’t just look good for a few months; it’ll look good for years, protecting your home from the elements and saving you money on future repairs. Don’t skimp on quality here.
Here’s a quick rundown of common exterior surfaces and what to look for:
- Wood Siding: Needs a flexible, high-quality acrylic latex primer and paint. It expands and contracts with the weather, so the paint needs to move with it.
- Stucco/Masonry: Requires breathable paints and primers that can handle moisture and alkalinity. Look for products specifically designed for these porous surfaces.
- Vinyl/Aluminum Siding: Needs a primer and paint formulated for adhesion to these slick surfaces. Often, you can use a paint with a lower sheen to avoid issues with heat absorption.
- Fiber Cement: Generally accepts most high-quality exterior paints, but always check the manufacturer’s recommendations.
When you’re picking out your paint, think about the long game. A little extra effort in selecting the right products now will save you a lot of headaches later. And if you’re unsure about color choices, considering how they’ll look with your surroundings can really help. Picking the right color is important, but so is the stuff that holds it all together.
Addressing Specific Exterior House Painting Challenges
Every house has its own quirks, right? Painting the outside isn’t always a straightforward job. Different materials and parts of your home need a bit of extra thought to get them looking good and staying that way.
Painting Stucco Exteriors with Precision
Stucco is a popular choice for a reason – it looks great and can last a long time. But painting it? That needs a careful touch. You can’t just slap any old paint on there. Stucco is porous, meaning it can soak up moisture. If you use the wrong kind of paint, you can trap water inside, which leads to all sorts of problems like cracking and peeling down the road. We always recommend using breathable, high-quality masonry paints designed specifically for stucco. These allow moisture vapor to escape while still keeping the rain out. Before you even think about color, make sure the stucco is clean and any cracks are filled. This is key for a finish that lasts.
Protecting and Beautifying Fence and Deck Surfaces
Fences and decks are exposed to the elements pretty much non-stop. Sun, rain, snow – they take a beating. Painting or staining these surfaces isn’t just about looks; it’s about protection. Wood can rot, warp, or get fuzzy if it’s not properly sealed. For fences, a good paint job can really make your yard pop, and for decks, it makes your outdoor living space much more inviting. We usually start by giving them a good clean to get rid of dirt, mildew, and any old, peeling finishes. Then, it’s all about picking the right product – a durable paint or a penetrating stain that can handle all that weather. It’s a bit of work, but it makes a huge difference in how long these structures last.
Enhancing Curb Appeal with Garage Door Painting
Don’t forget the garage door! It’s often one of the largest surfaces on your home’s exterior, and a tired, faded garage door can really bring down your home’s overall look. A fresh coat of paint can instantly make your house look more put-together and welcoming. It’s a relatively small project compared to the whole house, but the impact on your curb appeal is huge. Just like with the rest of the house, proper prep is important. We clean the surface, fix any dents or damage, and then apply a paint that’s made for exterior use and can withstand temperature changes. It’s amazing what a difference it makes!
When tackling these specific areas, remember that preparation is always the most important step. Even the best paint won’t stick or last if the surface underneath is dirty, damaged, or still wet from cleaning.
The Professional Exterior House Painting Process
Getting your house painted professionally isn’t just about slapping on some color. It’s a whole process, and when it’s done right, it makes a big difference in how long that paint job lasts and how good it looks. Think of it like building a house – you need a solid foundation before you can put up the walls and roof.
Surface Preparation: The Foundation of Longevity
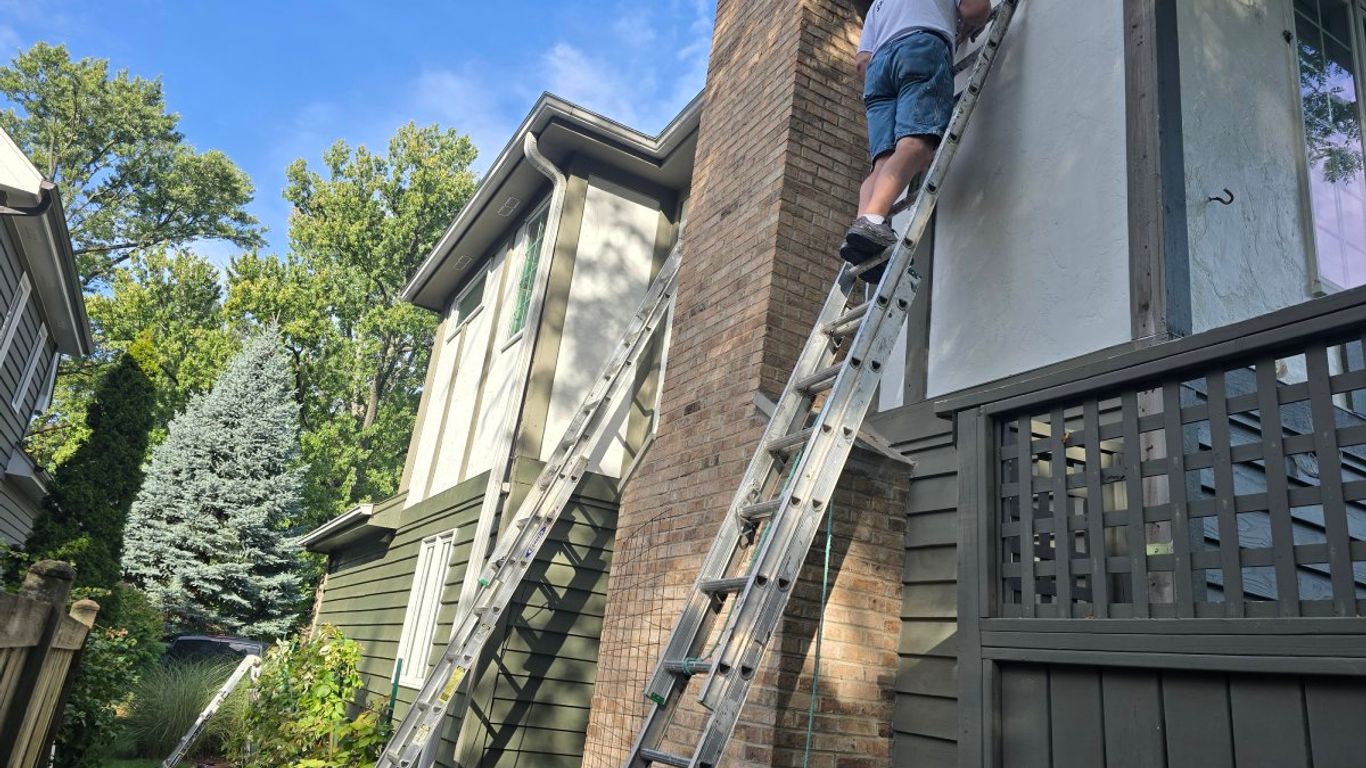
This is where the real work happens before any paint even touches the house. It’s super important. We start by giving the whole exterior a good cleaning. This gets rid of dirt, grime, mildew, and anything else that might stop the new paint from sticking properly. After cleaning, we check for any damage. This means fixing cracks in siding or stucco, replacing rotten wood, and making sure everything is smooth. Proper prep work is the most critical step for a paint job that lasts. If the surface isn’t ready, the paint won’t adhere well, and you’ll be looking at peeling and bubbling way sooner than you’d like. We also do any necessary scraping of old, loose paint and sanding to create a good surface for the new paint to grip onto. For more on this, you can check out how to prepare a house for painting.
Expert Application Techniques
Once the surface is prepped and ready, it’s time for the paint itself. We don’t just go at it randomly. Professionals use specific methods to get an even coat. This often involves using a combination of brushing, rolling, and sometimes spraying, depending on the surface and the type of paint. A key technique is maintaining a ‘wet edge.’ This means you always overlap your last stroke while the paint is still wet. It helps avoid those ugly lines where one section of paint dries before the next is applied, which we call lap marks. We also work from top to bottom. Any drips that happen will fall onto an unpainted surface, not a freshly painted one, saving you extra work. We’re careful to apply thin, even coats. Two thin coats are almost always better than one thick one because they dry more evenly and bond better to the surface.
Daily Cleanup and Final Inspection
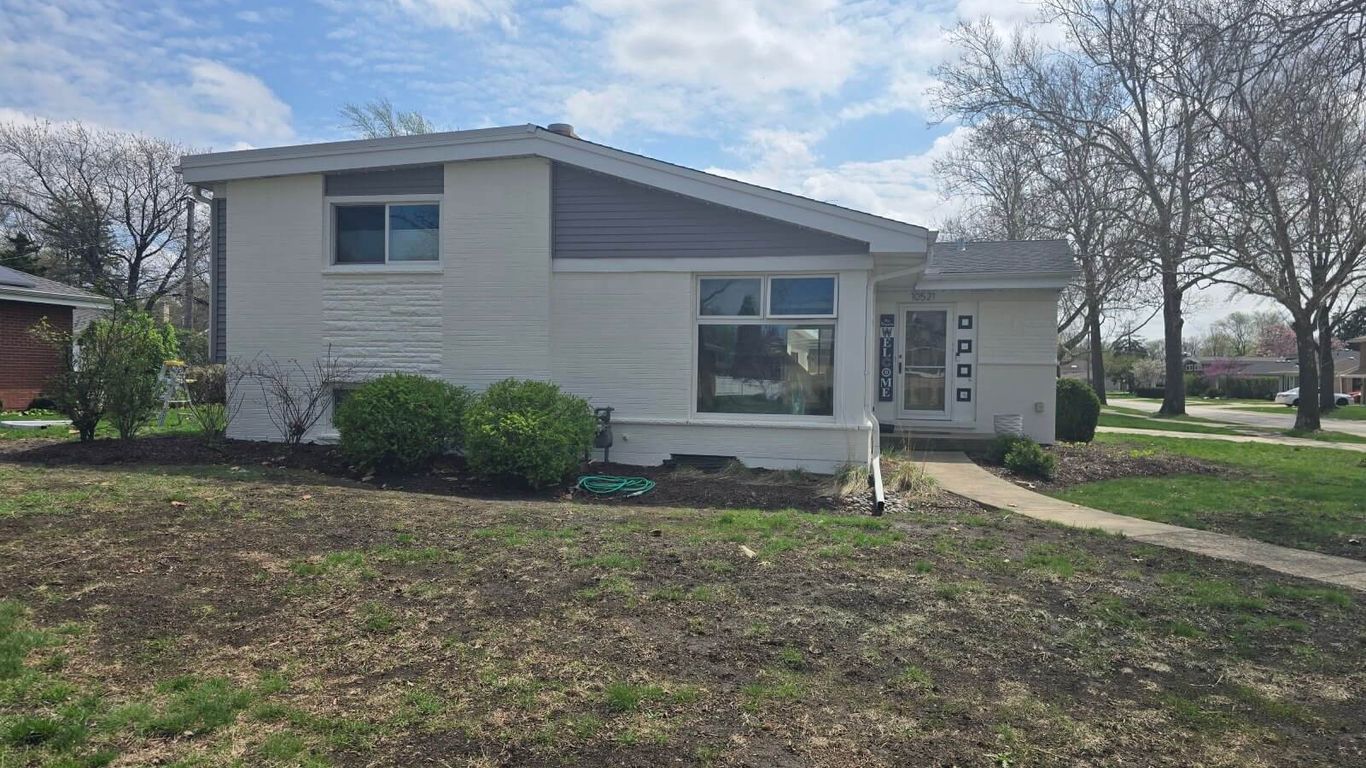
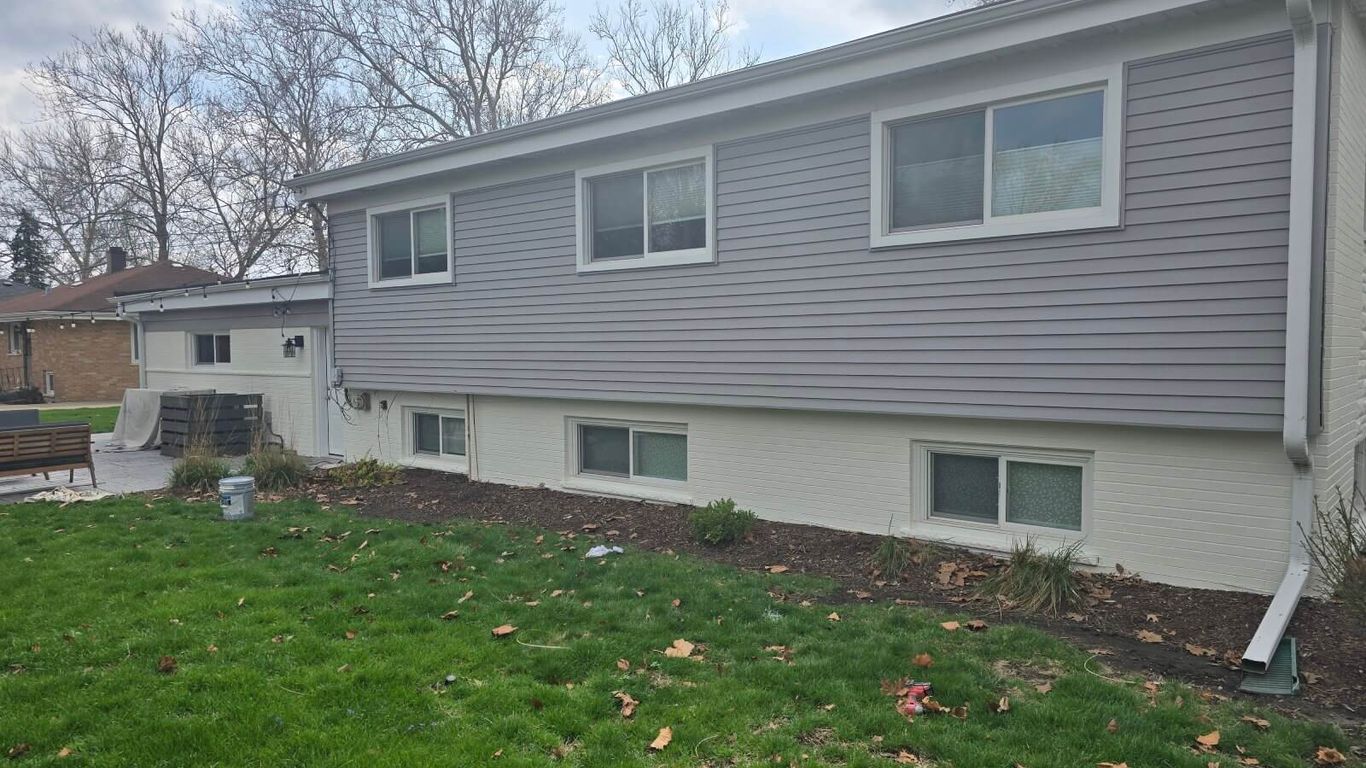
Professional painters don’t leave a mess behind at the end of each day. We tidy up the work area, put away supplies, and make sure your property is as neat as possible. This minimizes disruption to your daily life. Once the final coat is dry and everything looks good, we do a thorough walk-through. This is our final inspection. We check every part of the house to make sure the job meets our standards and, more importantly, yours. We want to make sure you’re completely happy with the finished product. A job like this can take anywhere from 3 to 7 days, depending on the size and condition of your home exterior painting in Plainfield, IL.
Getting your house painted on the outside is a big job. We make it simple! Our team follows a clear plan to make sure your home looks amazing. From the first step to the last, we handle everything with care. Want to see how we do it? Visit our website to learn more about our easy painting process.
Wrapping Up Your Exterior Painting Project
So, you’ve learned a lot about getting your house looking sharp from the outside. Remember, picking the right time to paint and doing the prep work right are super important. It’s not just about making things look good now, but making sure that paint job lasts for years. Whether you tackle it yourself or hire some pros, a well-painted exterior really makes a difference. It protects your home and makes it look great. Happy painting!
Frequently Asked Questions
When is the absolute best time of year to paint the outside of my house?
Late spring or early fall are usually the best times. The weather is typically mild, not too hot and not too cold, and there’s less chance of rain. This helps the paint dry and stick properly, making it last longer.
Can I paint my house exterior if it’s raining or damp outside?
No, you should never paint in the rain or on a wet surface. Moisture can mess with how the paint sticks, make it take forever to dry, and ruin the finish before it even gets a chance to harden. Wait for a dry spell and a clear forecast.
How long does exterior paint need to dry before I can put on a second coat?
It really depends on the paint, the temperature, and how humid it is. In good weather, some paints might be ready for another coat in just a few hours. But if it’s cool or damp, it could take much longer. Always check the instructions on the paint can.
Why is surface preparation so important before painting?
Think of prep work as the foundation for a great paint job. If you paint over dirt, mold, or peeling paint, the new coat won’t stick well and will start to fail quickly. Cleaning, fixing cracks, and priming create a smooth, solid surface for the paint to really grip onto.
How often should I plan to repaint the outside of my house?
Most homes need a fresh coat every 5 to 10 years. However, houses with wood siding might need it more often, maybe every 3 to 7 years, because wood expands and shrinks with the weather. If you see paint fading, peeling, or chalking, it’s a sign it’s time for a refresh.
What’s the ‘wet edge’ method, and why is it used?
The ‘wet edge’ is a painting technique where you always overlap your strokes onto an area that’s still wet. This helps avoid those noticeable lines, called lap marks, where one section of paint meets another that has already started to dry. It makes the finish look smooth and seamless.