
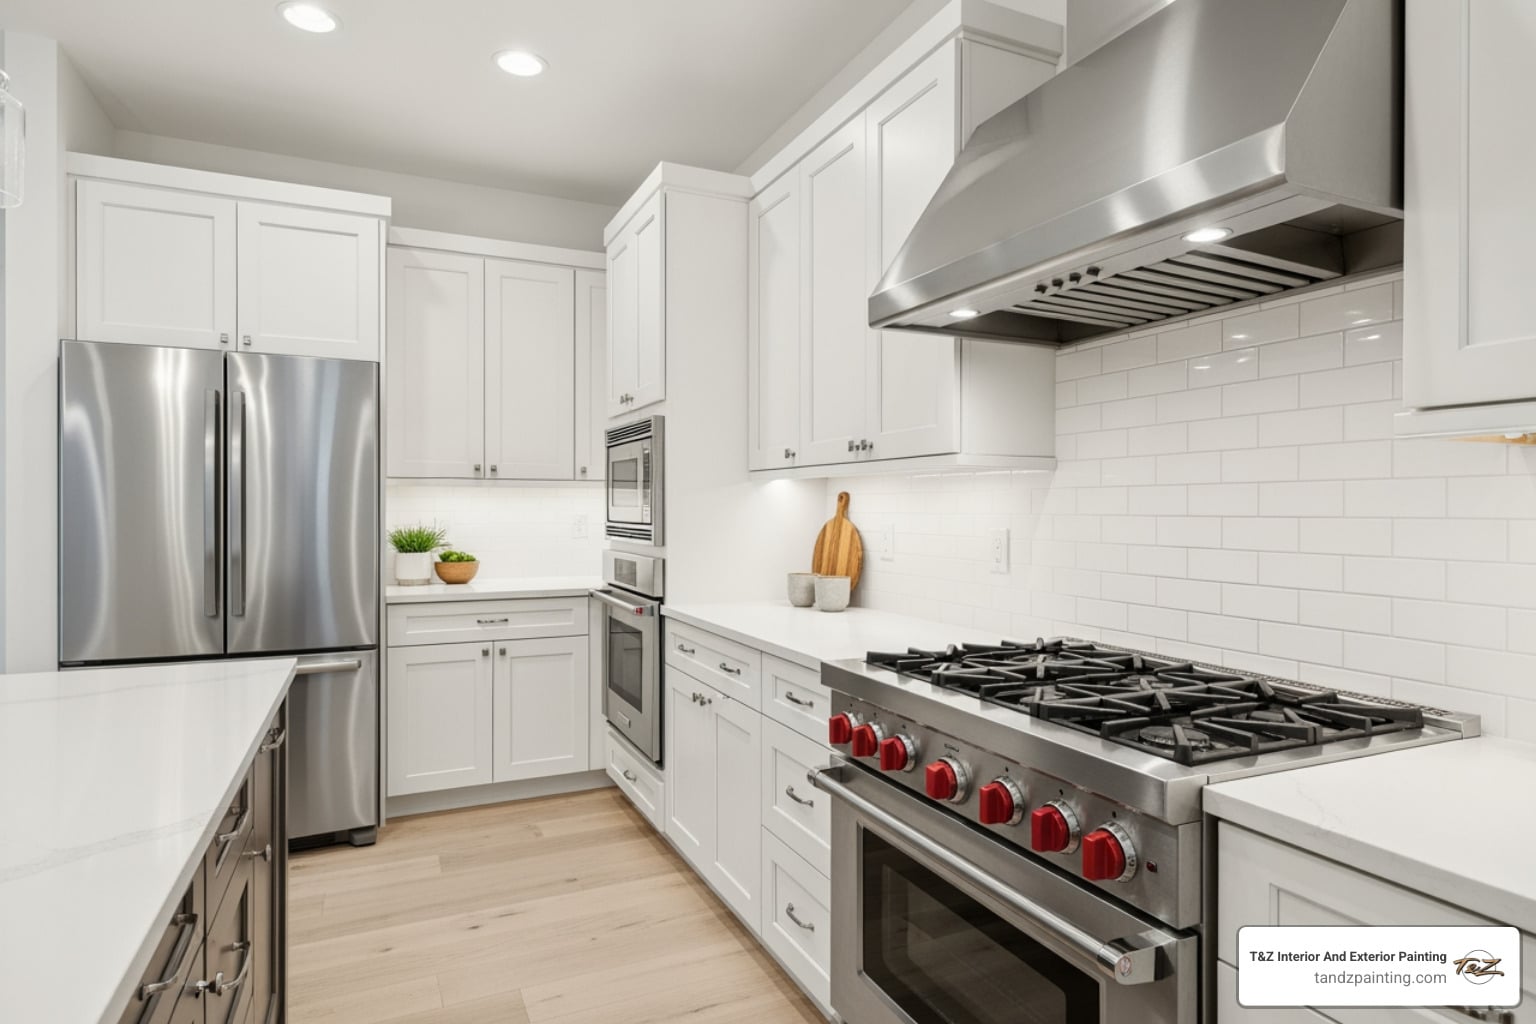
Why Painting Wood Veneer Can Transform Your Kitchen
Paint wood veneer cabinets successfully by following these essential steps:
- Clean thoroughly with TSP or degreaser to remove grease and grime
- Repair damage using wood filler for chips and wood glue for loose edges
- Sand lightly with 220-grit sandpaper to create adhesion without damaging the thin veneer
- Prime with a bonding primer designed for smooth surfaces
- Apply 2-3 thin coats of water-based paint, allowing proper drying between coats
- Seal with polyurethane or varnish for durability
Wood veneer is a thin layer of real hardwood (typically less than 1/8 inch thick) bonded to a core material like MDF or particleboard. Unlike laminate, which is plastic, veneer can be painted just like solid wood—but it requires careful preparation to avoid damaging its delicate surface.
The key challenge is that veneer is extremely thin. Sand too aggressively and you’ll wear through to the substrate beneath. Skip priming and your paint may peel within months. But follow the right process, and you can completely transform outdated kitchen cabinets without the disruption of replacement.
Why paint instead of replace? Replacing kitchen cabinets can be a major project and creates days of disruption. Painting veneer cabinets delivers a fresh, modern look and can often be completed in a long weekend.
I’m Tomasz Niemotko, and over 13 years of running T&Z Interior And Exterior Painting, I’ve helped hundreds of homeowners successfully paint wood veneer cabinets and furniture. The techniques I’ll share come from real-world experience changing kitchens throughout Lombard and surrounding areas.

Related content about paint wood veneer:
Understanding Your Cabinets: Wood Veneer vs. Laminate
Before we pick up a brush, we need to know exactly what we are working with. In our years of serving the Chicago suburbs, from Wheaton to Elmhurst, we’ve seen many homeowners mistake laminate for veneer. While both can be painted, the preparation methods differ slightly because of the materials involved.
Wood veneer is a “best of both worlds” material. It uses a paper-thin slice of real hardwood—often less than 1/40 of an inch thick—which is then glued to a sturdy core like MDF, plywood, or particleboard. This allows manufacturers to create furniture and cabinets that look like expensive solid oak or cherry without the weight of solid wood.
Laminate, on the other hand, is a purely synthetic, man-made product. It’s essentially a high-quality photograph of wood grain printed onto paper, which is then sealed with plastic resins. If you’ve ever bought “flat-pack” furniture from a big-box store, you’re likely familiar with laminate.

| Characteristic | Wood Veneer | Laminate |
|---|---|---|
| Material | Real hardwood layer | Plastic/Resin |
| Core | MDF, Plywood, or Particleboard | Composite board |
| Surface Feel | Textured, porous, warm | Smooth, non-porous, cool |
| Stainable? | Yes | No |
| Durability | Susceptible to water damage/peeling | Highly resistant to scratches/stains |
| Material Quality | Mid-range | Entry-level |
If you are still wondering if your specific project is a good candidate for a refresh, check out our guide on Can You Paint Kitchen Cabinets? to see if your layout and material are worth the effort.
Identifying Veneer Surfaces
How can you tell the difference at home? We recommend looking for a few “dead giveaways.”
First, check the edges. With veneer, you will often see a thin line where the sheet of wood attaches to the front of the piece. This is called edge banding. If the veneer is old, it might even be starting to peel away at these corners, revealing the MDF or particleboard underneath.
Second, look at the grain pattern. Since veneer is real wood, the grain will be unique across different cabinet doors. Laminate often has a repeating pattern because it is a printed image.
Finally, consider the weight and construction. Veneer furniture is typically heavier than laminate and often features higher-quality construction details, such as dovetail joints in the drawers. If you see a chip that looks like a splinter of wood, it’s veneer. If the chip looks like a piece of plastic or paper peeling off, it’s laminate.
Essential Preparation to Paint Wood Veneer
Preparation is the most important part of any painting project, especially when you want to paint wood veneer. In a kitchen, cabinets are subjected to a constant barrage of steam, splattered cooking oils, and sticky fingers. If you don’t remove these contaminants, your paint will simply slide off or fail to bond.
Cleaning the Surface
We always start by removing the cabinet hardware. It might seem tedious, but trying to paint around hinges and handles leads to a messy, amateur look. Once the doors are off, we use a powerful cleaner like TSP (Trisodium Phosphate) or a specialized product like White Lightning.
Mix about two tablespoons of TSP in a gallon of hot water. Use a rag to scrub every inch of the veneer. This step is crucial because TSP sanitizes the surface and prevents dirt or grease from bleeding through your beautiful new paint. After scrubbing, wipe everything down with a clean, damp rag to remove any residue and let it dry completely. For more professional tips on this stage, you can view this guide on How to Paint Wood Veneer.
If you’re feeling overwhelmed by the prep, we offer professional Cabinet Painting services throughout the Lombard area to take the hard work off your hands.
Repairing Damaged or Chipped Veneer
Veneer is notorious for chipping, especially around the edges of high-traffic kitchen cabinets. You cannot just paint over a chip; the indentation will show through the final finish.
To fix these areas, use a high-quality wood filler and a flexible putty knife. Press the filler into the crack or chip, leaving it slightly higher than the surrounding surface. Once it dries, you can sand it flush.
If you have sections where the veneer is peeling or “bubbling” away from the core, you’ll need to reglue it. We recommend using a small brush to apply wood glue under the loose edge, then using a clamp to hold it tight until it sets. If the damage is too extensive, you might even consider removing the veneer entirely with a putty knife, though this is a gamble as you never know what the wood underneath looks like!
Why You Must Sand and Prime Wood Veneer
Many “no-sand” paints claim you can skip these steps, but in our professional opinion, that is a recipe for peeling paint in a year or two. Paint wood veneer requires a “tooth” to grab onto.
Because veneer is so thin (often less than 1mm), you must be gentle. We use 220-grit sandpaper and sand lightly in the direction of the wood grain. The goal isn’t to remove the finish entirely, but to “scuff” it until the shine is gone. This creates a surface the primer can actually bond to.
After sanding, vacuum away the dust and use a tack cloth to ensure the surface is perfectly clean. Next comes the primer. We recommend a high-quality bonding primer like Zinsser Bulls Eye 1-2-3 or Dixie Belle’s Slick Stick. These primers are designed to stick to slick surfaces and provide a uniform base for your paint.
Priming also prevents “tannin bleed.” Real wood contains natural oils (tannins) that can seep through white or light-colored paint, leaving ugly yellow or brown stains. A good primer seals those tannins in. For a look at how we handle these changes in the field, check out our work on Cabinet Painting Elmhurst IL.
The Step-by-Step Process for a Professional Finish
Now for the fun part: the color! When you paint wood veneer, the application technique is just as important as the paint itself.
We recommend using a combination of a high-quality synthetic brush for the detailed areas (like the “recessed” parts of the door) and a small, high-density foam roller for the flat surfaces. This combination helps you achieve a smooth, factory-like finish without the heavy texture of a standard nap roller.
Apply the paint in thin, even coats. Don’t worry if the first coat looks a bit streaky; that’s normal. It’s much better to apply three thin coats than one thick coat that might run or drip. For more detailed instructions on the physical application, this How to Paint Veneer Furniture: Simple Step-by-Step Guide is an excellent resource.
Choosing the Best Paint for Wood Veneer
Not all paints are created equal. For kitchen cabinets, you need something durable that can stand up to daily cleaning.
- Acrylic/Latex Paint: These are water-based, easy to work with, and dry quickly (usually 1-2 hours between coats). They are less likely to yellow over time compared to oil-based paints.
- Chalk Paint: Great for a matte, vintage look. While it adheres well, it must be sealed with a wax or lacquer, or it will scratch off easily.
- Enamel Finishes: These dry to a very hard, durable shell. We often recommend a satin or semi-gloss enamel for cabinets because they are the easiest to wipe down.
Deciding on the right product is a big choice. We discuss the pros and cons further in our article, Kitchen Cabinet Painting Is It A Good Idea?.
Applying the Protective Topcoat
Once your final coat of paint has dried (we usually wait at least 24 hours), it’s time to protect your hard work. A topcoat adds a layer of moisture and scratch resistance that is vital in a kitchen environment.
A water-based polyurethane or a specialized furniture varnish is usually the best bet. Avoid oil-based varnishes on light colors, as they tend to amber or yellow as they age. Apply the topcoat in thin layers, just like the paint. We often recommend a light sanding with very fine grit sandpaper between topcoat layers to ensure the smoothest possible feel.
Even after the paint feels dry to the touch, it takes time to “cure.” Curing is the chemical process where the paint reaches its full hardness. We tell our clients in Carol Stream and La Grange to wait at least 48 to 72 hours before putting the hardware back on, and to be very gentle with the cabinets for the first 30 days.
If you’re also doing renovations that involve walls, you might want to consult a Dry Wall Contractor to ensure your kitchen’s backdrop looks as good as your new cabinets.
Frequently Asked Questions about Painting Veneer
We get a lot of questions at our Lombard office about the specifics of this process. Here are the most common ones.
Can you paint veneer without sanding or priming?
Technically, yes—but we don’t recommend it for kitchen cabinets. While mineral paints or chalk paints with bonding agents claim to skip the prep, kitchen cabinets are high-use items. Without sanding and a dedicated bonding primer, the paint is much more likely to peel or chip when bumped by a pot or pan. If you want your kitchen to look great for years, not just weeks, do not skip the prep!
How many coats of paint are needed for full coverage?
This depends on the “hide” or pigment density of your paint and the color change. If you are painting a light white over a dark mahogany veneer, you will likely need one coat of primer and three coats of paint. Typically, two coats of paint are the standard for most projects. Always allow at least 2-4 hours of drying time between coats to ensure the layers bond properly.
How do you avoid brush marks on smooth veneer?
The secret is “self-leveling” paint and high-quality tools. Modern cabinet paints are designed to flatten out as they dry. Using a foam roller for the large flat areas of the veneer will give you a much smoother finish than a brush. Also, try not to “over-work” the paint. Once you’ve applied a section, leave it alone to level out. If you see a small imperfection, wait for it to dry, sand it lightly, and touch it up in the next coat.
Conclusion
Changing your kitchen by choosing to paint wood veneer cabinets is one of the most rewarding DIY projects you can undertake. It breathes new life into the heart of your home without the massive financial burden of a full remodel. By following the steps of cleaning, repairing, light sanding, priming, and using quality paint, you can achieve results that look professional and last for years.
At T&Z Interior And Exterior Painting, we pride ourselves on delivering stunning results for our neighbors in Lombard, Wheaton, Lemont, Downers Grove, and across the Chicago area. Whether you need help with a single dresser or a full kitchen of veneer cabinets, our experienced teams use top-brand materials to ensure your home looks its absolute best.
Ready to see what a professional touch can do for your kitchen? More info about cabinet painting services is just a click away. Let’s make your kitchen the envy of the neighborhood!