
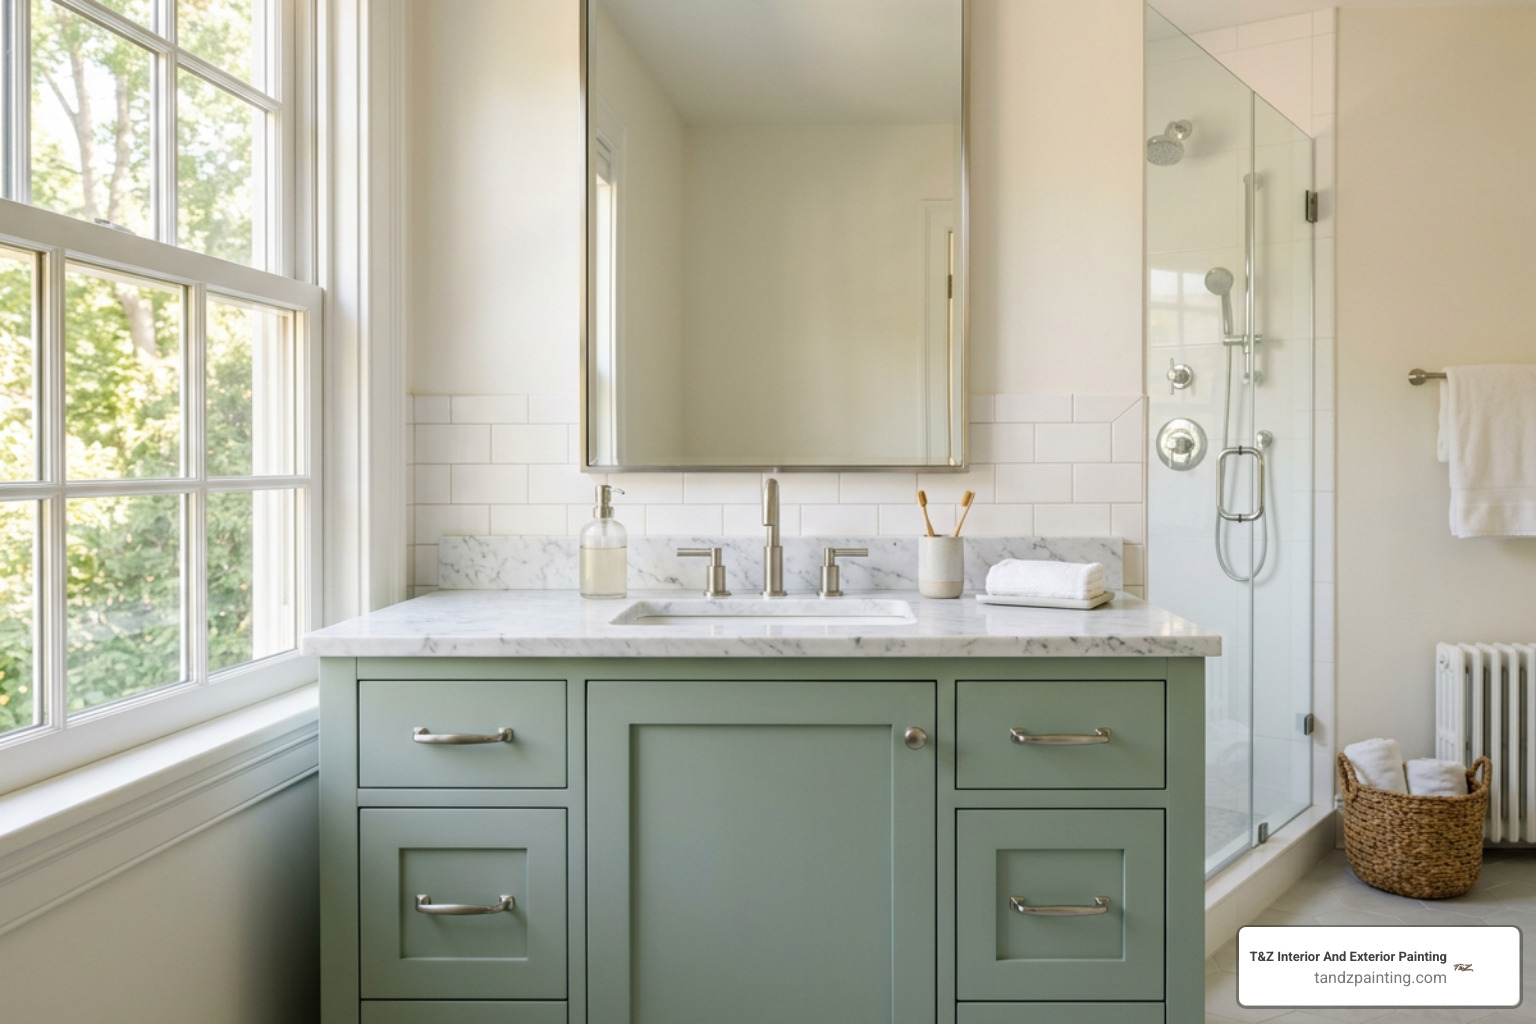
Choose a Cabinet-Grade Enamel That Can Handle Moisture
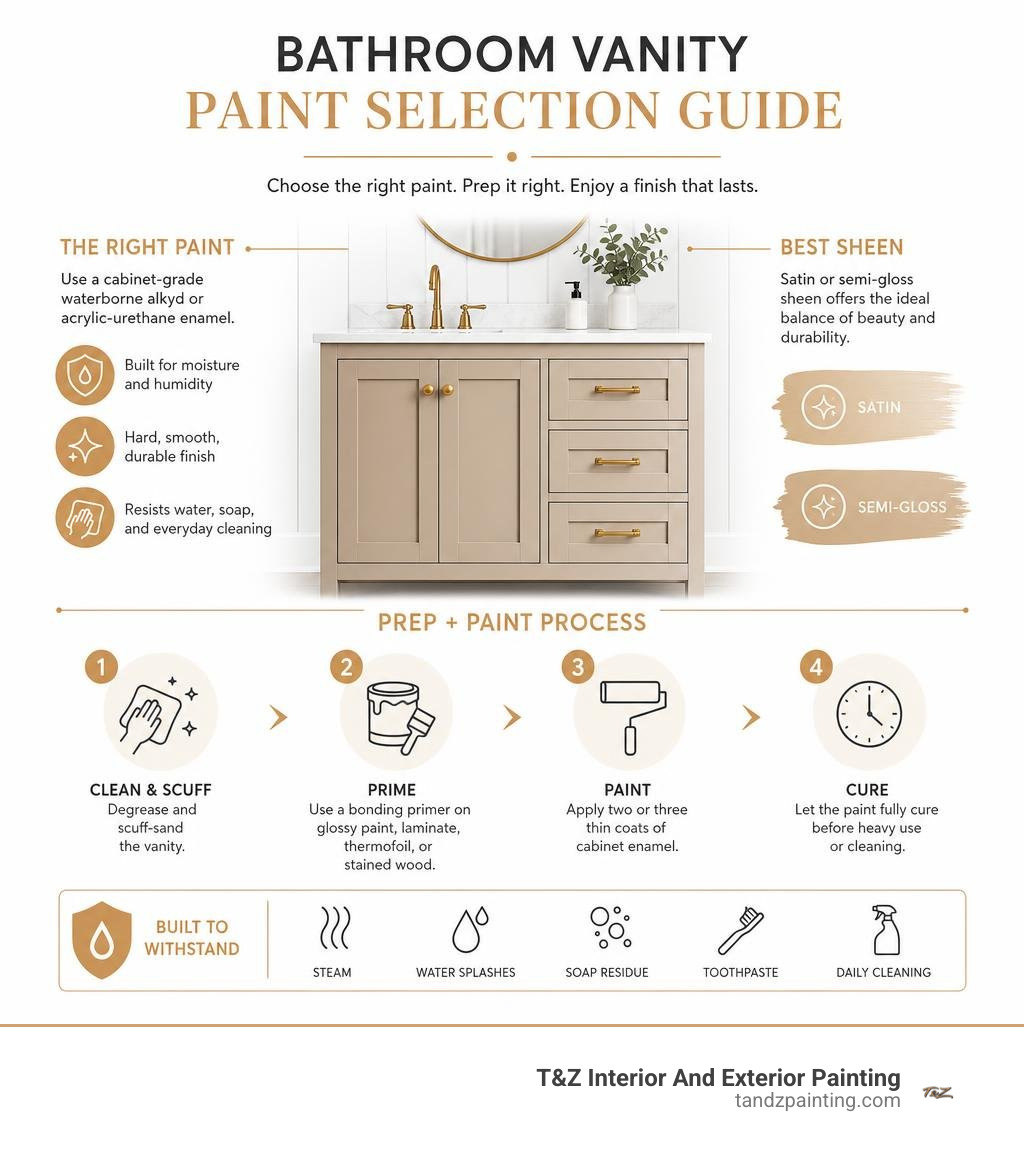
The best paint for bathroom vanity cabinets is a cabinet-grade waterborne alkyd or acrylic-urethane enamel in a satin or semi-gloss sheen. These paints cure into a harder, smoother surface than standard wall paint, so they better resist steam, water splashes, toothpaste, soap residue, and regular cleaning.
For reliable results, pair the finish paint with the right prep:
- Degrease and scuff-sand the vanity.
- Use a bonding primer on glossy paint, laminate, thermofoil, or stained wood.
- Apply two or three thin coats of cabinet enamel.
- Let the paint fully cure before heavy use or cleaning.
Preparation matters as much as paint choice. Research suggests that rushed prep is behind many DIY paint failures, especially when bathroom oils, sprays, and moisture prevent the new coating from bonding.
I’m Tomasz Niemotko of T&Z Interior And Exterior Painting, a licensed and insured painting company with 15+ years of experience, a 5.0 Google Reviews rating, and a reputation for detailed, reliable work in Lombard, Itasca, Addison, Glen Ellyn, Oak Brook, and surrounding communities. Our cabinet painting experience helps homeowners choose the best paint for bathroom vanity projects where a clean, durable finish matters.
Best paint for bathroom vanity word roundup:
Choosing the Best Paint for Bathroom Vanity Cabinets by Chemistry
The primary reason bathroom cabinets peel, chip, or develop blisters comes down to resin chemistry. Unlike dry areas of the home, a bathroom vanity experiences extreme temperature swings, direct water drips, and relative humidity that frequently climbs over 80% during hot showers. Choosing the correct chemical formulation ensures your vanity finish can handle these punishing conditions for years to come.
When evaluating coatings, explore our cabinet painting complete guide to see how different paint formulations protect wood and engineered materials.
| Paint Chemistry | Adhesion & Hardness | Moisture Resistance | Dry & Recoat Time | Cleanup & VOCs |
|---|---|---|---|---|
| Waterborne Alkyd | High / Enamel Hardness | Excellent | 16–24 hours recoat | Soap & Water / Low VOC |
| Acrylic-Urethane Enamel | Superior / Scratch Resistant | Superior | 4 hours recoat | Soap & Water / Low VOC |
| Traditional Oil-Based | High / Rigid Shell | High | 8–24 hours recoat | Mineral Spirits / High VOC |
| Standard Acrylic Latex | Low to Moderate / Flexible | Poor on Cabinets | 2–4 hours recoat | Soap & Water / Low VOC |
Why Waterborne Alkyd Is the Best Paint for Bathroom Vanity Projects
Waterborne alkyd paints represent a major technological leap for interior cabinetry. These hybrid coatings use modified alkyd oil resins suspended in a water base. This gives you the best characteristics of traditional oil enamels—exceptional flow, self-leveling capabilities, and rock-hard cure strength—while maintaining easy soap-and-water cleanup and low VOC emissions.
Products such as Benjamin Moore Advance deliver roughly 350 to 400 square feet of coverage per gallon. As the paint dries, the water evaporates first, allowing the alkyd resins to crosslink into a dense, furniture-smooth surface that eliminates visible brush and roller textures.

Acrylic-Urethane Enamels and Mold-Resistant Formulas
Acrylic-urethane enamels, such as Sherwin-Williams Emerald Urethane Trim Enamel, introduce urethane polymer chains into an acrylic structure. This combination produces exceptional scratch and scrub resistance. In standardized scrub testing, urethane enamels withstand over 5,000 scrub cycles without burnishing or peeling, compared to approximately 1,500 cycles for basic latex formulations.
For bathrooms prone to high humidity, products with specialized antimicrobial additives, such as Zinsser Perma-White, offer a dedicated 5-year mold-and-mildew-proof film warranty. To learn more about high-performance coatings tested under demanding moisture conditions, read the Best Bathroom Paint in 2026: Walls, Ceilings & Trim Tested — CompositePaint guide.
Why Standard Wall Latex and Traditional Oil Paints Fail in Bathrooms
Standard wall latex remains too soft and elastic for high-contact cabinet doors and drawers. When exposed to standing water drops, cosmetic oils, or aggressive cleaning, ordinary wall paint softens, absorbs moisture, and peels off in flexible sheets.
Conversely, traditional solvent-based oil paints cure into a rigid, brittle film that can crack as underlying wood expands and contracts in humid environments. Furthermore, traditional oil formulations yellow over time, particularly in windowless bathrooms and powder rooms that lack natural ultraviolet sunlight.
Selecting the Right Sheen and Color for High-Moisture Vanities
The sheen you choose does not just determine how shiny your vanity looks—it serves as your front line of defense against daily moisture. To understand how sheens perform across various surfaces, consult paint sheens 101 the official guide to choosing the right finish.
Satin vs. Semi-Gloss: Durability and Water Resistance
For bathroom vanities, your ideal sheen choices are satin and semi-gloss. Matte and flat finishes must be avoided completely on cabinetry; their porous surface structure holds moisture, traps soap scum, and burnishes when wiped down.
- Semi-Gloss: The top choice for high-moisture family bathrooms. Testing shows semi-gloss surfaces exhibit 63% fewer water spots than lower-sheen finishes because moisture beads easily on the non-porous film. To explore the unique advantages of this sheen, see stop the sheen stress and pick the perfect cabinet finish.
- Satin: Offers a soft, elegant luster that hides subtle wood grain variations and minor surface imperfections better than semi-gloss, while still providing solid cleanability and moisture resistance in well-ventilated bathrooms.
2026 Color Trends and Lighting Considerations
Color choices for bathroom vanities should account for room size, natural light availability, and artificial bulb temperatures:
- Light Reflectance Value (LRV): LRV measures the percentage of light a color reflects (from 0 to 100). For windowless or compact bathrooms, higher LRV shades like Benjamin Moore White Dove (LRV 85) bounce illumination effectively, while moodier tones like Sherwin-Williams Iron Ore (LRV 6) provide striking contrast in powder rooms.
- Lighting Temperature: Bathroom vanity lighting is frequently fitted with 3000K to 4000K LED bulbs. Cool 4000K daylight bulbs can make ultra-crisp blue-whites appear clinical and cold, whereas warm off-whites remain balanced and inviting.
- Trending Shades: Popular vanity selections include organic sage tones like Sherwin-Williams Evergreen Fog, sophisticated dark navies like Benjamin Moore Hale Navy, and warm grounding neutrals like Sherwin-Williams Urbane Bronze. For an in-depth review of top cabinet shades, review the Bathroom Cabinet Colors: 14 Best Vanity Paint Picks 2026 report.
Essential Prep and Priming: Avoiding the 73% Failure Rate
Industry data reveals that 73% of DIY cabinet paint failures stem directly from rushed or skipped surface preparation. Bathroom cabinets collect invisible films of hairspray, facial oils, soap residue, and lotion that completely block paint adhesion if not properly eliminated. Following a structured preparation workflow prevents premature chipping and delamination.
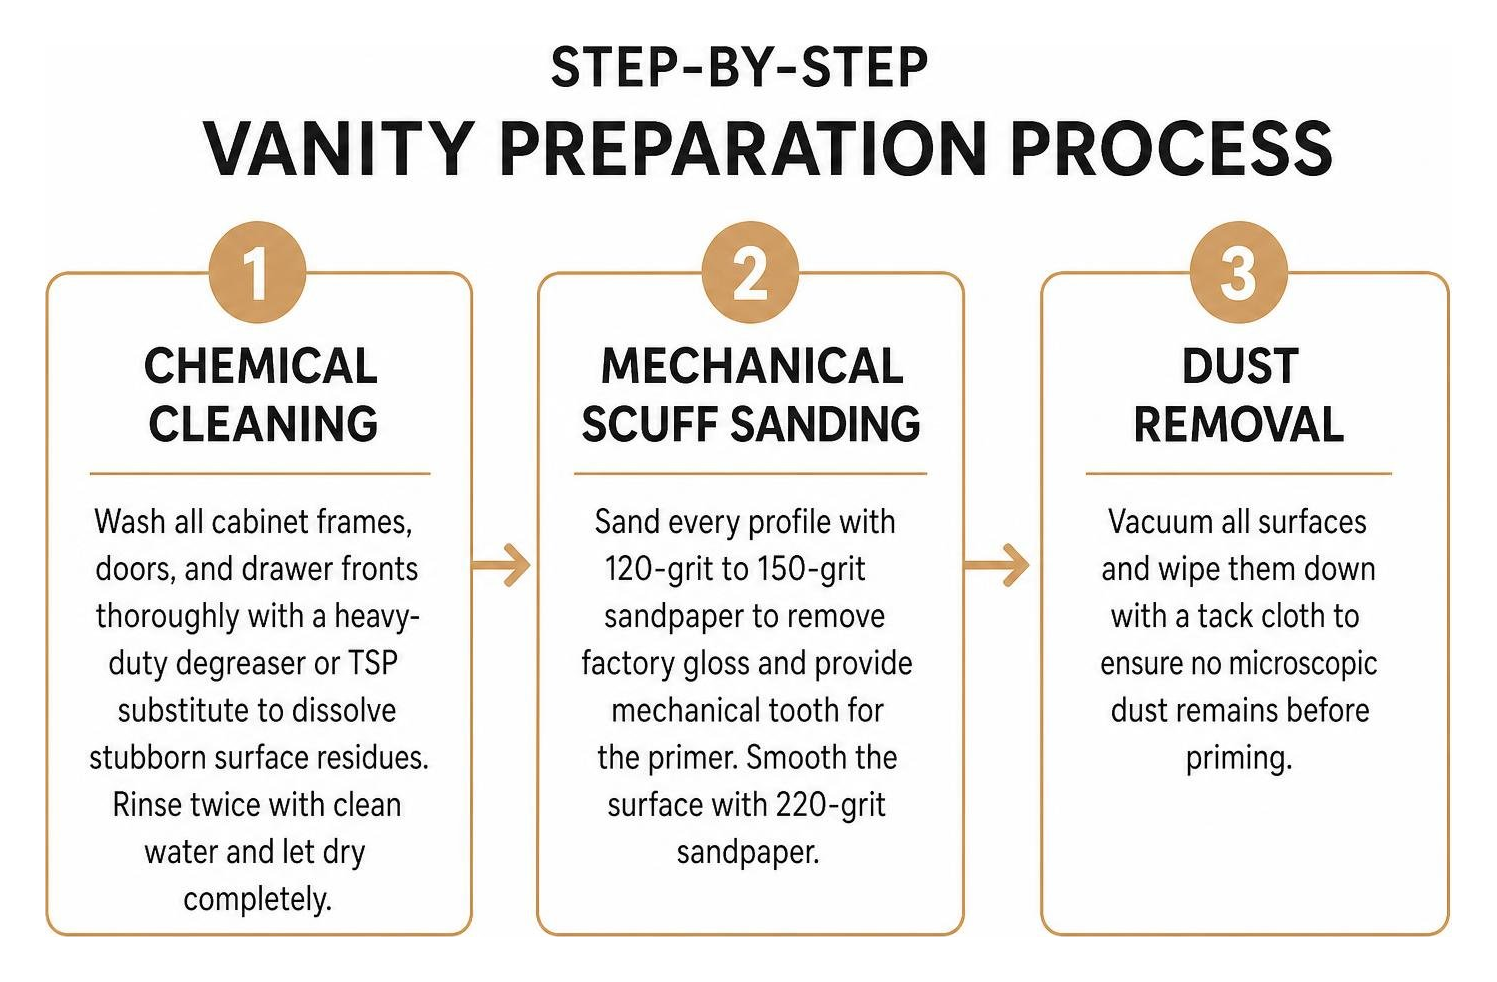
Before picking up a brush, follow the practical advice in our guide on how to give your old bathroom vanity a fresh coat of paint:
- Chemical Cleaning: Wash all cabinet frames, doors, and drawer fronts thoroughly with a heavy-duty degreaser or TSP substitute to dissolve stubborn surface residues. Rinse twice with clean water and let dry completely.
- Mechanical Scuff Sanding: Sand every profile with 120-grit to 150-grit sandpaper to remove factory gloss and provide mechanical tooth for the primer. Smooth the surface with 220-grit sandpaper.
- Dust Removal: Vacuum all surfaces and wipe them down with a tack cloth to ensure no microscopic dust remains before priming.
Do You Really Need a Separate Primer for Cabinets?
Yes, a dedicated bonding primer is essential. “Paint-and-primer-in-one” products are engineered for porous, previously painted drywall, not the slick, non-porous surfaces found on bathroom vanities.
Applying topcoat enamel directly over glossy finishes or stained timber without a primer causes peeling and allows natural wood tannins to bleed through light colors. Specialty bonding primers like Insl-X Stix or shellac-based sealers such as Zinsser BIN create an unyielding adhesion anchor between the substrate and your finish enamel.
Preparing Laminate, Thermofoil, and Stained Wood Surfaces
Different vanity materials require specific preparation methods:
- Stained Hardwood (Oak, Cherry, Maple): Requires a stain-blocking shellac primer to seal deep tannins and knots, preventing yellow or brown moisture bleed-through.
- Laminate: Because laminate is completely non-porous, scuff-sand thoroughly with 150-grit paper to de-gloss the synthetic outer layer, followed by a high-adhesion waterborne bonding primer.
- Thermofoil: Inspect all edges for peeling or bubbling vinyl wrap. If the thermofoil has delaminated from the underlying MDF core, carefully peel away the loose film, sand the substrate flush, and seal the exposed MDF with shellac primer before painting. To protect detailed millwork during restoration, read our overview on cabinet furniture refinishing.
Step-by-Step Application: Spraying vs. Brushing and Rolling
Selecting the best application tool depends on your project scale, equipment availability, and desired finish quality:
- HVLP Spraying: High-Volume Low-Pressure (HVLP) sprayers produce an ultra-smooth, factory-grade finish without brush strokes or stippling. When updating entire homes or built-ins, professional homeowners frequently rely on specialized spray painting services for consistent, rapid coverage.
- Brush and Roller: For smaller vanity boxes, pair a 4-inch high-density foam mini-roller for flat door panels with a 2-inch or 2.5-inch angled synthetic sash brush to cut in recessed profiles and cabinet frame bevels.
Application Process for a Factory-Smooth Finish
To achieve a durable, professional-quality finish on your vanity:
- Hardware Disassembly: Remove all hinges, handles, and pulls. Number and label every door and drawer front to ensure accurate reassembly.
- First Thin Coat: Lay cabinet doors flat on a workbench or sawhorses to eliminate gravity runs. Apply a light, even coat of cabinet enamel, maintaining a wet edge to blend overlapping passes.
- Intermediate Sanding: Allow the first coat to dry according to the manufacturer’s directions (4 hours for acrylic-urethanes, up to 16–24 hours for waterborne alkyds). Lightly hand-sand the surface with ultra-fine 220-grit sandpaper to knock down dust nibs, then wipe with a tack cloth.
- Second and Third Coats: Apply one to two additional thin coats to achieve complete coverage and build adequate film thickness against moisture penetration.
Proper Drying vs. Full Cure Timeframes
There is a critical difference between a coating being dry to the touch and being fully cured:
- Dry to Touch (1–4 Hours): The water or solvent has evaporated from the surface, allowing you to handle the piece gently.
- Assembly Window (24–48 Hours): Doors and drawer fronts can be reattached to the vanity frame using clean hardware.
- Full Chemical Cure (14–30 Days): The enamel completes its internal crosslinking process to reach maximum mechanical hardness and chemical resistance. Avoid abrasive scrubbing, harsh chemical cleaners, or direct soaking during this initial curing window.
Frequently Asked Questions About Bathroom Vanity Painting
What Is the Best Paint for Bathroom Vanity Units in High Moisture?
The most resilient options are waterborne acrylic-urethane trim enamels (such as Sherwin-Williams Emerald Urethane) and hybrid waterborne alkyds (such as Benjamin Moore Advance) applied in a semi-gloss or satin sheen. These specialized coatings resist water penetration, soap residue, and frequent wipe-downs far better than conventional wall paint.
Can I Paint a Bathroom Vanity Without Removing the Doors?
While physically possible, painting doors while attached to the cabinet face frame leads to drips, visible brush pooling around hinge mounts, and runs on vertical profiles. Removing doors and laying them flat allows self-leveling enamels to settle smoothly, producing a clean, factory-like surface.
How Long After Painting a Vanity Can I Shower?
Wait at least 24 hours after applying the final coat before using the shower, and always run the bathroom exhaust fan during and for 20 minutes after bathing to maintain relative humidity below 55%. Introducing heavy steam onto wet or partially dried paint can soften the film and cause premature blistering.
Conclusion: Achieve a Lasting Vanity Transformation
A painted vanity breathes new life into your entire bathroom, elevating interior aesthetics while protecting cabinetry against daily humidity. Achieving a long-lasting, flawless finish requires careful chemistry selection, thorough surface degreasing, dedicated bonding primers, and patient curing.
When you want professional, dependable results without the stress of managing multi-day preparation and specialized spraying equipment, partner with our team at T&Z Interior And Exterior Painting. With over 15 years of residential painting experience, a 5.0 Google Reviews rating, and full licensing and insurance, we deliver beautiful, enduring finishes throughout Lombard, Itasca, Addison, Glen Ellyn, Oak Brook, and surrounding communities. Contact us today to explore our professional cabinet painting services and schedule your bathroom transformation.