
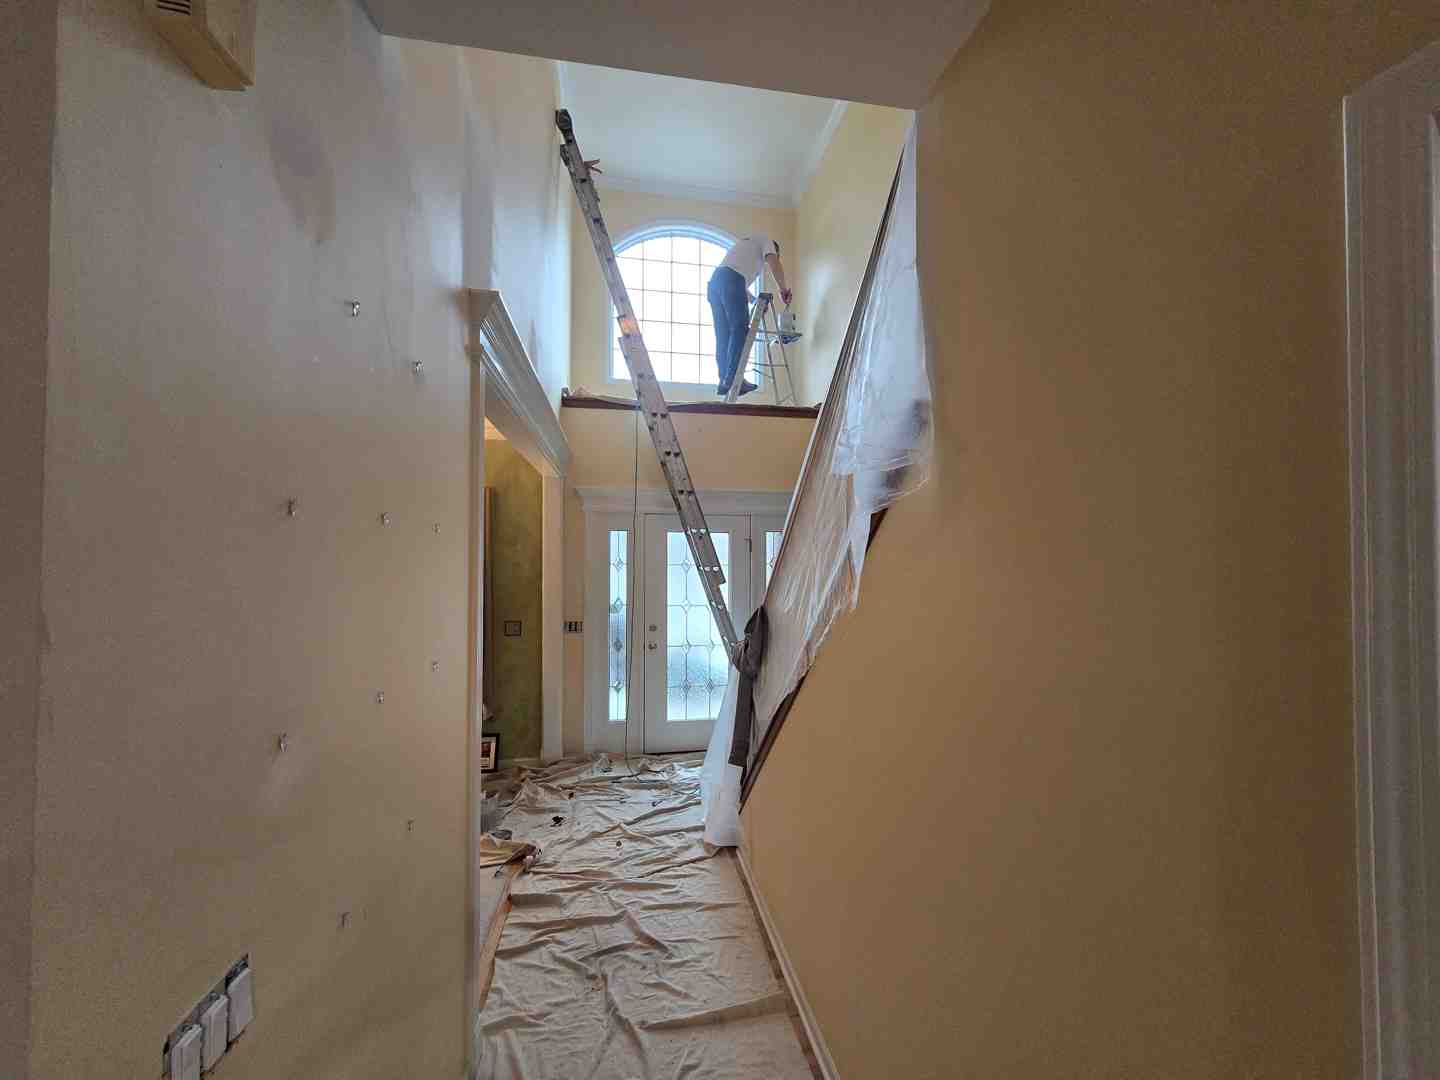
Is Glossy Wall Paint Right for Your Room?
Glossy wall paint is a good choice when you want a bright, easy-to-wipe surface and are willing to spend time on prep. Choose a high-gloss paint labeled for interior walls. Clean the wall, fill and sand flaws, prime where needed, then apply thin coats at the recoat times on the label. Gloss reflects light, but it also makes dents, patches, and roller marks easier to see. If the wall is uneven, a lower sheen may look better.
I’m Tomasz Niemotko, owner and founder of T&Z Interior And Exterior Painting, a licensed and insured painting contractor in Lombard founded in 2009. With over 15 years of interior painting experience, I’ll walk you through what it takes to get a smooth glossy wall paint finish.
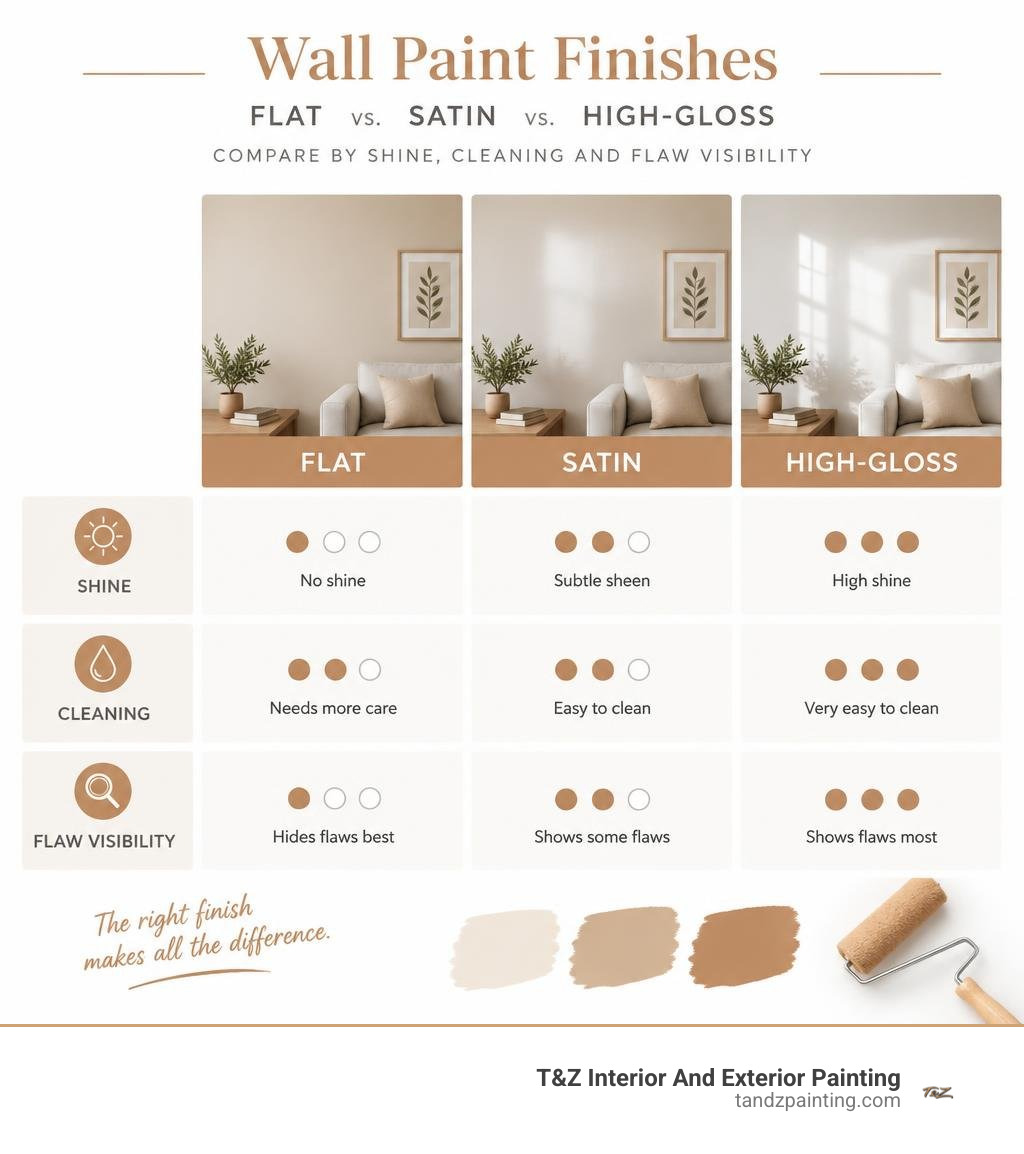
Glossy wall paint terminology:
Understanding the Unique Appeal of Glossy Wall Paint
High-gloss surfaces bring a distinct energy to interior spaces that standard finishes simply cannot match. When applied correctly, glossy wall paint creates a mirror-like sheen that bounces natural and artificial light around the room. This effect brightens dim spaces, expands perceived square footage, and provides a sleek, modern aesthetic reminiscent of high-end architectural design.
Beyond aesthetics, high-gloss finishes offer superior washability and stain resistance. The tightly bound resin structure creates a non-porous film that prevents dirt, grease, and moisture from penetrating the substrate. While flat paints hold onto scuffs and absorb liquids, glossy surfaces allow you to wipe away everyday messes with a damp microfiber cloth. This makes them exceptionally durable in active households. To learn more about how sheen impacts longevity, take a look at our guide to choosing paint finishes.
Visual Impact and Light Reflection
The magic of gloss lies in specular reflection. Unlike matte or eggshell sheens that scatter light diffusely across microscopic surface bumps, a high-gloss coating reflects light rays at the same angle they arrive. On standard industry scales, high-gloss coatings typically register between 60 to 90 units of sheen at a 60-degree viewing angle, with specialized lacquer formulations reaching even higher.
This intense reflectivity can make narrow hallways, compact entryways, and small powder rooms feel substantially larger. By highlighting architectural moldings, trim profiles, and wall contours, a glossy sheen adds crisp definition to decorative millwork. If you are debating which sheen level best fits your primary living areas, explore our recommendations on living room wall sheens to find the right balance between drama and practicality.
True Lacquer vs. Modern Gloss Finishes
Homeowners often confuse true traditional lacquer with modern high-gloss architectural paints. While both offer a shiny aesthetic, their chemistry, application requirements, and curing behaviors are fundamentally different.
| Feature | True Traditional Lacquer | Modern High-Gloss Enamel | Modern Satin Wall Finish |
|---|---|---|---|
| Gloss Level | 90% or higher (mirror-like) | 60% to 85% (high shine) | 30% to 60% (soft sheen) |
| Required Coats | 5 to 8+ coats | 2 to 3 coats | 2 coats |
| Labor & Process | Multi-week wet-sanding between every coat | Standard sanding and smooth rolling/spraying | Standard rolling and cutting in |
| Base Chemistry | Solvent-borne nitrocellulose/alkyd | Waterborne alkyd or high-solids acrylic | Water-based latex or acrylic |
| Curing Time | 3+ weeks for complete curing | 14 to 30 days full cure | 14 days full cure |
| Imperfection Visibility | Extremely high | Very high | Moderate to low |
True lacquer requires a multi-coat layering process, rigorous wet-sanding between every single layer, and specialized solvent handling. Modern waterborne alkyds and high-solids acrylic enamels provide an accessible alternative that delivers deep visual richness without the multi-week timeline.
Essential Preparation Steps Before Applying Glossy Paint
The greatest challenge of using glossy wall paint is its unforgiving nature. High sheen acts as a magnifying glass for wall flaws: tiny dents, hairline cracks, ridges, drywall joint tape lines, and roller stipple stand out sharply under directional lighting. Proper preparation is essential to prevent these flaws from ruining the finish. For more details on wall prep fundamentals, review our guide on wall paint finishes.
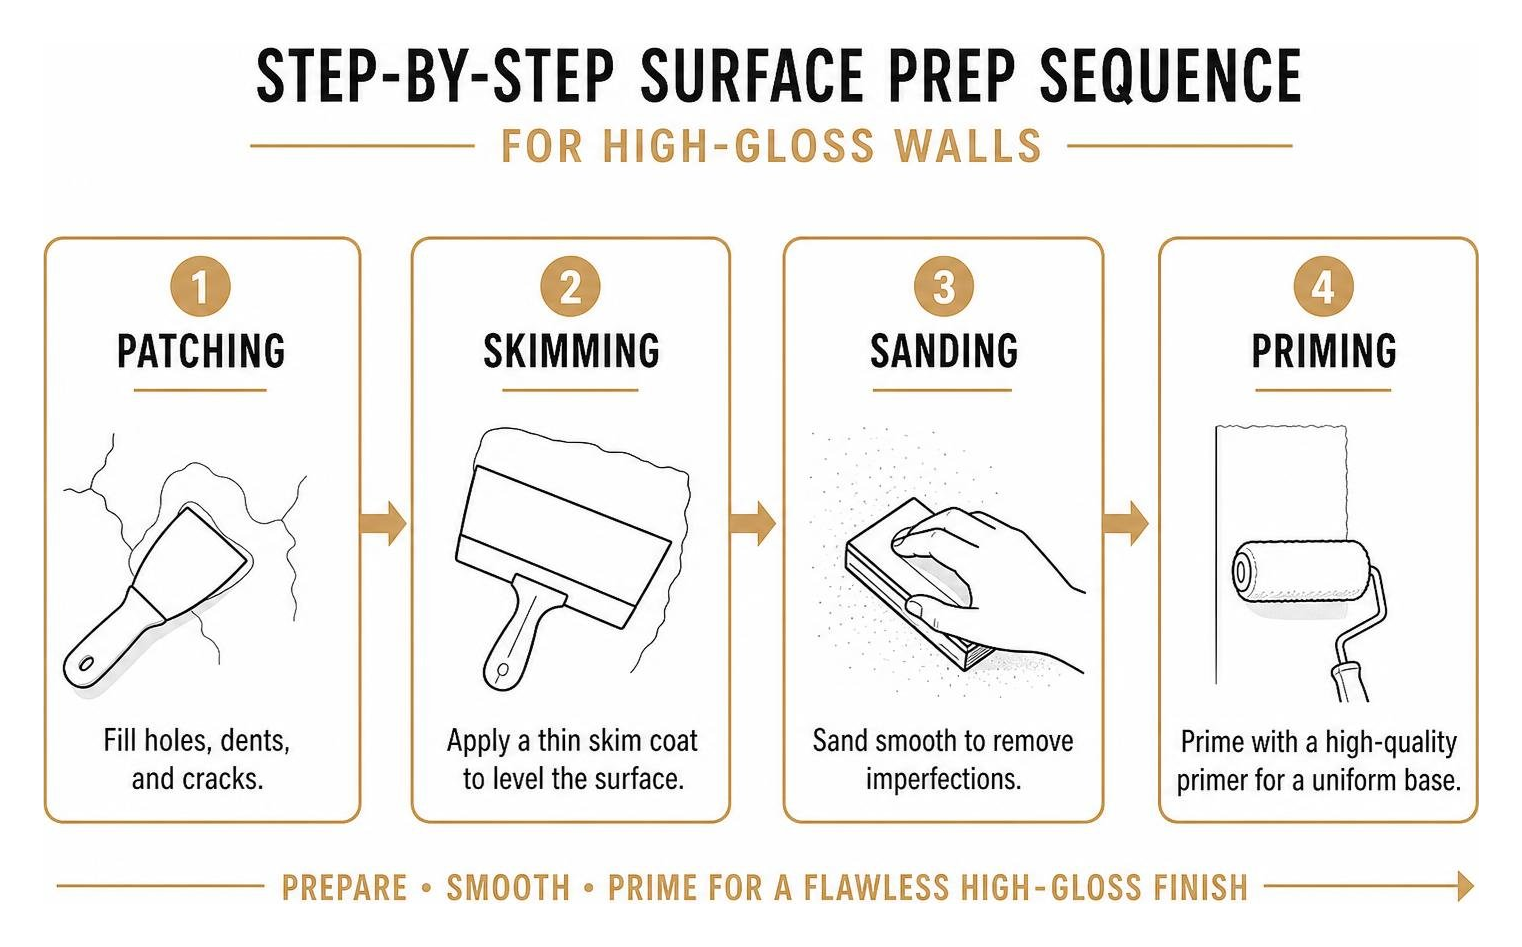
Surface Leveling, Sanding, and Priming
Achieving a mirror-like finish requires creating a Level 5 drywall surface:
- Thorough Surface Cleaning: Scrub the entire wall with a non-residual degreaser or TSP alternative to eliminate oils, dust, and grime that compromise adhesion.
- Skim Coating: Apply a thin, uniform skim coat of joint compound over the entire wall surface to fill pores, texture differences, and shallow depressions.
- Progressive Drywall Sanding: Sand the skimmed surface flat using fine-grit sandpaper (progressing from 150-grit to 220-grit), checking with a work light held flat against the wall to catch minor imperfections.
- High-Build Priming: Apply a premium, high-build enamel undercoat or stain-blocking primer. This creates a uniform porosity across the wall so the topcoat dries evenly.
- Wet Sanding the Undercoat: Once the primer is fully dry, wet-sand it lightly with 320-grit or 400-grit sandpaper to remove microscopic texture, then wipe the wall clean with a tack cloth.
Managing Humidity and Environmental Factors
Environmental conditions during application significantly impact how high-gloss paint flows and levels. High humidity slows the evaporation of waterborne carriers, extending tackiness and leaving wet paint vulnerable to airborne dust. Conversely, extremely dry or hot air causes paint to “flash off” too quickly, preventing the resin from leveling out and resulting in visible brush marks or roller stipple.
Maintain indoor relative humidity between 40% and 60% and keep temperatures between 65°F and 75°F. Turn off forced-air heating or air conditioning during application to minimize airborne dust, and run an air scrubber or HEPA filtration unit in the room prior to painting to clear airborne particles.
Professional Application Techniques for a Flawless Finish
Applying high-gloss coatings demands precise technique and high-grade tools. Standard painting methods that work well for matte finishes will leave visible lap lines, micro-bubbles, and orange-peel texture on a high-gloss wall.
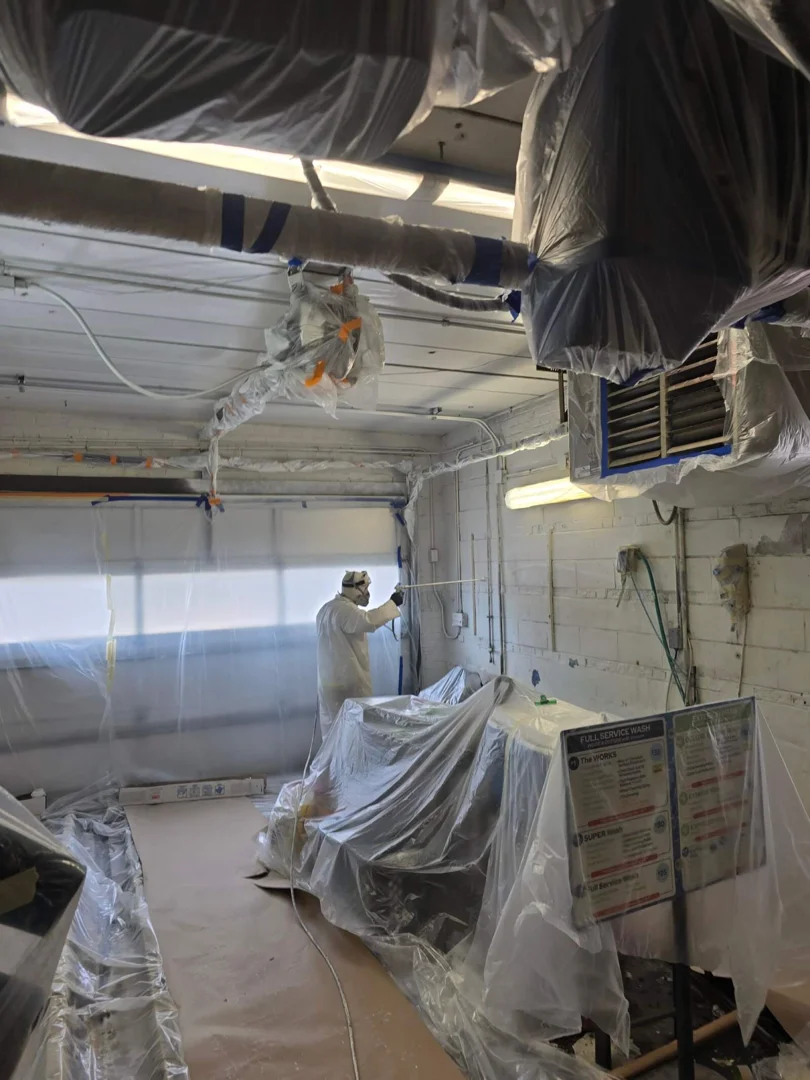
Spraying vs. Rolling Glossy Wall Paint
- Spraying (Preferred Method): Applying paint with an HVLP (High Volume Low Pressure) or fine-finish airless sprayer provides the smoothest possible finish. Spraying atomizes the enamel into a fine mist that settles evenly across the wall without mechanical friction, eliminating brush strokes and roller texture.
- Rolling and Back-Brushing (Manual Method): If spraying is not an option, use a high-density micro-fiber or low-lint felt roller with a short nap (1/4-inch or 3/16-inch). Work in narrow vertical sections, keeping a wet edge at all times. Immediately follow behind the roller with a premium synthetic bristle brush, lightly tipping off the surface vertically with featherweight pressure to pop micro-bubbles and smooth out ridges.
Sanding Between Coats and Curing Times
Never rush high-gloss application. Applying a second coat over a partially dried under-layer traps solvents, leading to wrinkling, dull spots, and poor adhesion.
- Inter-Coat Sanding: After the first coat dries, scuff-sand the entire surface lightly using 320-grit or 400-grit abrasive pads. This removes stray dust nibs and gives the next layer mechanical tooth for bonding.
- Recoat Windows: Follow the manufacturer’s recoat window closely. While fast-drying waterborne gloss paints may feel touch-dry within 1 to 4 hours, they typically require 16 to 24 hours of dry time before they can be safely sanded and recoated.
- Complete Hardening: Avoid scrubbing or heavy contact on newly painted high-gloss walls for at least 14 to 30 days to allow the enamel binder to fully cure and achieve maximum hardness.
Best Rooms and Spaces for High-Sheen Walls
High-gloss wall paint works best in spaces designed to showcase dramatic reflections or in rooms that demand exceptional moisture and scrub resistance.
| Room Type | Suitability | Key Benefits | Practical Considerations |
|---|---|---|---|
| Powder Rooms | Exceptional | Creates a dramatic, reflective jewel-box effect | Requires complete wall skim-coating first |
| Kitchens | High | Resists cooking grease, steam, and heavy scrubbing | Avoid direct high-glare light angling |
| Bathrooms | High | Prevents moisture absorption and mold penetration | Ensure proper ventilation during curing |
| Hallways & Entryways | Moderate to High | Brightens narrow areas; resists scuffs | High traffic exposes surface bumps easily |
| Formal Dining Rooms | High | Reflects soft chandelier lighting elegantly | Requires flawless drywall prep |
| Large Living Rooms | Moderate | Best used on accent walls rather than all four walls | Large, brightly lit walls can show minor flaws |
Kitchens, Bathrooms, and High-Traffic Areas
Bathrooms and kitchens benefit immensely from the non-porous barrier formed by high-gloss enamels. In humid bathrooms, glossy paint acts as a protective shield against moisture penetration, helping to keep walls clean and mildew-free. In kitchens, grease splatters and food stains sit on the surface rather than soaking into the drywall, allowing for easy cleanup.
To explore creative design options for compact culinary spaces, check out our insights on why your tiny kitchen needs a glossy glow up. If you are also considering updating your cabinetry alongside your walls, read our guide on how to get that high gloss kitchen cabinet look without the stress.
Accent Walls and Reflective Ceiling Features
Painting all four walls in high-gloss can sometimes feel overwhelming in large spaces with numerous windows. Instead, consider using high-gloss enamel strategically on a single architectural feature, such as a moody dark accent wall or a painted ceiling.
A glossy ceiling reflects chandeliers, table lamps, and architectural sconces, adding perceived height and visual depth to dining rooms and libraries. In a compact powder room, coating both the walls and ceiling in a rich, dark high-gloss shade creates an intimate, sophisticated jewel-box look.
Comparing Top Products and Design Alternatives
Selecting the right high-gloss formulation is key to achieving a smooth, durable finish. Premium coatings feature advanced resin technology, superior flow, and self-leveling agents that help eliminate brush marks. For a broader overview of paint categories, check out our guide on choosing the right sheen.
Choosing the Best Brands for Glossy Wall Paint
When evaluating high-gloss interior paints, several top-tier products consistently deliver reliable results:
- BEHR PREMIUM PLUS Hi-Gloss Enamel: A dependable, low-VOC acrylic paint and primer in one that provides solid coverage, mildew resistance, and easy soap-and-water cleanup.
- Benjamin Moore Impervex High-Gloss Base 4 Enamel: A premium quick-drying latex enamel designed for both interior and exterior applications, providing a durable, mirror-like finish that resists yellowing.
- Clark+Kensington High-Gloss Black Premium Paint: An interior/exterior paint and primer formulation that delivers rich color depth and a smooth, hard-wearing surface.
- Fine Paints of Europe Hollandlac Brilliant: A premier European-style alkyd enamel renowned for its deep, glass-like shine and exceptional leveling properties.
Decorative Faux Finishes and Lower-Sheen Substitutes
If your drywall has older textures or settling flaws that make a true high-gloss finish impractical, consider these lower-maintenance alternatives:
- Semi-Gloss Enamel: Offers noticeable light reflection and strong washability while being far more forgiving of minor drywall texture.
- Satin Wall Finish: Provides a soft, velvety luster that gently disperses light across living spaces while maintaining solid scrub resistance.
- High-Sheen Decorative Glazes: Layering decorative faux finish glazes over a satin base can add visual depth and subtle reflection without highlighting minor drywall imperfections.
Frequently Asked Questions About Gloss Finishes
How do you fix drips or uneven texture in high-gloss paint?
If a run, drip, or heavy brush mark occurs, allow the paint film to cure completely for several days until the paint is hard. Do not attempt to wipe away wet runs, as this will smear the finish and create a larger mess. Once hard, use a sanding block with 320-grit wet/dry sandpaper lubricated with water to sand the drip flat with the surrounding surface. Wipe away sanding dust, apply a light coat of undercoat primer if the sanding broke through the color, and repaint the entire wall section corner-to-corner to maintain a seamless, uniform sheen.
Is high-gloss paint suitable for imperfect drywall?
Generally, no. Standard drywall installations (Level 3 or Level 4) feature textural differences between the paper face and the mudded joints, which become glaringly visible under a glossy finish. To use high-gloss paint over imperfect drywall, the surface must first receive a comprehensive Level 5 skim coat, followed by machine-assisted flat sanding and high-build priming.
Can you tone down a wall painted in high-gloss?
Yes. If you decide to tone down a high-gloss wall, you cannot simply paint a flat or satin paint directly over it, as the new paint will not adhere well to the slick surface. First, wash the wall with a degreasing cleaner. Next, scuff-sand the entire surface using 150-grit sandpaper or apply a liquid deglosser to remove the shine. Finally, apply a bonding primer before rolling on your preferred lower-sheen topcoat.
Conclusion
Glossy wall paint delivers an unmatched visual impact, turning ordinary rooms into bright, dynamic spaces with remarkable depth and durability. However, achieving that glass-like reflection requires meticulous drywall prep, dust control, and precise application.
When you want the beauty of a high-gloss finish without the stress of extensive surface leveling and spraying, our local team is here to help. T&Z Interior And Exterior Painting is a licensed and insured painting contractor based at 1101 S Columbine Ave, Lombard, IL 60148. Founded in 2009 by owner Tomasz Niemotko, we bring over 15 years of dedicated painting experience to every project. We are BBB accredited, hold a 5.0 Google rating with 85+ reviews, and stand behind our work with a 2-year warranty.
We proudly serve homeowners and businesses throughout Lombard, Glen Ellyn, Downers Grove, Wheaton, Carol Stream, Elmhurst, Schaumburg, and Chicago. Whether you are planning a bold accent wall, a glossy powder room makeover, or a full home transformation, explore our professional interior painting services today.
Ready to make your interior surfaces shine? Contact us today to request your free estimate by visiting tandzpainting.com or calling (224) 240-0054.