
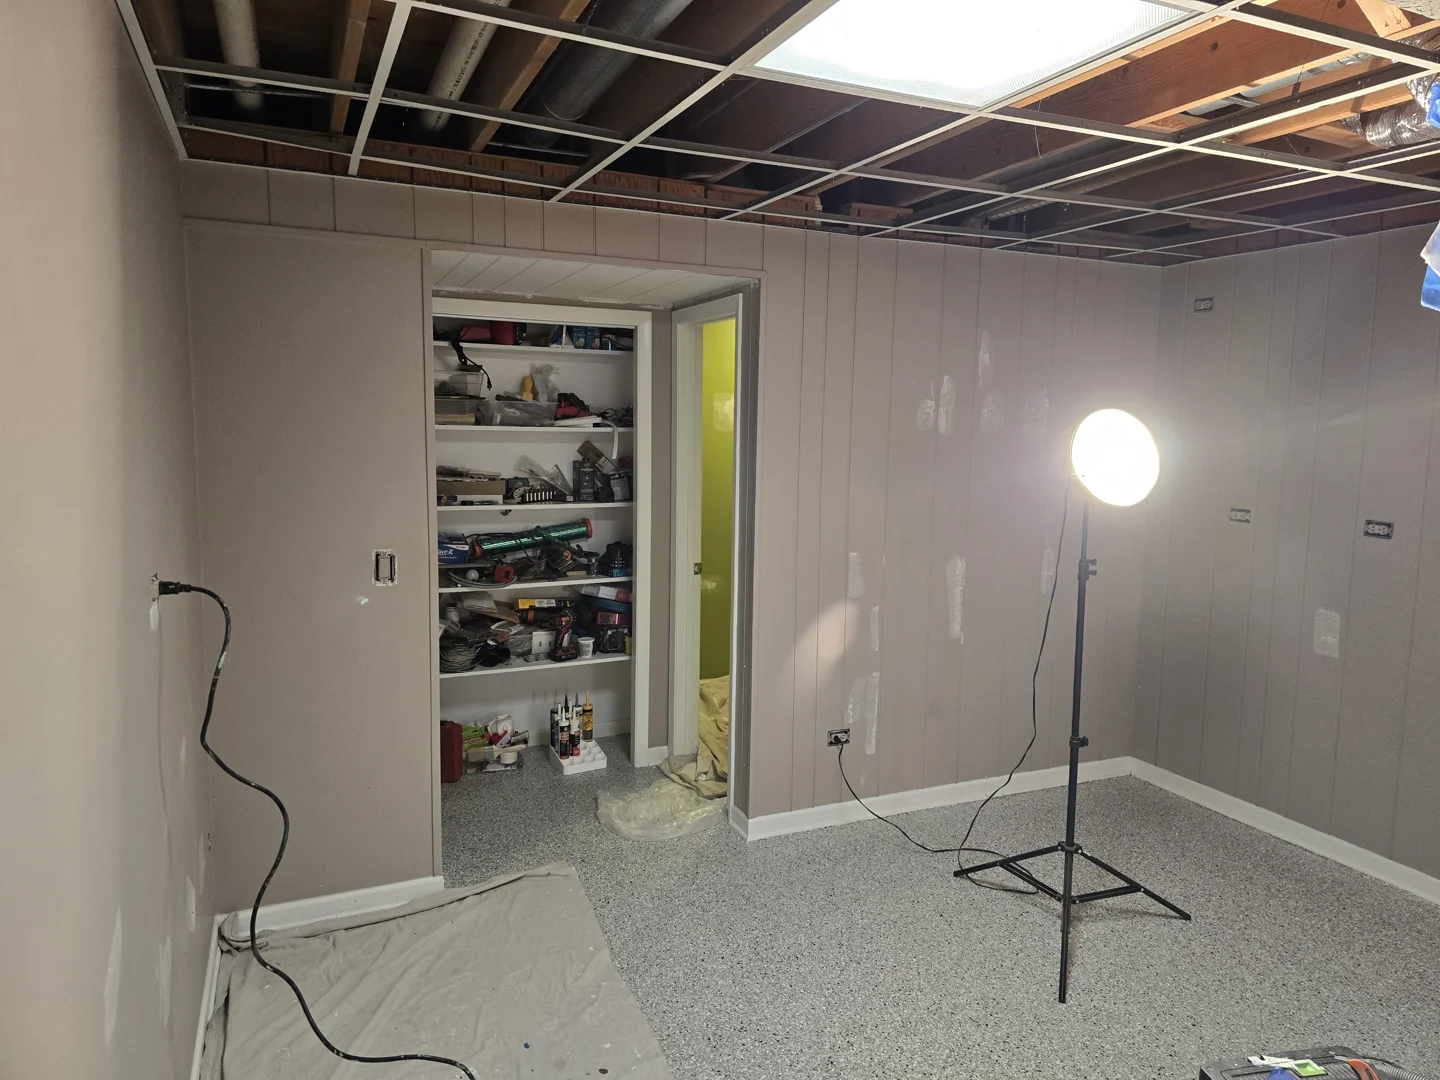
Why Small Basement Painting Tips Can Transform Your Most Overlooked Space
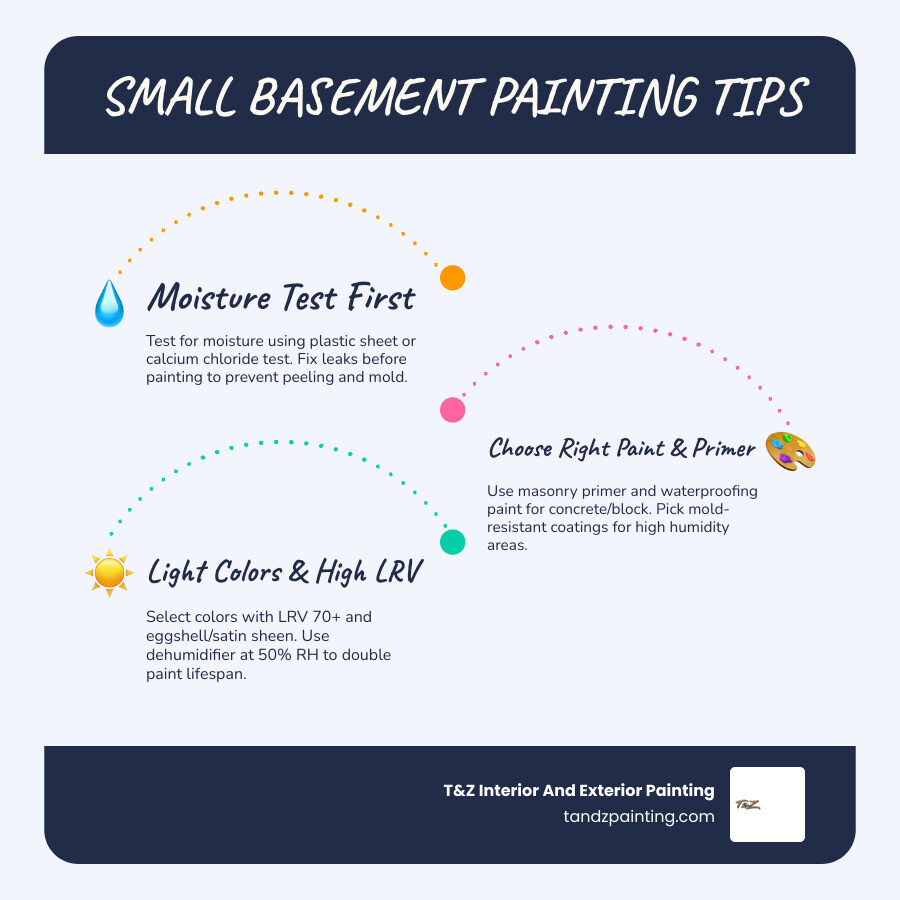
The best small basement painting tips come down to three things: fix moisture first, choose the right paint for the surface, and pick light colors with a high Light Reflectance Value (LRV) to make the space feel bigger and brighter.
Quick answer — the most important steps to paint a small basement:
- Test for moisture before buying a single can of paint (skipping this is the #1 reason basement paint fails)
- Fix any active leaks or seepage — paint cannot stop water
- Choose the right primer and paint for your surface (concrete block, poured concrete, or drywall each need different products)
- Pick light colors with an LRV of 70 or higher to fight the natural darkness
- Use eggshell or satin sheen for durability and easy cleaning in damp conditions
- Run a dehumidifier at 50% RH year-round to double the life of your paint job
Basements are simply the hardest room in a house to paint well. They combine below-grade moisture, poor lighting, low ceilings, and rough masonry surfaces — all in a tight space. One wrong move (like skipping the moisture test or grabbing leftover latex from the garage) and you are looking at peeling, bubbling, or mold within a single humid summer.
The good news? A properly prepared and painted basement holds up for 5 to 8 years before needing a refresh — and with the right colors and finishes, even a cramped utility basement can feel like a real living space.
I’m Tomasz Niemotko, owner of T&Z Interior And Exterior Painting in Lombard, IL, and over more than 13 years of professional painting work I’ve tackled countless basement projects where small basement painting tips made the difference between a job that lasts and one that peels by spring. Let’s walk through everything you need to do it right.
Small basement painting tips further reading:
Assessing Moisture and Preparing Basement Walls for Long-Lasting Adhesion
Before we even think about picking out paint colors, we have to talk about the golden rule of below-grade painting: moisture is the ultimate enemy of paint. Basements in the Chicagoland area—whether you are in Lombard, Elmhurst, or Wheaton—deal with high seasonal humidity, freeze-thaw cycles, and heavy rain that puts constant hydrostatic pressure on your foundation walls. If you paint over a damp wall, that moisture will eventually push the paint right off the surface.
To ensure your hard work doesn’t peel within a few months, you must run a simple moisture test first.
The Plastic Sheet Test
Cut a 2-foot square of clear 6-mil plastic sheeting and tape it securely to your bare basement wall using heavy-duty duct tape. Seal all four edges completely. Leave it there for 24 hours.
- If condensation forms on the outside of the plastic: Your basement has high interior humidity. You need a dehumidifier.
- If condensation forms on the inside of the plastic (against the wall): Moisture is actively migrating through your foundation from the outside soil.
For a more scientific measurement, we often recommend a calcium chloride vapor test. The pass/fail line for most high-quality interior coatings is 3 lbs of water vapor per 1,000 square feet per 24 hours. If your walls exceed this, applying standard paint will lead to rapid failure. You must resolve the exterior drainage issues—like cleaning gutters, grading soil away from the foundation, or fixing window wells—before painting.
Dealing with Efflorescence, Mold, and Cracks
If you notice a white, powdery or crusty substance on your masonry walls, that is efflorescence. It occurs when moisture travels through concrete, dissolves natural mineral salts, and leaves them behind as it evaporates. Paint will not stick to efflorescence. You must scrub it off thoroughly with a wire brush or a concrete etcher, then address the underlying moisture source.
For mold or mildew, never paint over it! It will continue to feed on the drywall or paint film. We recommend pre-treating the area with a mixture of one part household bleach to ten parts water. Spray it on, let it sit for 15 minutes, scrub the surface clean, rinse with fresh water, and let it dry completely for at least 24 hours.
Once the walls are clean, inspect them for structural defects. Fill hairline cracks in concrete or block walls with a high-quality polyurethane caulk or hydraulic cement. For drywall surfaces, patch holes with spackling compound and sand them smooth.
To guarantee proper adhesion, the final prep step is cleaning. Clean concrete block or poured concrete walls with a heavy-duty degreaser like Trisodium Phosphate (TSP) to remove years of accumulated dust, soot, and grease. If you are dealing with smooth poured concrete, scuff the surface with 80-grit sandpaper on a pole sander to give the primer some “tooth” to grab onto. For a deeper look at proper preparation, check out our guide on How to Prepare a House for Painting. You can also read more technical details on How to Paint a Basement Wall (Block, Concrete, or Drywall) — CompositePaint .
Essential Small Basement Painting Tips for Choosing Paint and Primer
Now that your walls are clean, dry, and structurally sound, it is time to choose your coating system. Because basements are naturally prone to high alkalinity and dampness, using standard leftover latex paint from an upstairs bedroom is a recipe for disaster.
Bare concrete and Concrete Masonry Units (CMU) are highly alkaline. This alkalinity chemically degrades standard latex binders, causing the paint to powder, bubble, and flake off. To prevent this, you must apply a specialized alkali-resistant masonry primer first.
If your moisture test showed minor vapor transmission but no active leaks, a true waterproofing masonry paint (like Drylok) is your best shield. These heavy-bodied paints work by penetrating the open pores of the masonry and expanding to form a continuous barrier against dampness. For finished basement spaces with drywall, we always recommend a 100% acrylic interior paint formulated with active mildew-resistant additives (such as pyrithione-zinc) to discourage mold spores from taking root in the paint film.
To help you choose the right product, here is a quick comparison of basement wall substrates and their ideal paint systems:
| Substrate Type | Ideal Primer | Best Topcoat | Primary Benefit |
|---|---|---|---|
| Bare Concrete Block (CMU) | Heavy-duty masonry primer / Block filler | Acrylic masonry paint or Waterproofing paint | Fills deep pores, resists high alkalinity |
| Poured Concrete | Alkali-resistant bonding primer | 100% Acrylic interior paint or Epoxy-acrylic | Smooth finish, excellent adhesion |
| Drywall over Framing | Mold-resistant latex primer | Mildew-resistant 100% acrylic paint | Resists humidity, easy to clean |
No matter which paint system you choose, the environment plays a massive role in how well the paint cures. Running a dehumidifier to keep the relative humidity (RH) at 50% year-round is highly recommended. Not only does this make the space feel more comfortable, but it actually doubles the lifespan of any basement coating by preventing constant moisture stress. To learn more about selecting specialized primers, read our detailed guide on Waterproofing Paint for Interior Walls: Your Shield Against Damp Basements and explore the Best Paint for a Basement .
Selecting the Perfect Colors and Finishes to Maximize Space

A small basement doesn’t have to feel like a dark dungeon. By applying smart color psychology and choosing the right finishes, you can trick the eye into seeing a much larger, airier room.
Small Basement Painting Tips for Color Selection
When dealing with a basement that has limited natural light—perhaps only a single ceiling bulb and two small window wells—your secret weapon is Light Reflectance Value (LRV). LRV is a scale from 0 (absolute black) to 100 (pure white) that measures the percentage of light a color reflects. For small basements, we recommend choosing paint colors with an LRV of 70 or higher.
That lighting behaves differently underground. Any color that looks perfect in a sunlit retail showroom or an upstairs bedroom will read two shades darker down in a basement.
- Warm Neutrals: Soft greiges, creamy warm whites, and pale taupes are excellent choices. They reflect light beautifully without making the basement feel cold or clinical.
- Color Drenching: This is a professional designer trick where you paint the walls, baseboards, trim, and even the ceiling the exact same color. By removing the visual boundaries between the walls and ceiling, the room feels cohesive, seamless, and significantly larger.
- Lighting Temperatures: The type of light bulbs you use will dramatically alter your paint color. Cool LED bulbs can make grays look icy or blue, while warm incandescent bulbs can turn crisp whites into a creamy yellow. We recommend testing your paint swatches under the basement’s actual artificial lighting before making a final decision.
For creative inspiration on color palettes, check out our list of Basement Colors Ideas That Will Make You Forget You Are Underground and read The Ultimate Guide to Painting Your Ceiling and Walls the Same Color.
Small Basement Painting Tips for Sheens and Ceilings
The sheen of your paint affects both its durability and how light bounces around the room.
- Flat/Matte: Great for hiding minor wall imperfections on drywall, but highly susceptible to moisture damage and difficult to clean. Avoid this on basement walls.
- Eggshell and Satin: These are the “sweet spot” sheens for basement walls. They offer a soft, elegant glow that reflects light nicely while remaining highly wipeable and moisture-resistant.
- Semi-Gloss or Gloss: Excellent for doors, trim, and baseboards because they resist moisture best, but they highlight every single bump on a wall.
What about the ceiling? In many small, unfinished basements, the ceiling consists of exposed wooden joists, ductwork, and pipes. Instead of installing a heavy drop ceiling that eats up precious vertical inches, consider painting the exposed joists.
Painting the ceiling a crisp, uniform white instantly lifts the room and reflects maximum light downward. Alternatively, painting the ceiling a deep matte black makes the pipes and wires “disappear” into the shadows, giving the illusion of an industrial, loft-like space with infinite height. To understand sheens better, see our article on Demystifying Paint Finishes: How to Choose the Right Sheen for Every Room.
Professional Tools, Floor Coatings, and Rental Considerations
Using the correct tools is the difference between an exhausting, messy weekend and a smooth, professional-grade transformation.
Sprayer vs. Roller vs. Brush
If you are dealing with rough, porous concrete block (CMU) walls, a standard paint roller will leave the deep recessed pores bare, making the wall look patchy and uneven.
- Paint Sprayer: An airless paint sprayer is highly efficient for rough masonry and exposed joist ceilings. It forces paint deep into the crevices of concrete block and wraps around pipes and ducts effortlessly. However, it requires meticulous masking of floors, windows, and utility units to protect against overspray.
- Rollers: For poured concrete or drywall, use a high-quality roller with an extension pole (6 to 8 feet is ideal). For textured masonry, choose a thick 1/2-inch to 3/4-inch nap roller to hold enough paint to fill the texture. For smooth drywall, a 3/8-inch nap microfiber roller provides a flawless finish.
- Masonry Brush: A specialized masonry brush (which looks like a heavy-duty scrub brush with a handle) is essential for hand-applying waterproofing paints. It allows you to physically work the thick paint into the pores of the concrete block.
Painting Concrete Basement Floors
A painted concrete floor is an excellent, low-maintenance way to finish a small basement. However, basement floors sit directly on the soil, meaning they are prone to continuous vapor drive.
Before coating a floor, always run the plastic sheet moisture test on the concrete. If it passes, use a specialized concrete floor paint or a two-part epoxy coating. Epoxy is highly durable, resists heavy foot traffic, and is incredibly easy to clean. To prevent peeling, make sure to scuff-sand the concrete floor, vacuum up all dust, and apply an epoxy-compatible primer first.
Tips for Renters
If you are renting a home in Chicago, Schaumburg, or Downers Grove, you must secure written permission from your landlord before starting any painting project. Your agreement should clearly outline:
- The specific paint colors and brands to be used.
- Whether you are required to paint the basement back to its original color before moving out.
- Who covers the cost of materials.
Always keep a copy of this signed agreement to protect your security deposit. For more tips on managing interior painting projects cleanly and professionally, read our guides on Mastering Basement Paint Techniques for a Stunning Finish – Tidy Home Guide , Professional Wall Painting, and Painting Inside House.
Frequently Asked Questions About Painting Small Basements
How long does it take for basement wall paint to fully cure?
While most high-quality latex and acrylic paints are dry to the touch within 2 to 4 hours, a full cure takes significantly longer. In a typical basement environment, it takes 2 to 4 weeks for the paint film to fully cure and reach its maximum hardness and moisture resistance. Keep furniture, shelving, and heavy items away from the walls during this curing window, and run your dehumidifier to maintain proper ventilation.
Can I paint over efflorescence or mold directly?
Absolutely not. Painting over efflorescence will cause the new paint to flake and peel off almost immediately, as the mineral salts will continue to expand under the paint film. Painting over mold or mildew will only trap the spores, allowing them to eat through the paint and destroy your drywall. Always clean and remediate these issues completely before priming.
Why does paint peel off concrete basement floors?
The primary reason floor paint peels is vapor drive. Because concrete is porous, moisture from the soil underneath the slab is drawn upward toward the drier indoor air. If the floor is sealed with paint, this rising moisture vapor builds pressure under the coating, causing it to blister, crack, and peel. Proper moisture testing and using highly breathable or specialized epoxy-based floor systems are key to preventing this issue.
Conclusion
Transforming a small, dark basement into a bright, welcoming room is entirely possible with the right preparation, tools, and color choices. By prioritizing thorough moisture testing, fixing structural issues first, and choosing high-LRV, mildew-resistant paints, you will achieve a stunning finish that stands the test of time.
While a DIY approach can be rewarding, painting below-grade masonry, high-ceiling joists, or rough concrete blocks requires specialized equipment and years of expertise to get perfect. If you prefer to leave it to the professionals, T&Z Interior And Exterior Painting is here to help.
With over 15 years of professional experience, our licensed and insured teams deliver exceptional interior, exterior, and specialty cabinet painting services throughout Lombard, IL, and surrounding communities like Glenview, Wilmette, La Grange, and Plainfield. We pride ourselves on our 5.0 Google Reviews rating, expert craftsmanship, and clean, hassle-free service.
Ready to make your small basement feel huge? Contact us today to discuss your next project, or read more about how we handle unique spaces in our guide on small house painting challenges.